
How To Build a Shed Ramp: A Comprehensive Guide
Estimated reading time: 7 minutes
Building ramp for a shed is a practical addition to your shed that enhances accessibility and functionality. Knowing how to build a shed ramp also has its benefits as you can save a considerable amount of money if done correctly. It is especially important for moving heavy equipment or accessing with mobility aids. This guide provides detailed instructions and tips on constructing a sturdy shed ramp using quality materials and sound construction techniques.
Are you a homeowner who owns or is thinking of purchasing a shed? If so, then you’ve probably considered installing a ramp for easy entry and exit. As many shed owners know, hauled goods must be securely loaded into the shed by hand, which can often take considerable effort and time. A quality ramp provided with appropriate incline will make it much easier to move bulk items in and out of your storage area. It’s also quite simple to build your own ramp as long as you have the right tools and materials on hand! In this blog post, we’ll explain exactly how to construct an effective wooden ramp for any size shed. Read ahead to get started! This ultimate guide will provide you with all the information you need to get started.
Step 1: Planning and Design
Before you begin, measure the height from the shed floor to the ground to determine the ramp length and angle. A gentle slope is recommended to make it easy to ascend and descend. This is particularly important if you’re moving heavy items or using a wheelchair. Consider the overall shed design and space availability to decide the width and length of the ramp. Look at some shed ramp ideas and find what best suits your project.
After determining these factors, sketching out your shed ramp plan before starting construction is essential. This plan should include measurements, materials needed, and a step-by-step guide. When constructing the ramp, pay close attention to the shed ramp slope. Ensure it meets safety standards and local building codes. Additionally, reinforce the ramp’s structure to withstand frequent use and varying weather conditions. Regular maintenance and inspections will ensure the longevity and safety of your utility shed ramp.
Step 2: Gathering Materials
You will need pressure-treated lumber for the frame and deck boards for the surface. These materials are durable and suitable for ground contact. Ensure you have all necessary tools such as a circular saw, screws, and joist hangers. A ledger board at the top of the ramp will help secure it to the shed.When building a utility shed ramp, selecting the right materials is critical to ensure durability and safety. Pressure-treated lumber is particularly suitable for a shed entrance ramp. This is because it can support the load while resisting the elements. When making a ramp for a shed, consider the specifics of your shed to determine the best design and material composition.
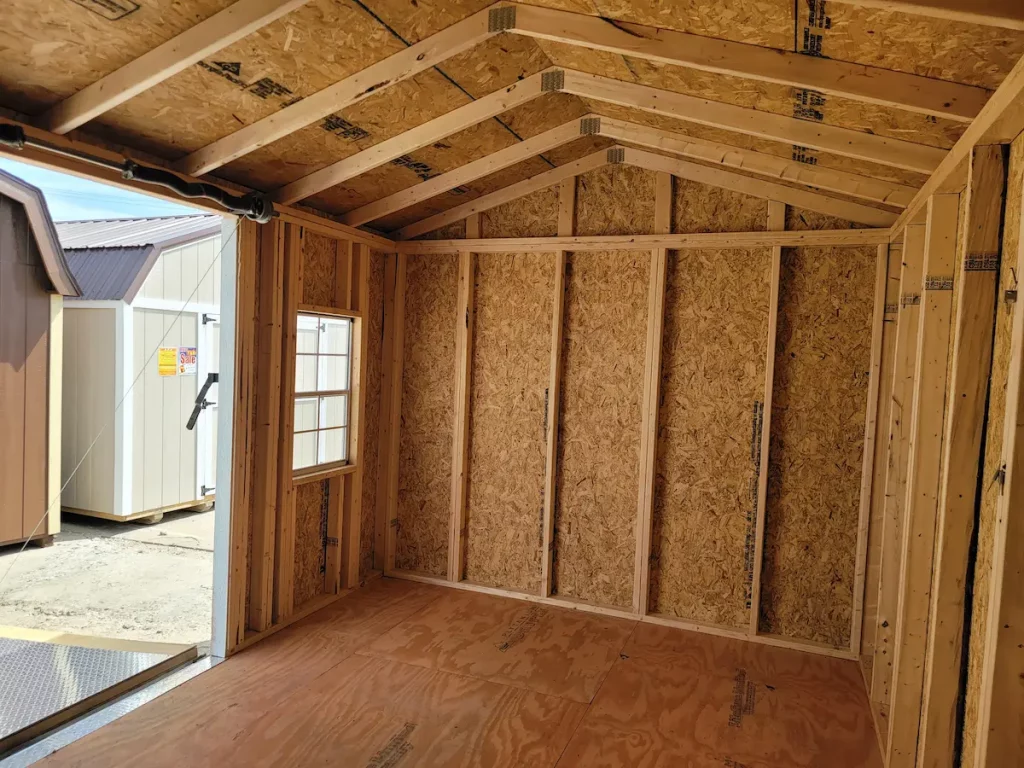
Step 3: Constructing the Frame
Start by attaching the ledger board directly to your shed. Use joist hangers to attach horizontal joists spaced evenly. The frame should rest on concrete blocks at the lower end to keep it off the dirt and remain level. Use a level check to confirm the frame is positioned correctly. In your search for storage shed ramp ideas, consider how the frame’s design and construction contribute to the ramp’s overall stability and durability. This step is crucial in creating the best shed ramp. It ensures that the structure is solid and well-leveled, providing secure and functional access to your shed.
Step 4: Laying the Deck Boards
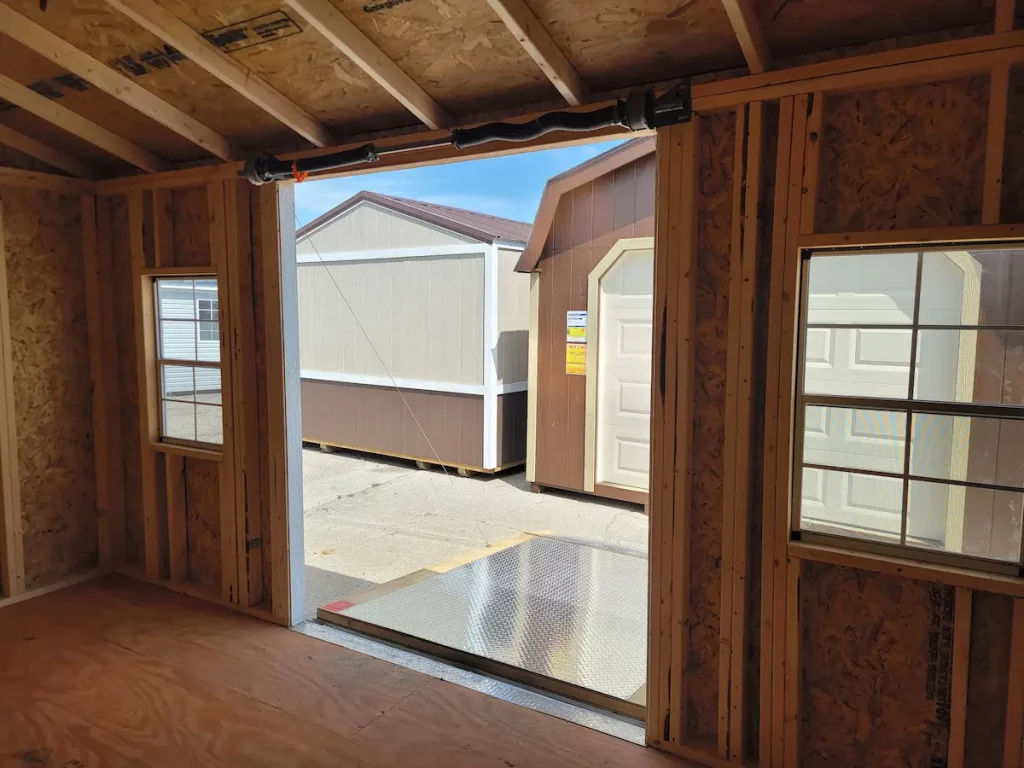
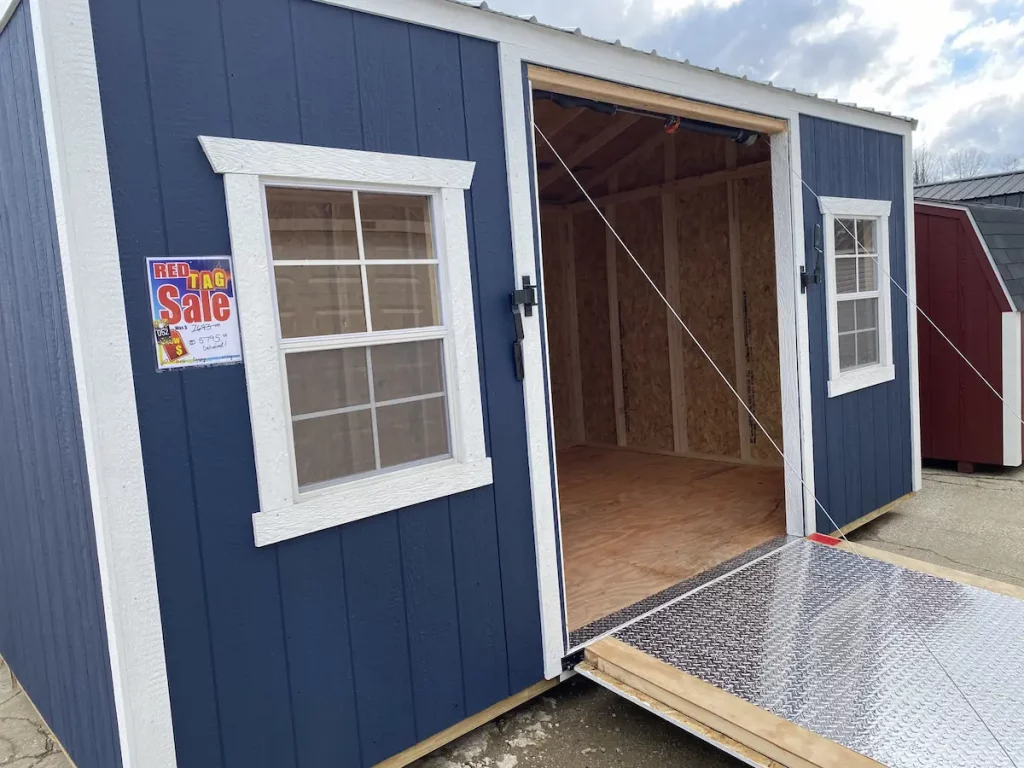
Attach the deck boards across the joists from the top near the shed door. Leave a small gap between each board for water drainage and wood expansion. Screws should be used instead of nails for better durability and maintenance. As you lay the deck boards for your shed ramp, ensure each piece is securely fastened to provide a stable and safe surface. This meticulous installation is crucial for the effectiveness and longevity of the ramp.
Step 5: Securing and Finishing
Ensure that every part of the ramp is securely attached. If your ramp will be supporting heavy equipment, reinforce it with additional joists and supports. Add a non-slip surface or gravel at the base for extra stability. Double-check that all elements are tightly fixed and properly aligned as you finalize your shed entrance ramp. This step is crucial to ensure that the ramp provides safe and enduring access to your shed, accommodating any load easily and securely. When it comes to knowing how to build a shed ramp, it is one thing, but maintenance is another.
Step 6: Maintenance and Safety Checks
Regular maintenance is crucial to ensure the longevity and safety of your ramp. Check for any loose screws, worn-out wood, or potential hazards. Treat the wood annually to prevent rot and weather damage, and adjust the ramp angle or support if necessary. Regularly assess the shed ramp slope. This will help prevent accidents by maintaining the correct incline for smooth and secure access. This allows you to spot any issues that might require adjustments over time.
Benefits of Installing a Shed Ramp
When wondering, ‘Should I get a ramp for my shed?’ It is important to remember the various benefits of shed ramps. A shed ramp is not just about convenience but also safety and accessibility. It allows easy movement of heavy items. It also provides access for people with mobility issues. It can increase the value of your property by enhancing the functionality and accessibility of the outdoor space. By following these detailed steps to build a shed ramp, you can ensure your shed is more accessible and easier to use. Remember, the right ramp design can significantly affect your shed’s usability and safety.
Conclusion: Enhance Your Shed with a Professional Touch
Constructing a shed ramp is a valuable project that enhances the accessibility and functionality of your outdoor space. You can build a sturdy and reliable ramp with the right tools, materials, and effort. If you’re looking for professional quality materials or expert advice to ensure your shed ramp is built to last, consider visiting Hartville Outdoor Products. We offer a wide range of high-quality building materials, tools, and accessories to help you achieve the best results for your project. If you’re looking for professional installation services, Hartville Outdoor Products is your go-to resource for all outdoor building needs. Visit Hartville Outdoor Products today to explore our products and get started on your shed ramp project with confidence. Make your shed more accessible and functional with a professionally built ramp that stands the test of time.
Building a ramp for your shed can be an ambitious undertaking, and the steps outlined above should make the process of constructing one a lot easier. Before you get started, it’s important to ensure that your measurements are correct, that all frames are securely fixed in place and that any gaps between boards are sealed correctly. Finally, most importantly, make sure to double check with local building codes before starting construction – not only will this help you create a lasting structure but it will also save you from running into any legal issues in the future. With patience and attention paid to detail, this project will be worth putting in the effort as it can open up a world of potential uses for your shed! We hope this helps you understand how to build a ramp for a shed.