How to Refurbish a Glider Chair
A glider chair can be one of the most relaxing pieces of furniture in any home. Whether it graces a nursery, a front porch, or a reading nook, its gentle motion offers comfort and calm. But over time, even the sturdiest glider chair can show signs of wear. The good news is that you don’t have to give up your beloved piece. With some patience and the right materials, you can bring it back to life. Understanding how to refurbish a glider chair ensures you preserve both comfort and sentimentality.
Recognizing the Need for Refurbishment
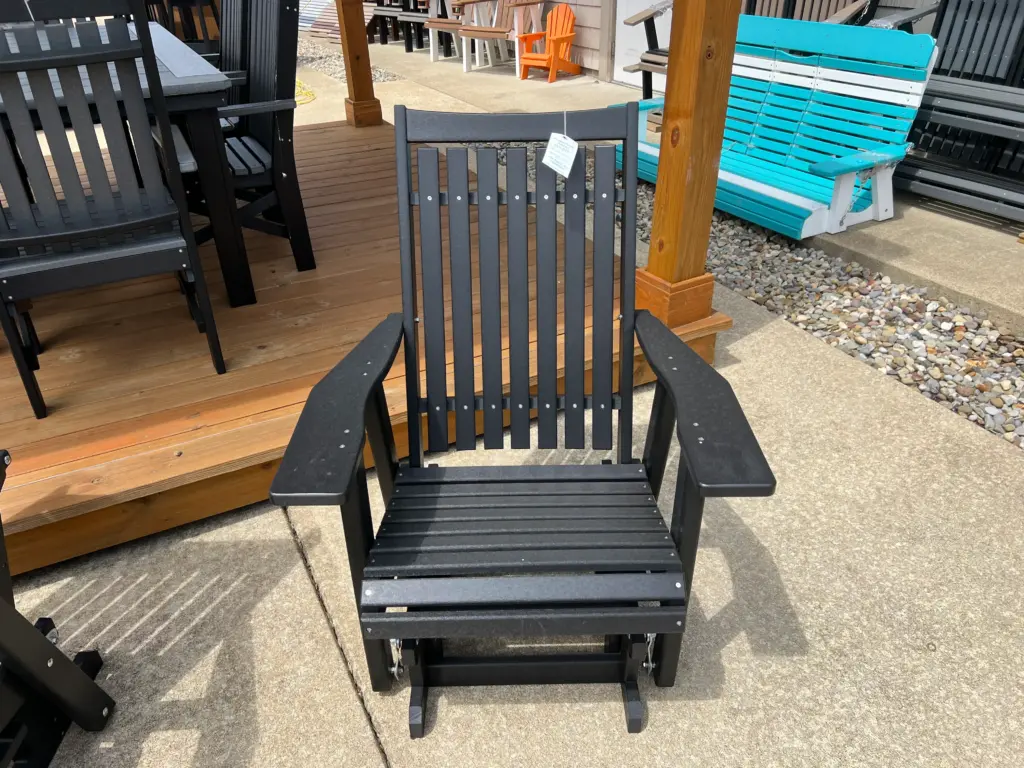
Many people don’t realize how much they rely on their glider chairs until something feels off. Perhaps the glide has become jerky, or the upholstery is looking worn and discolored. Maybe there’s a squeak every time you sit down. These are all signs that the chair needs some attention. Refurbishment doesn’t always mean replacing everything. Often, you can maintain the chair’s frame while updating its components. That makes it a sustainable and often economical choice, especially if the original piece is made of high-quality wood or metal.
Assessing Structural Integrity
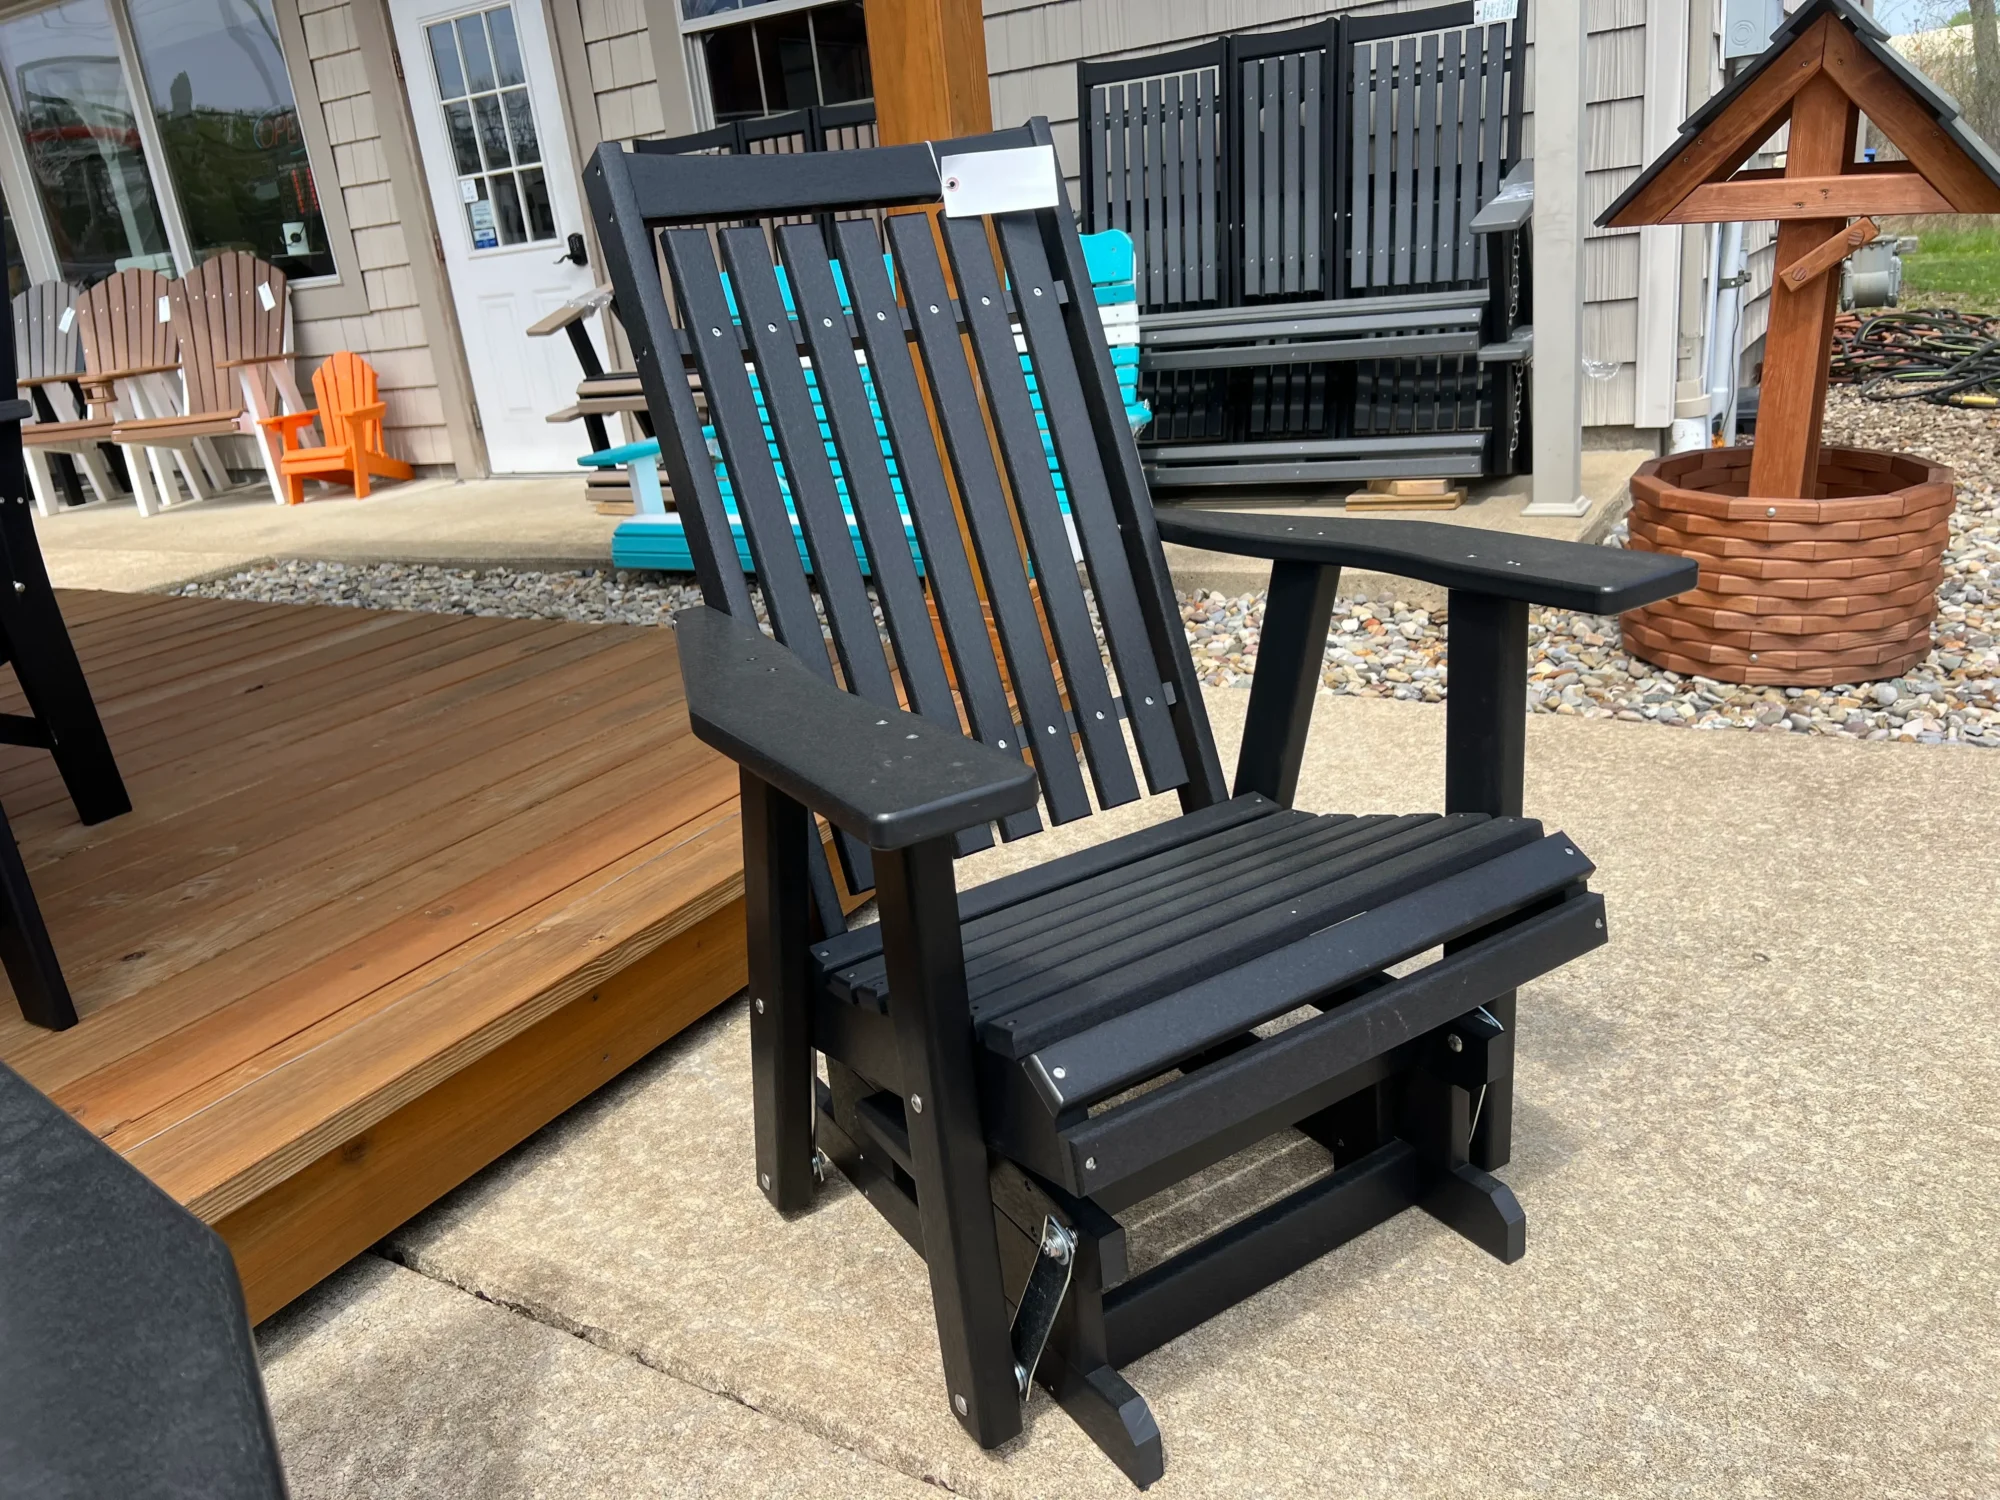
Before making any cosmetic updates, it’s essential to inspect the frame and moving parts. Check for cracks in the wood, rust on metal joints, or signs of warping due to humidity. If the glider mechanism is no longer functioning smoothly, you may need to replace or lubricate the bearings. Hardware stores like Ace Hardware often carry replacement parts for common glider mechanisms, and many brands offer maintenance kits. Ensuring the chair has a solid foundation is the first step in creating a result that lasts.
Choosing Materials for Upholstery
One of the most noticeable updates you can make is to the fabric. A faded or stained cushion can make the entire chair look tired. Choose a durable, stain-resistant material that matches your home’s aesthetic. Fabrics like twill, microfiber, or outdoor-rated canvas offer good durability and are relatively easy to clean. According to Better Homes & Gardens, when choosing upholstery fabric, always consider how much use the chair will get and whether it will be exposed to sunlight, which can cause fading over time.
If your cushions are beyond saving, you can create new ones or purchase pre-made inserts that match your dimensions. For glider chairs with removable cushions, this process is straightforward. If the cushions are attached, you might need to carefully remove them and reattach them using staples, fabric glue, or upholstery tacks.
Repainting or Refinishing the Frame
The frame of your glider chair not only provides support but contributes heavily to its visual appeal. Wooden frames can often be sanded down and stained or painted to restore their original beauty or give them a new look altogether. Start by sanding the surface to remove old finish or paint. Use a primer before applying new paint, especially if you’re going from a dark to a lighter color.
For metal frames, a rust-resistant spray paint can breathe new life into the piece. Be sure to use painter’s tape to protect any parts of the chair that don’t need refinishing. Also, work in a well-ventilated area or outdoors for safety.
Replacing the Glider Mechanism
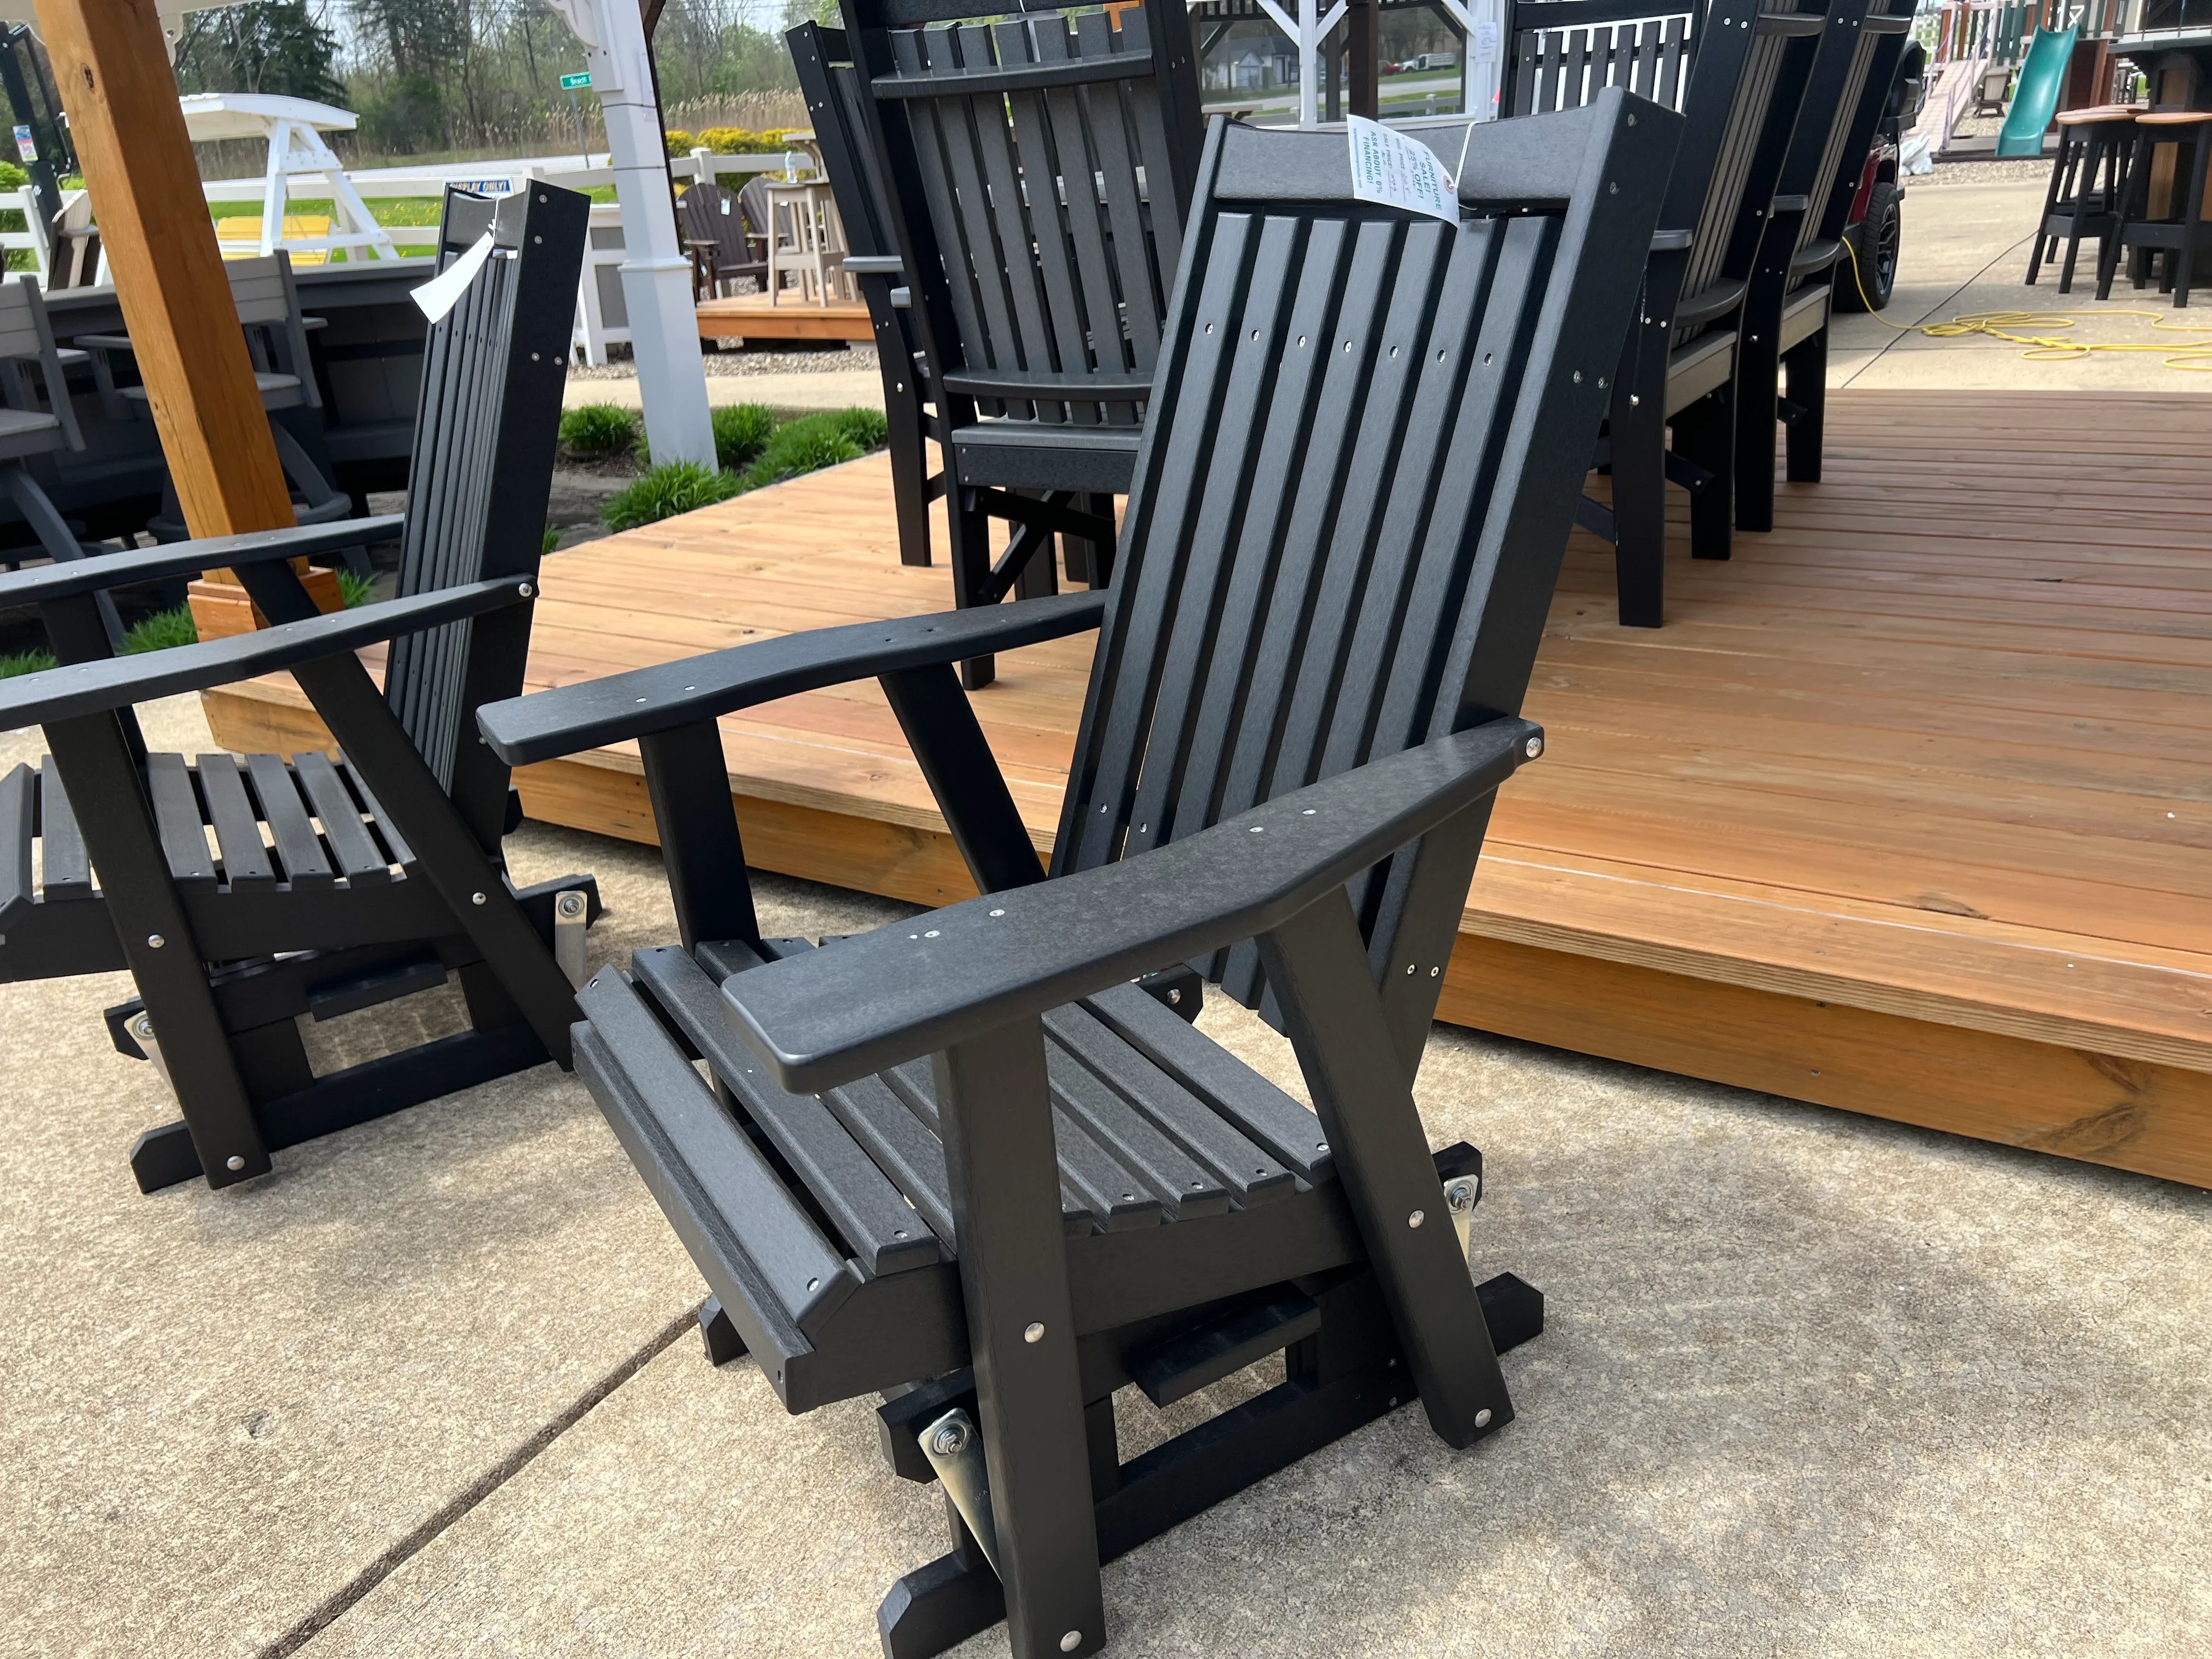
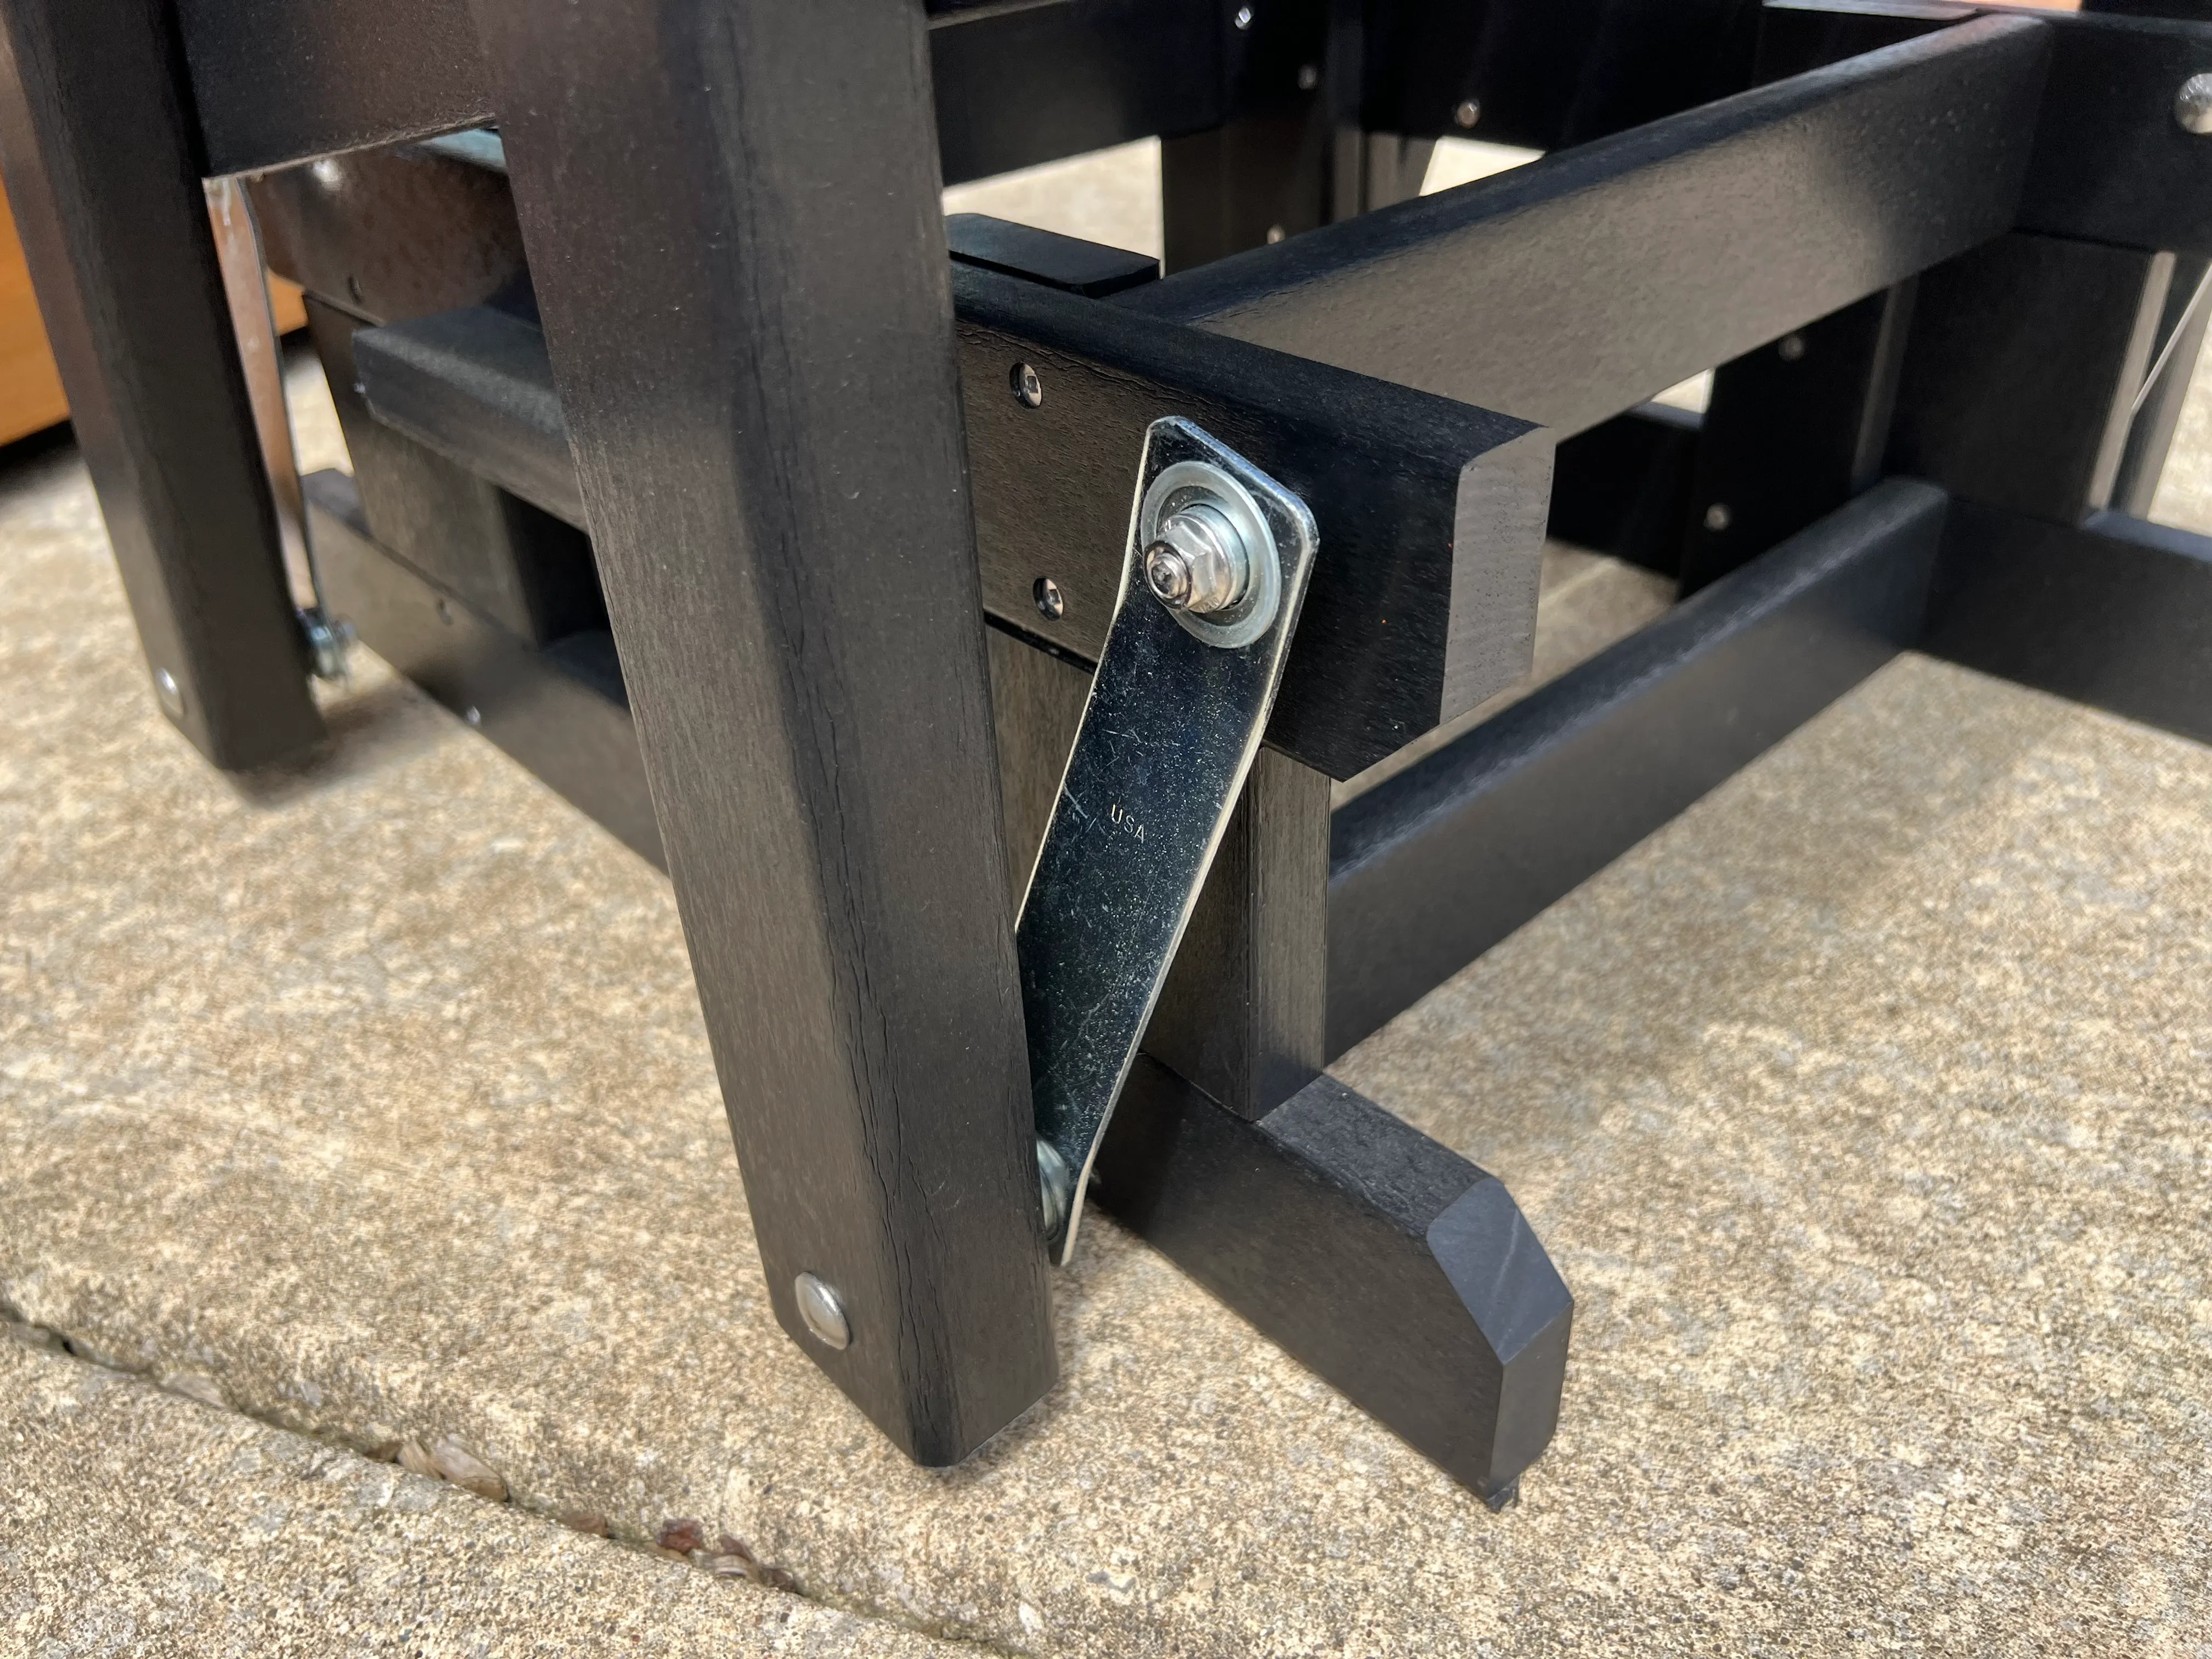
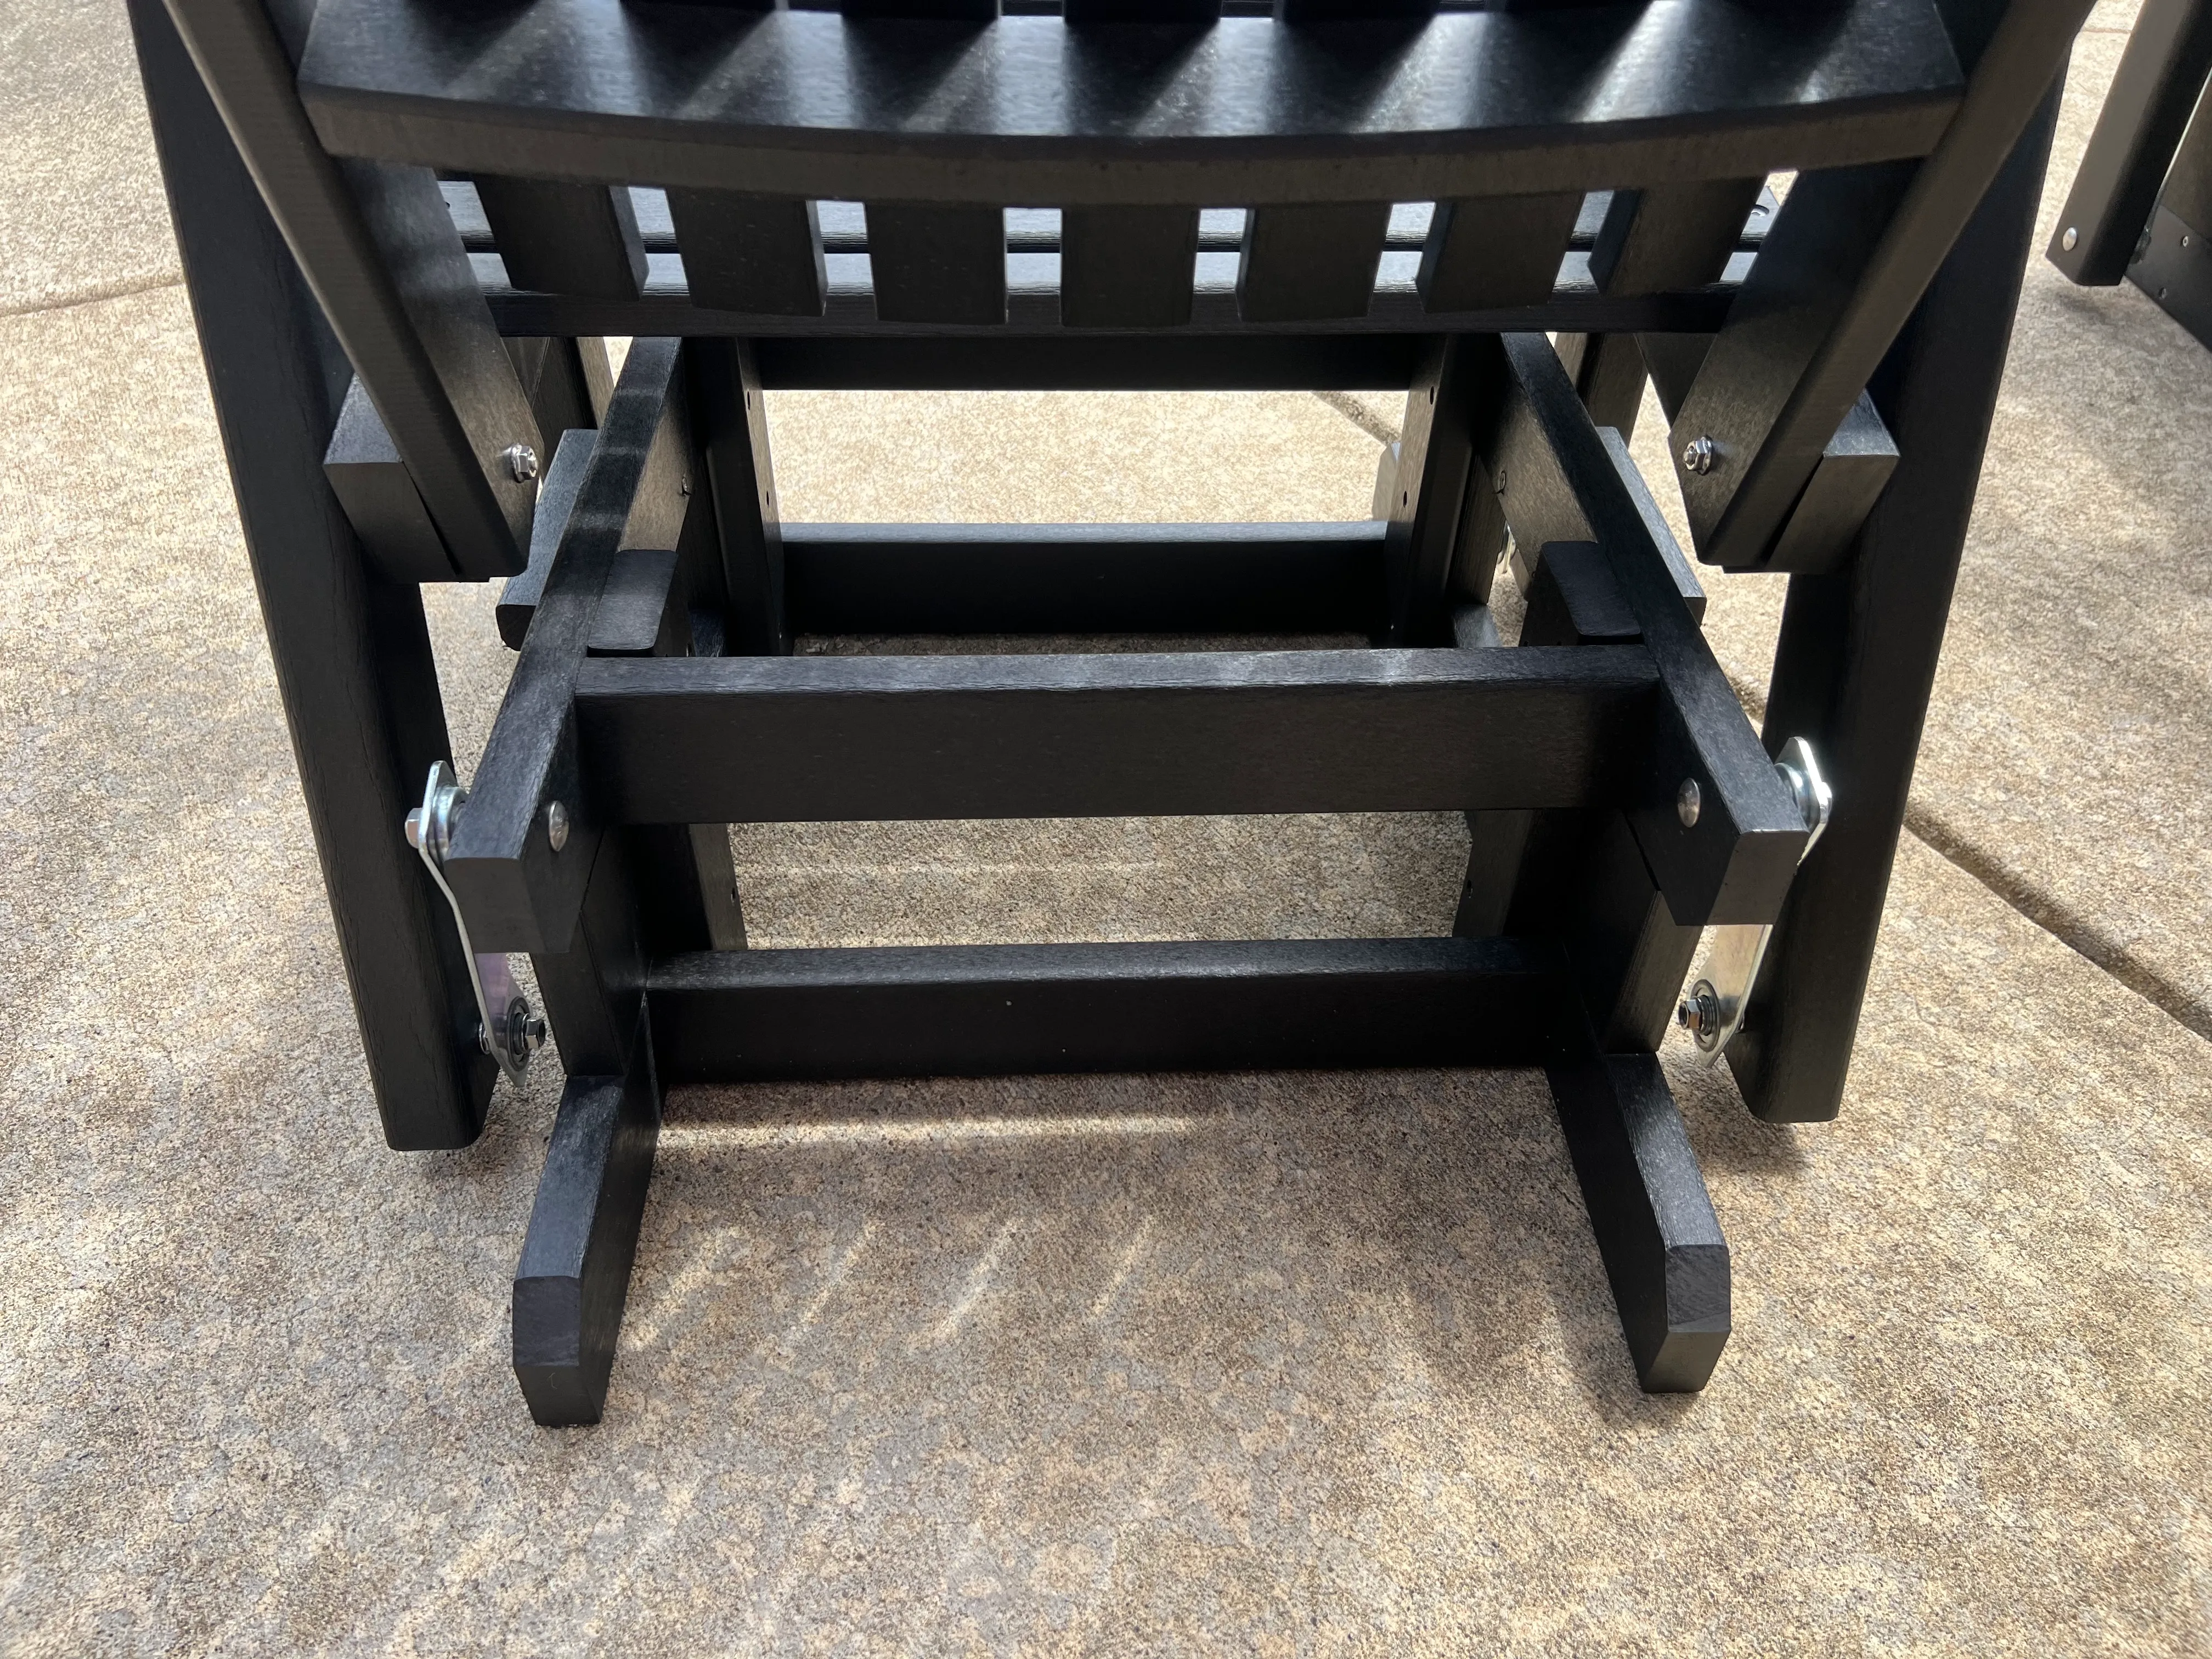
If your chair no longer glides smoothly, the issue likely lies in the ball bearings or glider track. Replacement kits are available online or through furniture supply shops. Disassemble the base carefully and take note of how the parts fit together. Replacing the mechanism can be tedious, but it makes a huge difference in performance.
For those unfamiliar with this process, you might consult a tutorial or instructional video. A quick search on YouTube will bring up dozens of guides tailored to different glider models. Make sure to search by brand or style for the most relevant advice.
Upgrading for Modern Comfort
Refurbishing isn’t only about restoring what was lost—you can also make your glider better than before. Consider adding memory foam to the seat cushions or adding extra padding to the armrests. You can also install locking mechanisms or safety stoppers, especially if the chair will be used around children.
If your glider sits on a wood floor and tends to shift during use, consider attaching gripper pads or a non-slip mat underneath. This small fix can greatly enhance the stability and safety of the chair.
Adding Decorative Touches
Once the practical work is complete, you can focus on aesthetics. Decorative pillows, throw blankets, or custom slipcovers can elevate the look and make your refurbished glider chair feel brand new. Choose complementary colors and patterns to fit the room’s existing decor. Even small accents like matching buttons or contrast stitching can make a significant visual difference.
Sustainability and Sentimental Value
One of the most rewarding aspects of refurbishing a glider chair is the ability to retain its sentimental value. Whether it’s been passed down through generations or has become a nursery staple, restoring rather than replacing keeps those memories intact. In a world increasingly focused on sustainability, refurbishing furniture also keeps large items out of landfills and reduces the need for resource-heavy manufacturing.
Organizations like Habitat for Humanity ReStores also encourage refurbishment and offer parts and supplies for low-cost repairs. Supporting these kinds of businesses furthers the cycle of reuse and community development.
Final Checks Before Use
Once all your updates are complete, it’s time for a final safety and comfort check. Sit in the chair and gently test the glide. Listen for any odd noises and observe how the chair moves. Make sure all screws are tight and that no part of the fabric is loose or uneven. If everything checks out, your refurbished glider is ready for many more years of relaxation.
Conclusion
Learning how to refurbish a glider chair empowers you to breathe new life into a cherished piece of furniture. With thoughtful planning, quality materials, and a little elbow grease, your once-worn glider can become a standout feature in your home again. From sanding and painting to reupholstering and enhancing the glide, each step offers the opportunity to tailor the chair to your exact needs and tastes. Whether you’re outfitting a cozy porch or complementing existing outdoor pieces like those featured on Hartville Outdoor Products, refurbishing is a rewarding, practical project. So rather than replacing a tired glider, consider giving it the revival it deserves—both your home and the environment will thank you.
