
Learning how to refinish dining table surfaces can bring an old or worn table back to life without replacing it. Scratches, faded stain, water marks, dull finish, and minor surface damage often make a solid wood table look worse than it really is. In many cases, the structure remains strong while only the finish needs attention. Refinishing removes the damaged surface and gives you a chance to restore the wood or completely change its appearance.
The process takes patience, but it does not require advanced woodworking skills. You need the right tools, good ventilation, careful sanding, and enough time for each coat to dry. Before you begin, identify whether the table is solid wood, veneer, laminate, or another material. Solid wood usually gives you the most flexibility because you can sand more aggressively. Veneer needs a much lighter touch. Once you understand the surface, you can choose the right refinishing method and avoid unnecessary damage.
How To Refinish Dining Table Surfaces Step By Step
Start by clearing the table completely and moving it to a well-ventilated work area. Remove leaves, hardware, or detachable legs if the design allows it. Clean the surface thoroughly so grease, dust, and food residue do not interfere with stripping or sanding. If the finish is thick, peeling, or heavily damaged, you may need a chemical stripper. If the surface only looks dull or scratched, sanding may be enough.
After removing the old finish, sand the tabletop until the surface feels smooth and even. Work through progressively finer sandpaper instead of jumping directly to a very fine grit. Remove all sanding dust before applying stain or finish. Test your stain on a hidden section or scrap wood first. Once you achieve the color you want, apply a protective topcoat. Allow each layer to dry fully before using the table again. This basic sequence works for many wood dining tables.
Check The Table Material Before Sanding
Before sanding, confirm what the tabletop is made from. Solid wood can usually handle more sanding because the material continues beneath the surface. Veneer consists of a thin wood layer over another material. If you sand veneer too aggressively, you can cut through the decorative layer and expose the substrate below. Laminate tables usually do not respond well to traditional wood refinishing because the top layer is not natural wood.
Look at the edges, underside, and any damaged areas for clues. Solid wood often shows continuous grain through the edge. Veneer may reveal a thin surface layer over plywood or particleboard. If you are unsure, start with the least aggressive method. Light sanding and cleaning can tell you a lot without causing damage. Refinishing should improve the table, not create a larger repair project. Taking a few minutes to identify the material can save hours of unnecessary work.
Remove The Old Finish Carefully
You can remove the old finish with sanding, a chemical stripper, or a combination of both. Sanding works well when the existing finish is thin and already worn. A chemical stripper may save time when the table has several layers of varnish, polyurethane, paint, or another heavy coating. Always follow the product instructions and use gloves, eye protection, and good ventilation.
Apply stripper evenly and give it enough time to soften the coating. Then lift the old finish with a scraper that will not gouge the wood. Plastic scrapers can reduce the chance of deep scratches. Work in small sections and avoid rushing. After stripping, clean the surface according to the product directions. Let the wood dry before sanding. For general background on furniture restoration methods, see wood furniture conservation and restoration on Wikipedia.

Sand The Dining Table Evenly
Sanding creates the surface that will accept stain and finish, so take your time. Start with a medium grit if the surface still has finish or visible damage. Then move to finer grits to smooth the wood. Sand in the direction of the grain whenever possible. Random scratches across the grain can become much more visible after you apply stain.
A random orbital sander can speed up work on large flat areas, while hand sanding gives you more control around edges and details. Do not press too hard. Let the abrasive do the work. Wipe away dust between grit changes so loose particles do not create new scratches. When the surface feels consistently smooth, vacuum it and wipe it with a clean cloth. The cleaner the surface, the better the next step will look.
Choose The Right Stain Or Natural Finish
You do not have to stain every dining table. Some wood species look excellent with a clear finish that highlights the natural grain. If you want to change the color, choose a stain that complements the wood and the room. Dark stains can create a traditional appearance, while lighter finishes often feel more casual and modern. Test the color before covering the entire table.
Apply stain in thin, even coats and follow the grain. Wipe away excess product before it dries unevenly. Leaving too much stain on the surface can create sticky or blotchy areas. Some woods absorb stain unevenly, so a pre-stain conditioner may help. Let the stain dry completely before adding a protective finish. Rushing this stage can trap moisture or create cloudy areas beneath the topcoat.
Protect The Table With A Durable Topcoat
A dining table needs more protection than a decorative piece of furniture. Plates, cups, spills, heat, cleaning, and daily use can wear the surface quickly. Polyurethane, varnish, lacquer, hard-wax oil, and other finishes can protect the wood. Each product creates a different appearance and level of durability. Choose a finish that matches how heavily you use the table.
Apply several thin coats rather than one heavy coat. Thin layers dry more evenly and reduce runs, bubbles, and brush marks. Lightly sand between coats if the product instructions recommend it. Remove all dust before applying the next layer. Give the final coat enough curing time before placing heavy items on the table. A finish may feel dry to the touch long before it reaches full hardness.

Refinish The Legs And Table Base
The tabletop receives the most attention, but the base should match the finished surface. Inspect the legs, apron, braces, and other visible parts. Clean these areas and sand away loose finish. Detailed shapes may require hand sanding because power tools can remove too much material from edges and curves. Small sanding blocks and flexible abrasives can help reach difficult areas.
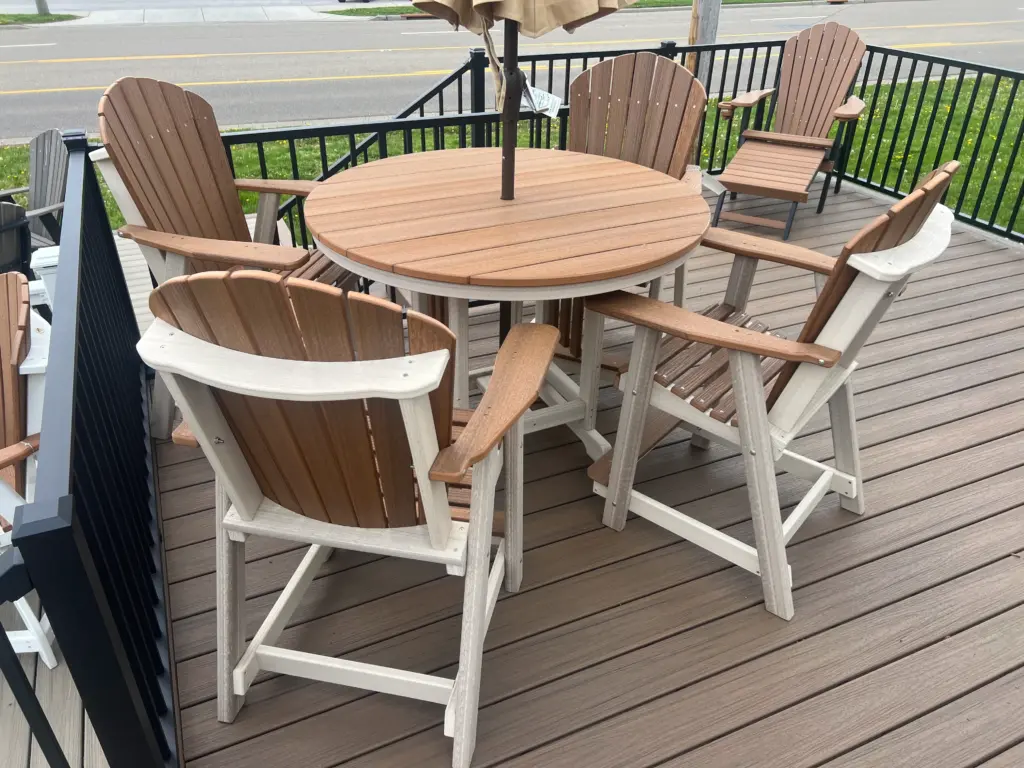
You can refinish the entire table in one color or create contrast between the top and base. For example, some homeowners stain the tabletop and paint the legs. Others keep the entire piece natural. Whatever approach you choose, prepare every surface properly before applying color or finish. Hartville Outdoor Products offers a range of outdoor furniture and dining pieces that can also provide inspiration for wood tones, table shapes, and seating styles when planning your finished look.
Avoid Common Dining Table Refinishing Mistakes
One common mistake is sanding too aggressively. Deep scratches or uneven areas can become more obvious after staining. Another mistake is applying stain before removing all old finish. Any remaining sealed areas may reject the stain and create light patches. Poor dust removal can also leave bumps beneath the topcoat. Clean carefully between every stage.
Do not rush drying times. Stain and finish need time to cure properly. Applying another coat too soon can create soft, cloudy, or sticky surfaces. Also avoid refinishing in extremely dusty, humid, or poorly ventilated conditions. These environments can affect drying and appearance. Finally, do not assume every old table needs aggressive stripping. Sometimes a light sanding and new protective coat is enough. Start with the least invasive method that can solve the problem.

Give Your Dining Table A Fresh New Look
Knowing how to refinish dining table surfaces gives you a practical way to extend the life of good furniture. Start by identifying the material and evaluating the existing finish. Remove damaged coating carefully, sand the wood evenly, and choose a stain or natural finish that fits your space. Then protect the surface with a durable topcoat. Careful preparation matters more than speed, so give each step enough time.
If refinishing no longer makes sense because the table is badly damaged or does not fit your space, replacing it may be the better option. Hartville Outdoor Products offers furniture for patios, porches, decks, dining areas, and outdoor living spaces. Buyers can compare tables, chairs, and complete dining sets in several materials and styles. Whether you restore an existing table or choose a new one, focus on durability, comfort, and a finish that suits everyday use.