
How To Make a Storage Box
Whether you’re organizing garden tools, outdoor cushions, toys, or seasonal décor, a storage box is a versatile and attractive way to keep your space tidy and weather-protected. Building your own storage box not only saves money but also allows you to customize it to suit your needs and style. If you’re wondering how to make a storage box, this guide will walk you through each step—from planning and material selection to construction and finishing—so you can create a sturdy, functional box for your yard, deck, or garage.
Planning Your Storage Box
Before you pick up your tools, start by determining the purpose and size of your storage box. Consider what you’ll be storing: small tools, outdoor gear, kids’ toys, or even firewood? This will influence the dimensions, durability, and weather resistance of the finished product.
Measure the space where the box will sit. Keep in mind accessibility—will the box have a hinged lid, lift-off top, or doors? Will it need handles or wheels for portability?
Sketch out a basic design including:
- Width, depth, and height
- Material thickness
- Lid type
- Ventilation (optional)
- Interior compartments (if needed)
Having a plan makes construction smoother and ensures your finished box meets your expectations.

Choosing Materials
Your choice of materials determines the strength, appearance, and longevity of the storage box.
Wood Options:
- Pressure-treated lumber: Durable and rot-resistant, ideal for outdoor use.
- Cedar or redwood: Naturally weather-resistant with a more refined look.
- Plywood (exterior grade): Affordable and easy to work with; must be sealed.
- Composite lumber: Low maintenance, but more expensive.
Fasteners and Hardware:
- Galvanized or stainless-steel screws to prevent rust
- Hinges, handles, and latches (weather-resistant if outdoors)
- Gas struts or chains for lid support (optional)
Finish Materials:
- Wood sealer, stain, or exterior-grade paint
- Rubber feet or base slats to elevate the box off the ground
Choose materials based on your climate, aesthetic preferences, and how much exposure the box will have to moisture.
Tools Needed
Most DIYers can build a storage box using basic tools:
- Measuring tape
- Circular saw or table saw
- Drill and bits
- Screwdriver or impact driver
- Wood glue
- Sandpaper or power sander
- Paintbrush or roller
Optional tools include a miter saw for precise angles and a jigsaw for curved cuts.
Step-by-Step Instructions
Step 1: Cut Your Pieces Based on your plan, measure and cut:
- Two side panels (length x height)
- Front and back panels (width x height)
- Bottom panel (length x width)
- Lid panel (slightly overhanging all sides)
Step 2: Assemble the Frame Begin with the box frame:
- Attach the side panels to the back panel using wood glue and screws.
- Add the front panel, aligning all edges evenly.
- Install the bottom panel last, ensuring it’s square and flush with the sides.
Step 3: Add the Lid
- Secure hinges to the back edge of the lid and the top edge of the back panel.
- Ensure the lid opens smoothly and overhangs slightly for rain runoff.
- Install gas struts or chains if the lid is large or heavy.
Step 4: Sand and Seal
- Sand all edges and surfaces to remove splinters and ensure smooth handling.
- Apply wood filler if needed to smooth out screw holes or imperfections.
- Finish with paint, stain, or sealant suitable for outdoor use.
Step 5: Install Accessories (Optional)
- Add handles on the sides for easy carrying.
- Install a latch or hasp for secure closure.
- Add rubber feet or base slats to keep the box elevated.
Customizing Your Storage Box
Make the box your own by incorporating custom features:
- Interior compartments for separating tools or gear
- Cushioned lid to double as a bench
- Wheels for mobility
- Decorative trim or lattice work for a garden aesthetic
Customization not only adds function but allows the box to blend in with your outdoor décor or deck furniture.
Indoor vs. Outdoor Considerations
If your box will live outside, use treated lumber or naturally rot-resistant woods and seal it thoroughly. Ensure drainage holes or vents prevent moisture buildup. For indoor use, untreated wood and a simpler design may suffice.
Keep outdoor storage boxes covered or under a roof overhang if possible to extend their life and preserve their appearance.
Long-Term Care and Maintenance
To ensure your storage box lasts for years:
- Inspect periodically for signs of rot, rust, or wear
- Reapply paint or sealant every 1–2 years
- Keep the lid closed when not in use
- Store under a cover or roof during harsh seasons
Regular maintenance keeps your storage box looking great and functioning well through seasonal changes.

Conclusion
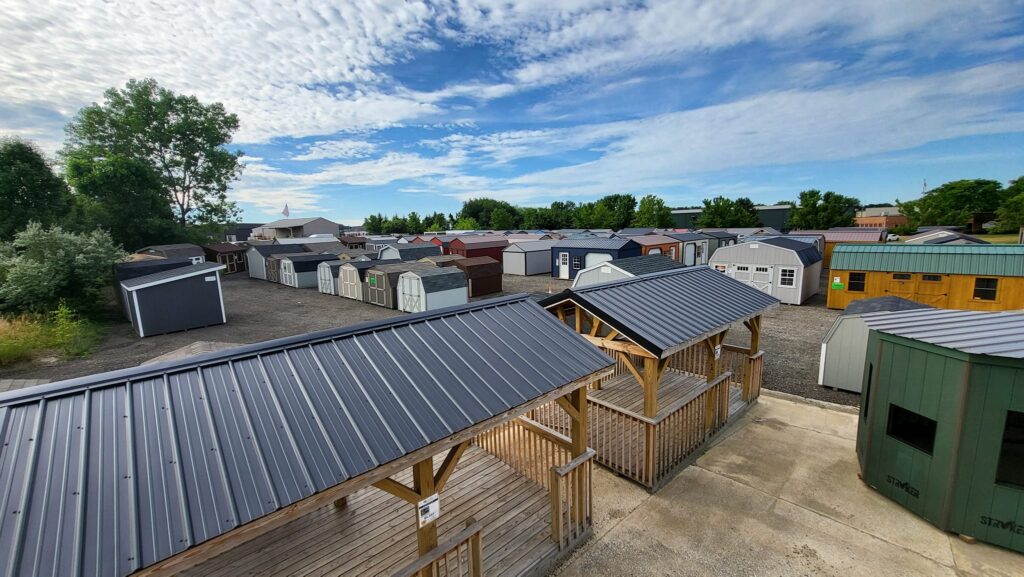
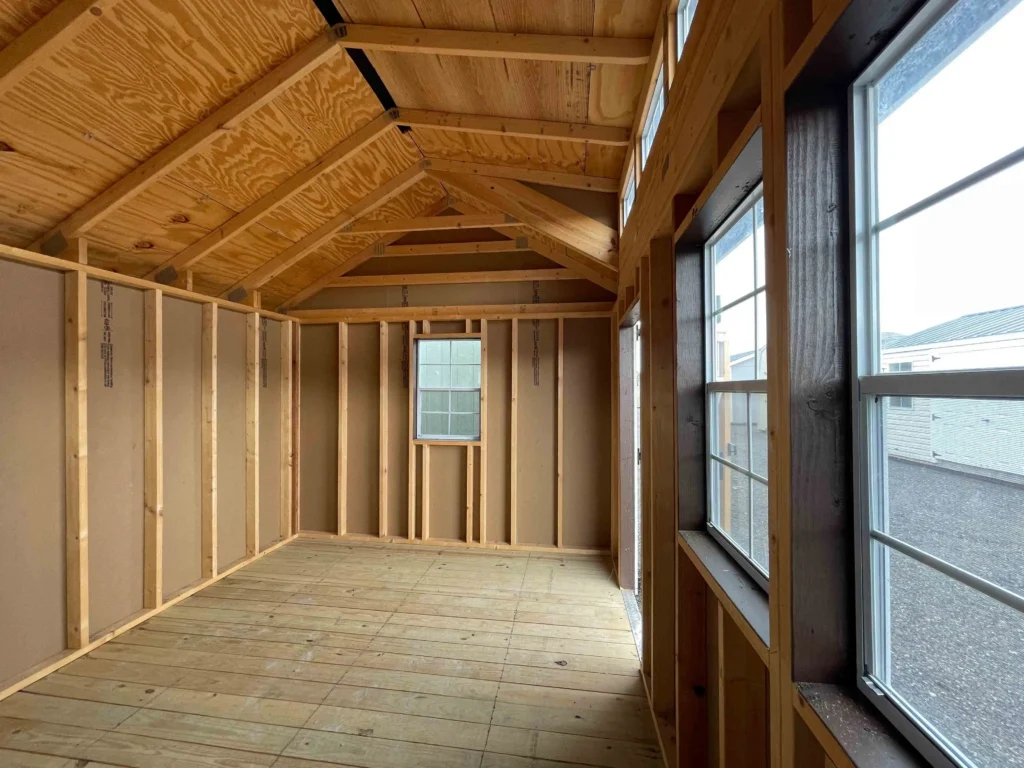
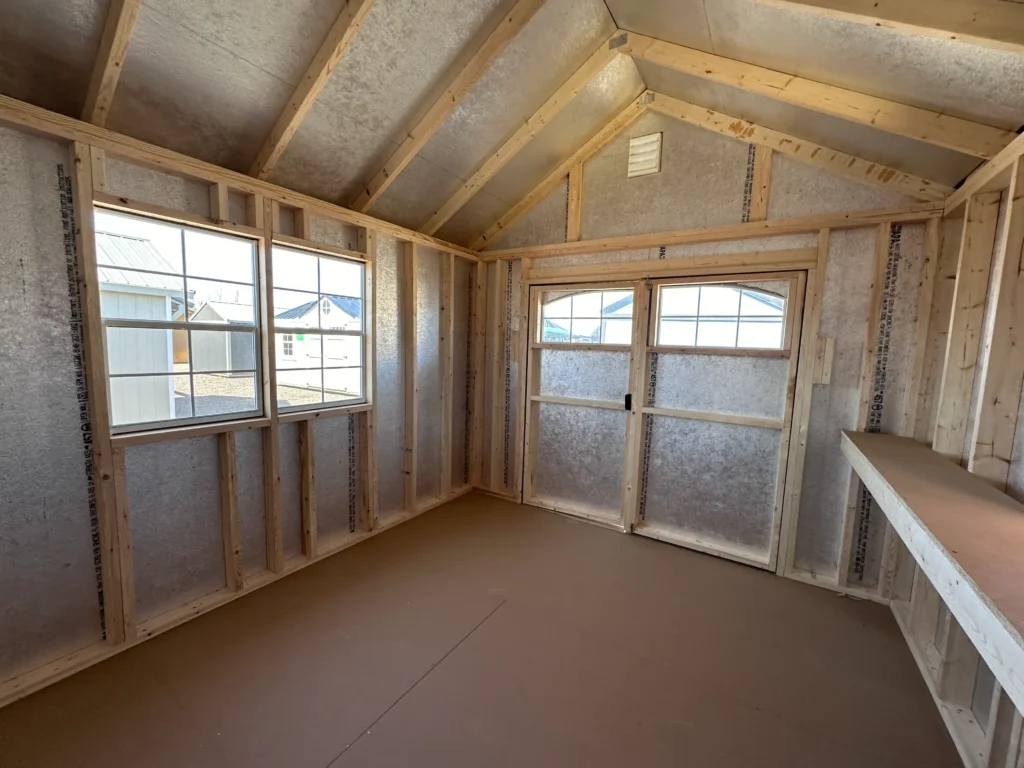
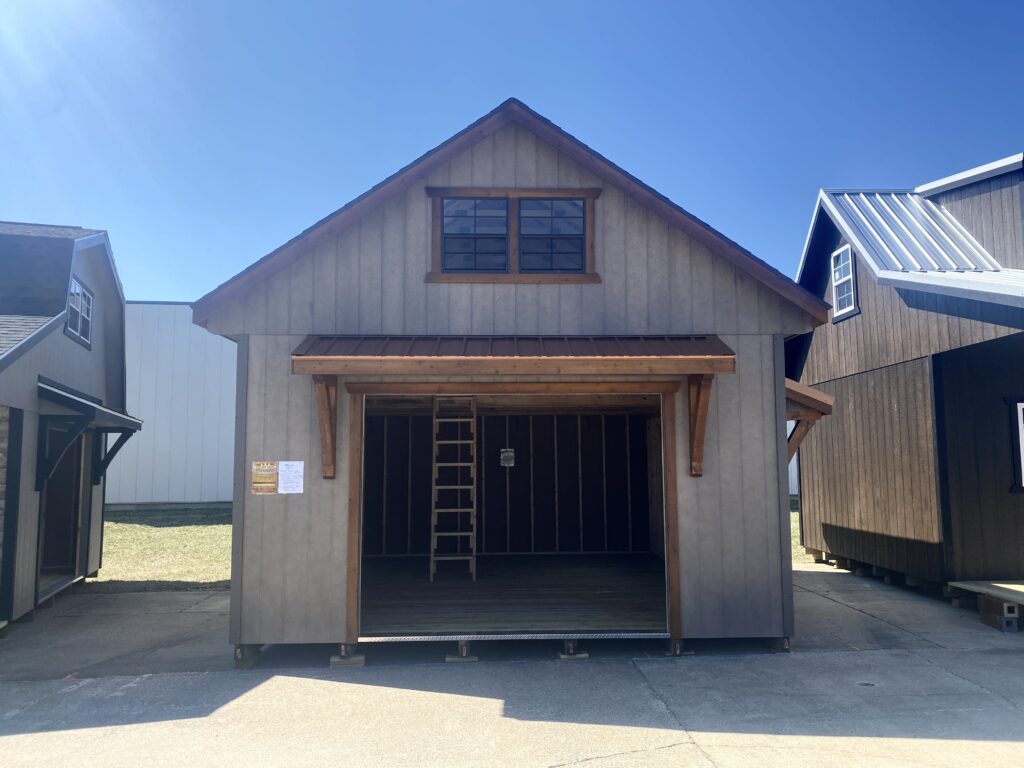
Learning how to make a storage box is a rewarding project that combines form and function. With the right materials, tools, and planning, you can build a versatile container that keeps your space organized while adding visual appeal to your yard, patio, or garage. Whether you’re a beginner or seasoned DIYer, a custom storage box offers a creative and practical way to enhance your home’s storage capacity on your own terms. Having an efficient box to store your things is one thing, but having an effective building to put your boxes in is another. Check out our over 500 in stock storage sheds to see what works best for you.