How to Level Ground for a Storage Shed
Proper preparation is essential when installing a storage shed, and one of the most critical steps is leveling the ground. A level foundation ensures structural stability, extends the shed’s lifespan, and prevents water damage. At Hartville Outdoor Products, we know the importance of a strong base to support your shed, and we’ve created this comprehensive guide to help you understand the process of leveling ground for a storage shed. By following these steps, you can create a durable foundation that enhances the functionality of your shed.
Choosing the Best Location for Your Shed
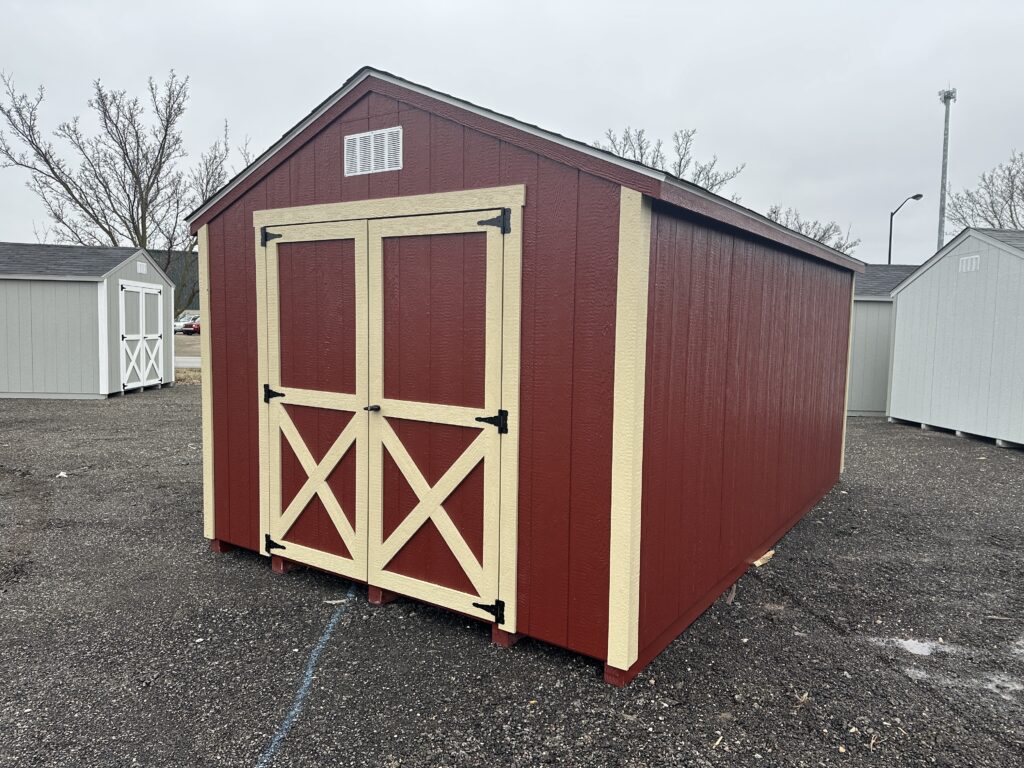
The first step in preparing for your shed installation is selecting the most suitable location. The ideal site should be accessible, well-drained, and relatively flat. Take time to evaluate your property to find a location that allows for easy access while ensuring the area doesn’t collect standing water during rain. Drainage is particularly important as water pooling around your shed can cause moisture issues and structural damage over time. Once you’ve chosen the site, clear the area of any obstacles, including rocks, roots, and vegetation, to create a blank canvas for leveling.
Marking and Measuring the Area
Accurate measurement is key to leveling the ground for your shed. Use stakes and string to outline the exact dimensions of your shed’s footprint. This will serve as your guide during the leveling process. Marking the area also helps you stay within the boundaries of your shed’s base, ensuring precision and reducing unnecessary effort. As you mark the area, account for extra space around the shed to allow for future maintenance and drainage.
Once the area is marked, use a level or a long board with a carpenter’s level to assess the ground within the perimeter. Identify high and low spots that will need adjustment. Taking the time to inspect the area thoroughly will make the leveling process more efficient and accurate.
Removing High Spots
The next step is to address the high points within the marked area. Using a shovel, hoe, or mattock, gradually dig out excess soil. Focus on working systematically to maintain a consistent level throughout the space. It’s better to remove soil in small increments rather than digging too deep, as over-digging can create new low points. As you remove soil, redistribute it to nearby low spots to save time and effort later.
While removing high spots, periodically check your progress with a leveling tool. Place the tool across the area and adjust the soil until it rests evenly. The goal is to create a smooth and uniform surface that supports the shed evenly.
Filling Low Areas
Once the high points are leveled, it’s time to fill in any low areas. Use the soil you removed earlier to raise these spots, spreading it evenly across the area. As you fill in low areas, pack the soil firmly to prevent settling over time. A tamping tool or a rented plate compactor can be used to compact the soil effectively. Compacting ensures a solid base and reduces the risk of future unevenness caused by soil shifting.
During this step, maintain a slight slope away from the center of the shed’s footprint. This slope is essential for directing rainwater away from the structure, preventing water from pooling near the foundation.’
Compacting the Ground
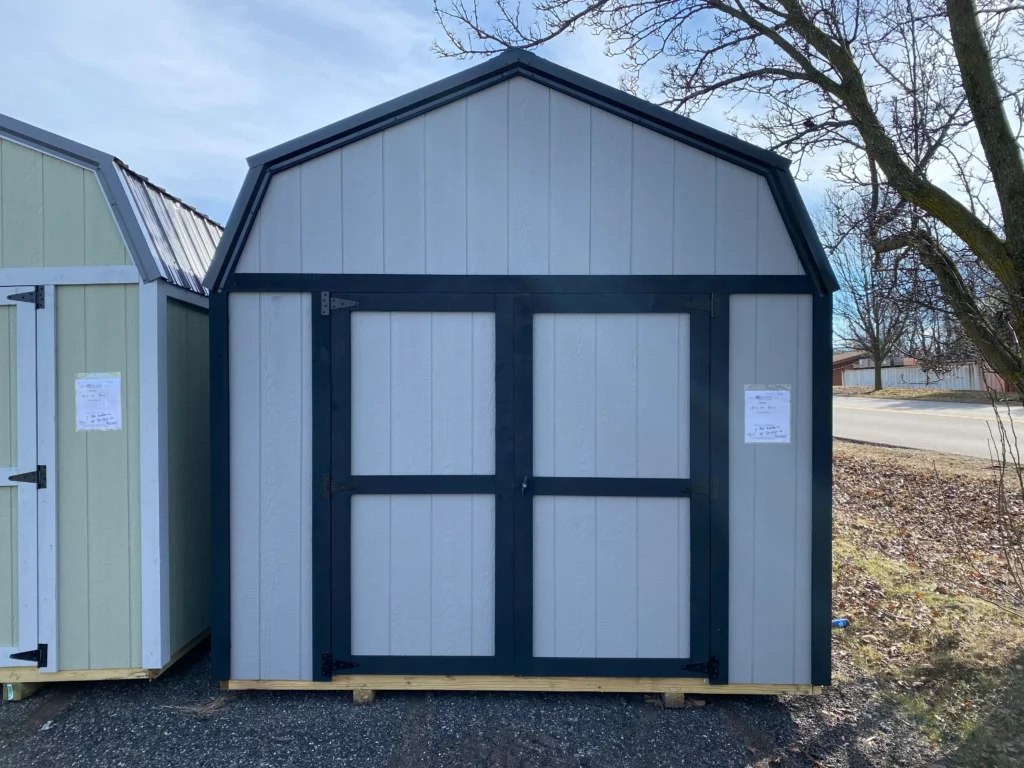
Compaction is a critical part of the leveling process. Loose soil can shift and settle, causing your shed to become unstable. After leveling the ground, use a tamper or plate compactor to press the soil down firmly. Start at one corner and work methodically across the entire area, ensuring every part of the surface is compacted evenly.
If you’re working with sandy or loose soil, you may need to add a layer of gravel to stabilize the base further. Spread the gravel evenly over the compacted soil and compact it again. Gravel provides excellent drainage and additional support for the shed’s foundation.
Choosing the Right Foundation
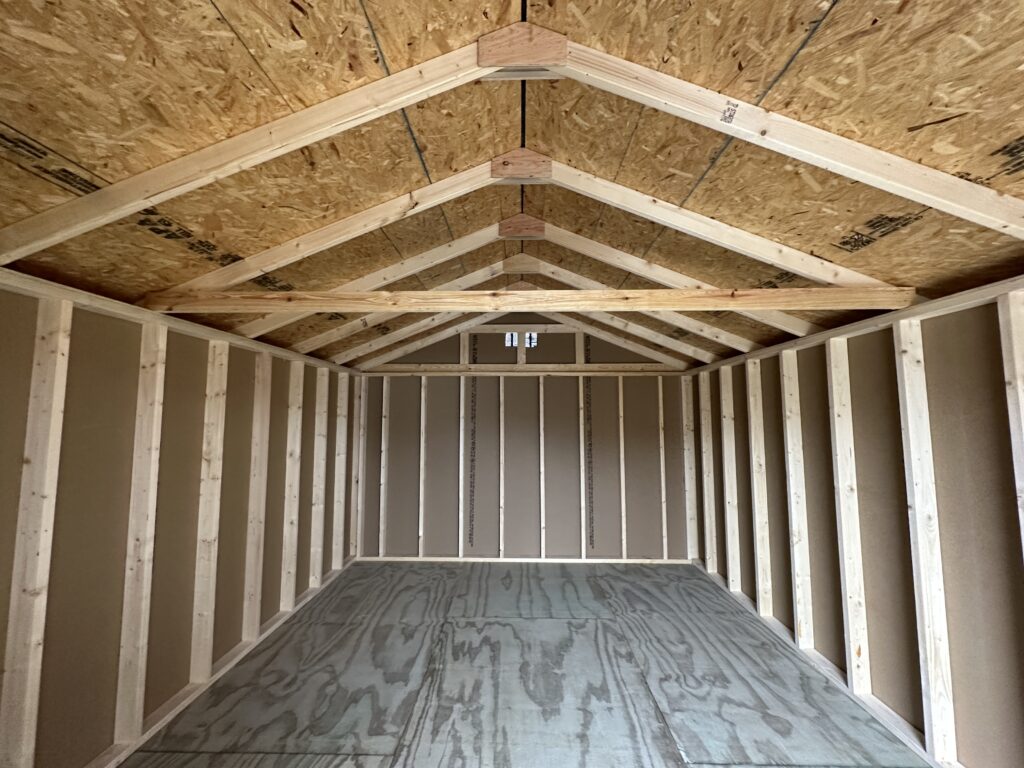
Once the ground is leveled and compacted, it’s time to select the type of foundation for your shed. There are several options to consider, including gravel, concrete slabs, or wooden platforms. Each type of foundation has its benefits, and the choice will depend on your budget, shed size, and specific needs.
A gravel base is a popular choice for sheds due to its affordability and ease of installation. It allows for excellent drainage, preventing water from pooling beneath the shed. For larger or heavier sheds, a concrete slab provides a durable and permanent foundation. If you prefer a wooden platform, ensure the wood is pressure-treated to resist moisture and decay.
Installing the Foundation
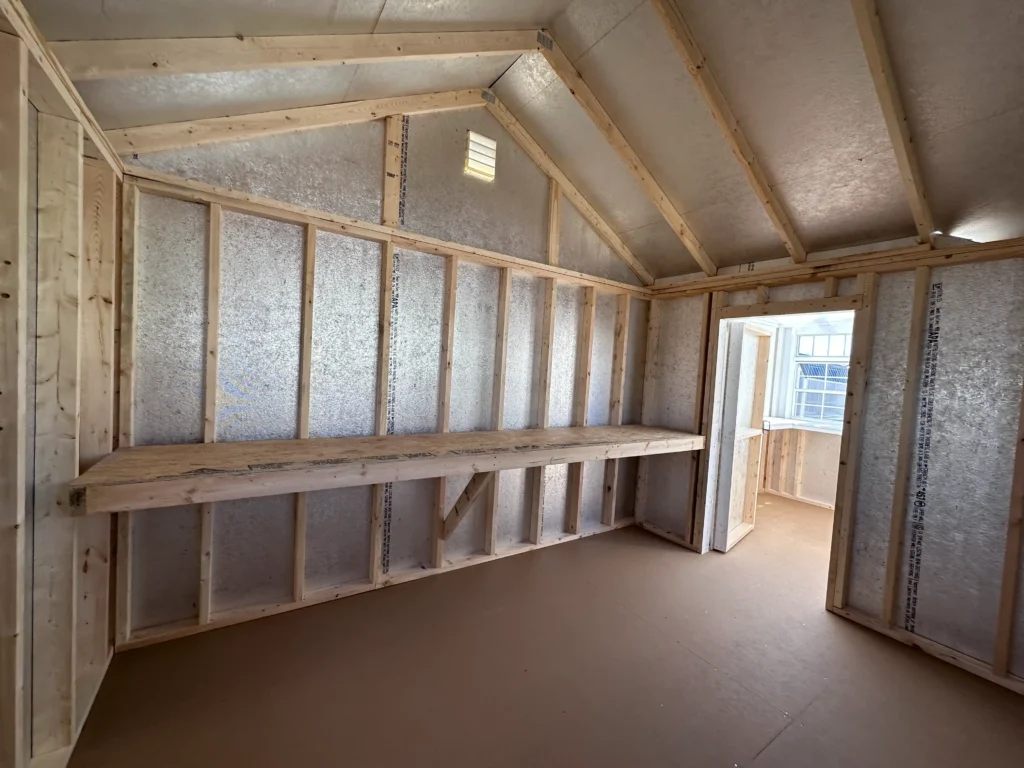
After selecting the foundation type, carefully install it within the leveled area. For a gravel foundation, spread a layer of crushed stone evenly and compact it thoroughly. Use a rake to create a smooth surface, and check the level periodically to ensure accuracy. If you’re pouring a concrete slab, follow the manufacturer’s instructions for mixing and curing the concrete, ensuring it sets evenly within the prepared space.
Regardless of the foundation type, align it precisely with the shed’s footprint to avoid overhangs or gaps. A properly installed foundation will provide a stable and secure base for your shed.
Final Inspection
Before placing your shed on the foundation, conduct a final inspection of the leveled ground and foundation. Walk around the area and check for any irregularities or remaining high or low spots. Use a level to confirm that the surface is even and slopes slightly away from the shed’s center for drainage. Make any necessary adjustments before proceeding with the shed installation.
Long-Term Maintenance
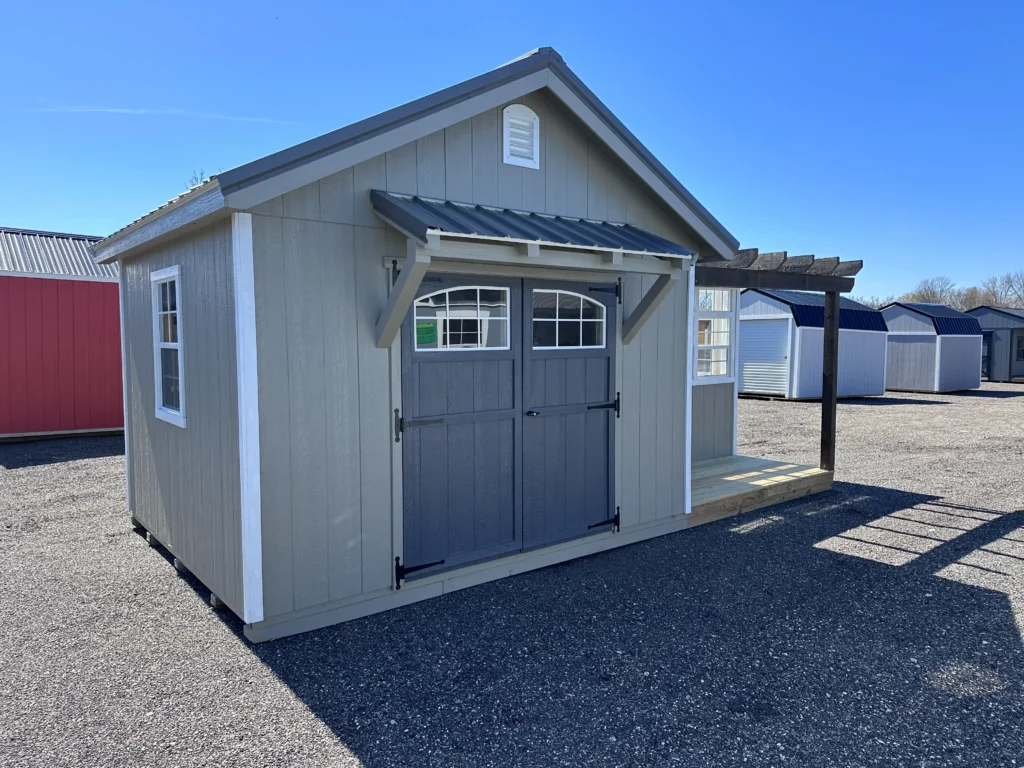
A well-leveled shed foundation requires minimal maintenance, but periodic checks can help ensure its longevity. Inspect the area around the shed for signs of erosion or settling, and address any issues promptly. If you notice water pooling near the foundation, consider adding more gravel or adjusting the slope to improve drainage. Regular maintenance will protect your shed and keep it functional for years to come.
Properly leveling the ground for your storage shed is a critical step that lays the foundation for its stability, durability, and functionality. By following these steps, you’ll create a solid base that enhances the performance of your shed while protecting it from damage. At Hartville Outdoor Products, we’re here to help you make the most of your outdoor space with high-quality sheds designed for durability and style.
