How To Install Insulation In Garage
Estimated reading time: 6 minutes
Installing insulation in a garage is a great way to improve energy efficiency, regulate temperature, and create a more comfortable working or storage space. Whether you use your garage for a home gym, a workshop, or extra storage space, properly insulating it can help maintain a stable temperature year-round. In this guide, we will walk you through how to install insulation in your garage, covering everything from the garage walls and ceiling to the garage door.
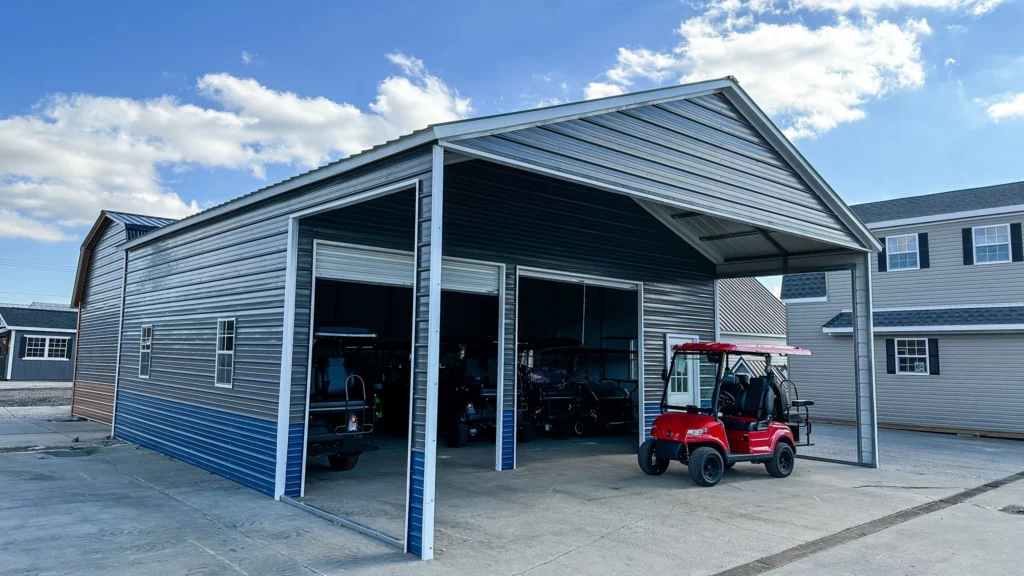
Step 1: Measure the Garage
The first step in any insulation project is measuring the entire garage, including the walls, ceiling, and any areas around the garage doors. Measuring the space accurately will help determine how much insulation material you need. Measure between the wall studs and the height and width of the garage walls. If you’re insulating the garage ceiling, be sure to measure those areas as well. These measurements are crucial to ensuring you purchase the correct size insulation for your garage.
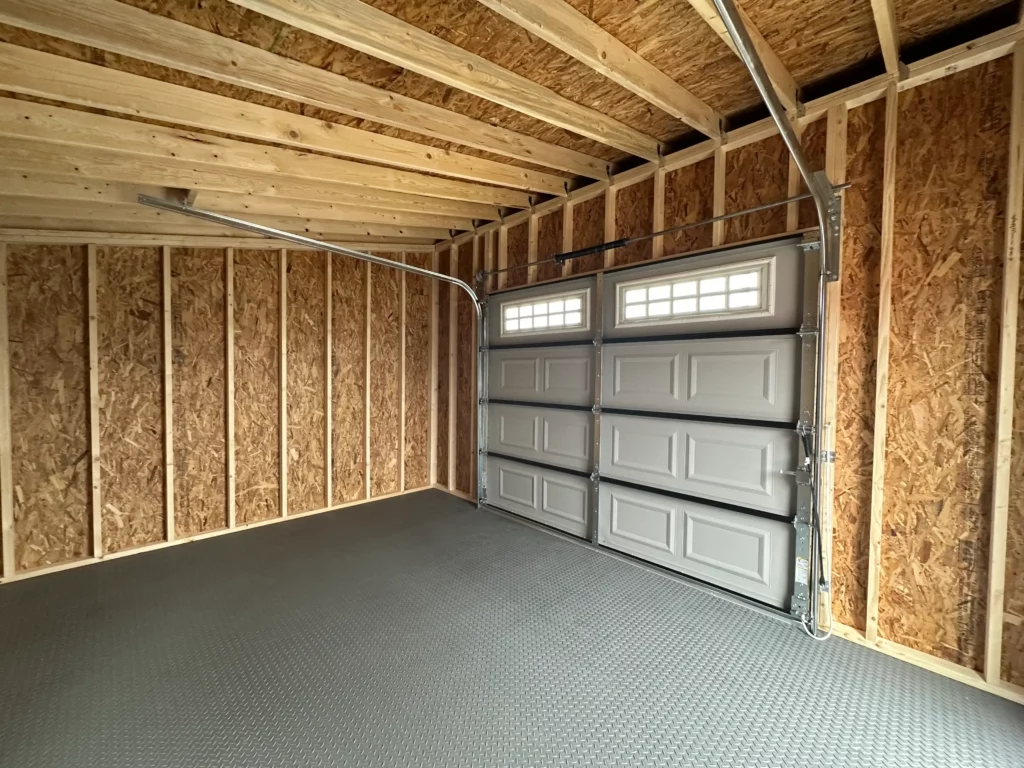
Step 2: Choosing the Right Insulation
Choosing the best insulation for your garage depends on several factors, including your budget, climate, and the type of garage you have. There are several types of insulation material available, each with its own benefits. Fiberglass insulation is one of the most commonly used types of garage insulation. It comes in batts or rolls and is easy to install between the wall studs. Fiberglass batts are also relatively affordable and offer good R-values for maintaining a comfortable temperature.
Spray foam insulation is another option, known for its ability to seal gaps and cracks in the walls and ceiling. This expanding foam offers high insulating value and helps prevent moisture buildup. Foam board insulation is a rigid material that is effective for insulating garage doors, walls, and ceilings. It provides strong thermal resistance and is often used in combination with other insulation materials.
For those insulating exterior walls or garage attics, blown-in cellulose insulation can be an effective option. This type of insulation is often used in larger spaces and is blown into stud cavities or attic spaces using special equipment. Reflective insulation can also be used on the garage door or ceiling to reflect heat, which can help keep the garage cooler in hot climates.
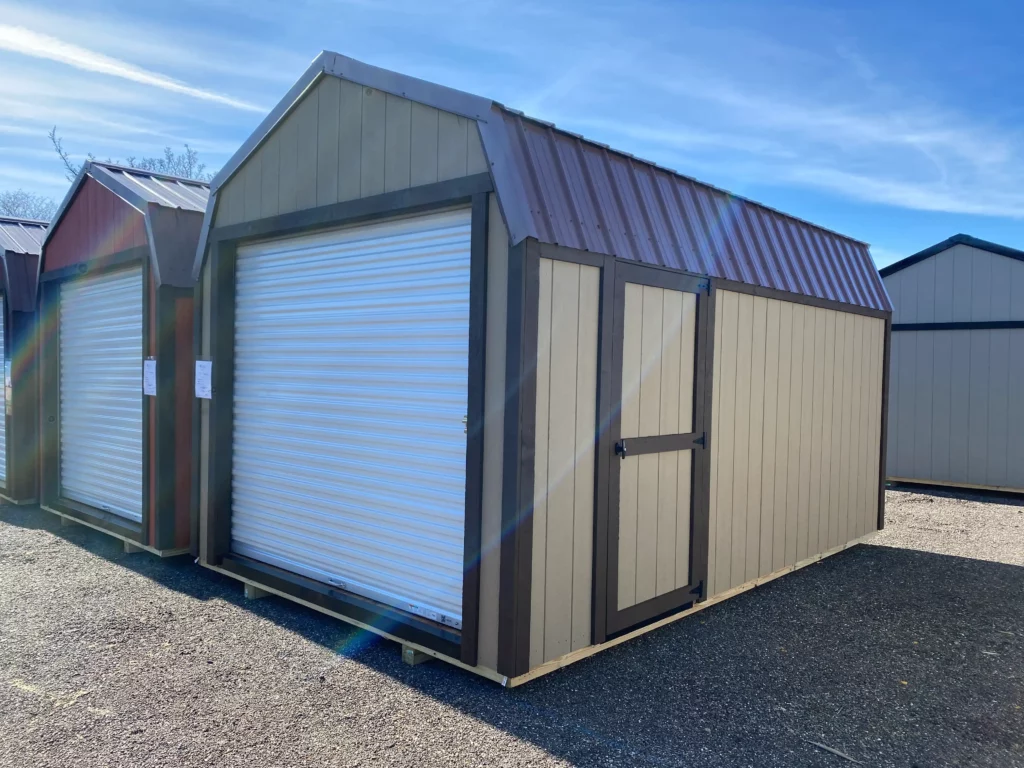
Step 3: Prepare the Garage for Insulation
Before installing insulation, it’s important to prepare the garage properly. Start by cleaning the walls and ceiling to remove any dirt or dust. Check for any gaps, cracks, or areas where air might leak, especially around the garage door. Sealing these gaps with expanding foam or caulk can help improve the energy efficiency of the insulation once installed. Make sure to inspect the garage for any signs of mold growth or moisture buildup, as these issues should be addressed before moving forward with insulation.
If you’re insulating the garage ceiling or walls, you’ll need to ensure the studs are accessible. If the garage walls are covered in drywall, you may need to remove it to gain access to the wall studs for insulation installation.
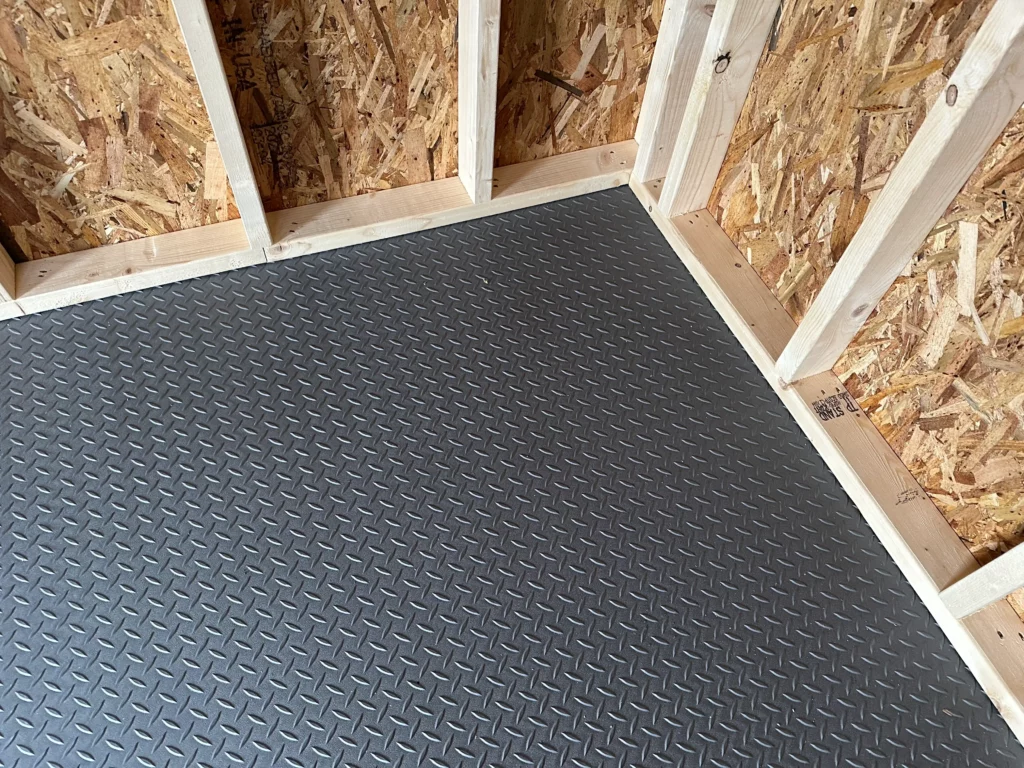
Step 4: Install the Insulation
Once the garage is prepped, it’s time to install the insulation. If you’re using fiberglass batts, start by cutting the insulation to fit the length of the wall studs. Use a utility knife to cut the batts to the correct size. Insert the insulation into the stud cavities, making sure it fits snugly without being compressed, as this can reduce its effectiveness. For garage doors, foam board insulation can be cut to size and applied directly to the door panels using adhesive retainer pins.
If you are using spray foam insulation, apply it carefully to the walls and garage ceiling, filling in any gaps or cracks. Spray foam expands as it cures, so be sure to follow the manufacturer’s instructions and wear protective gear such as safety glasses, gloves, and a mask. If you’re installing blown-in insulation in the garage attic, use the appropriate equipment to blow the loose-fill insulation evenly across the attic floor.
For a heated garage or one used as a living space, you may want to add a vapor barrier after installing insulation. Vapor barriers prevent moisture buildup inside the walls, which can lead to mold growth. Installing vapor barriers can be especially useful in garages located in humid climates or where condensation is a concern.
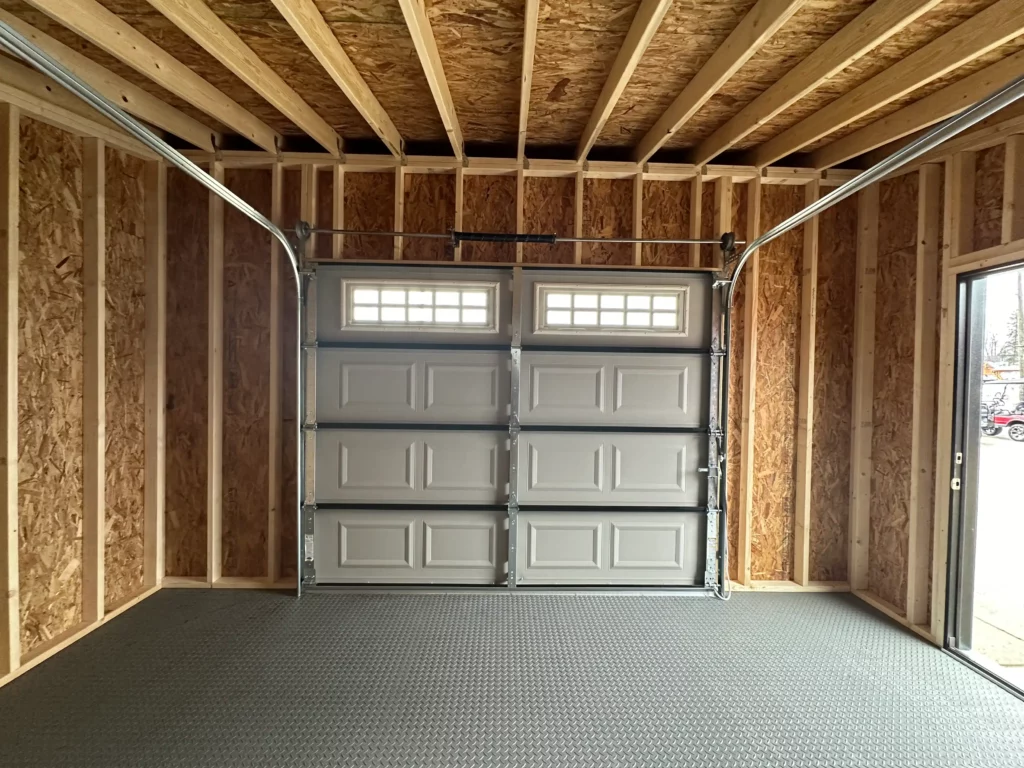
Step 5: Install Drywall and Finish the Garage
Once the insulation is in place, the next step is to finish the garage walls and ceiling with drywall. Use drywall screws to secure the drywall over the insulated areas. Be sure to tape and mud the seams to create a smooth finish. Installing drywall not only protects the insulation but also helps improve the overall appearance of the garage, making it more functional as a workshop, gym, or storage space.
After installing the drywall, consider adding reflective insulation to the garage door or other areas where heat might enter. Reflective insulation can help keep the garage cooler in the summer and reduce overall energy costs. For garages used as a workspace, consider sealing the garage door with weatherstripping to further prevent drafts and maintain a comfortable temperature.

Conclusion
Learning how to insulate a garage is an important DIY project that can drastically improve the temperature regulation and energy efficiency of your garage. Whether you choose fiberglass batts, spray foam, rigid foam, or cellulose insulation, selecting the right type of insulation for your garage’s walls, ceiling, and doors is key to achieving the best results. By following this step-by-step guide, you can properly insulate your garage and create a space that stays comfortable year-round while lowering energy costs. Whether you’re transforming your garage into a storage space, home gym, or workshop, insulation will make it a more comfortable and usable part of your home.
Additionally, maintaining your insulation through regular repairs, replacing deteriorating parts as necessary, and checking it every few years will help you maximize its potential even further. By being aware of these tips and nuances associated with garage insulation, you’re sure to enjoy a comfortable living space while saving money in the long run – now that’s an investment worth making!
