
How to Install Electricity for a Shed
Installing electricity in a shed dramatically enhances its usability, turning it from a simple storage area into a versatile, functional space suitable for a workshop, home office, or recreational room. Adding power to your shed involves detailed preparation, careful adherence to safety standards, and precise execution. This extensive guide walks you through how to install electricity for a shed, ensuring a safe and efficient installation process.
Step-by-Step Planning of How to Install Electricity for a Shed
Begin your project by clearly outlining your electrical requirements. Consider the purpose of your shed—will you use it primarily as a workspace needing powerful equipment, or as a simple storage space with basic lighting and minimal power outlets? List every device you intend to power, including tools, appliances, heating, cooling systems, and lighting.
Create a detailed electrical layout for installing electricity in your shed. Identify optimal locations for outlets, switches, lights, and specialized equipment connections. Clearly marking these positions on a layout diagram provides a visual guide and helps prevent errors during installation.
Understanding Local Building Codes and Permits
Compliance with local building regulations is critical when installing electricity in your shed. Research your local electrical codes or consult local building authorities to learn about specific requirements. Obtaining a permit for electrical work is typically mandatory. Having your installation inspected ensures compliance with safety standards, protecting your property and insurance coverage.
To learn more about electrical codes and regulations, you can visit National Fire Protection Association.
Selecting the Correct Power Source for Shed Electricity
Decide how you’ll supply electricity to your shed. The two primary methods for installing electricity in a shed are connecting to your home’s existing power source or installing a separate solar energy system.
Connecting to your home’s main electrical panel is generally more reliable and cost-effective. It involves running cables underground through conduit from your main panel to a subpanel installed inside your shed. Alternatively, solar power offers independence from your home’s grid but typically involves a higher upfront investment and considerations for battery storage and solar panel placement.
Calculating Electrical Load for Shed Installation
Determining your electrical load accurately ensures your installation handles your demands safely. Calculate the total wattage required by all devices simultaneously used within the shed. Convert this wattage into amperage to select appropriate wire sizes and circuit breakers. Provide extra capacity for future expansions or unexpected demands.
Essential Materials and Tools Needed for Installing Electricity in a Shed
Gathering materials and tools streamlines your installation. Essential items include suitable outdoor-rated electrical wire or cable, conduit for underground cables, circuit breakers, outlets, switches, lighting fixtures, electrical subpanel, junction boxes, grounding rod, and connectors.
You’ll also require tools such as wire cutters, cable strippers, screwdrivers, drills, conduit benders, voltage testers, trenching tools, protective gloves, and eye protection.
Routing Electrical Cable and Installing Conduit
Running cable from your home to your shed typically involves trenching. Trench depth must adhere to local building codes, commonly ranging from 18 to 24 inches. Conduit protects wires from moisture and damage.
Ensure the conduit is sealed securely at both ends, preventing moisture penetration. Leave sufficient cable length at each end for easy connections and future maintenance.
Installing the Subpanel for Shed Electricity
An electrical subpanel efficiently distributes electricity throughout the shed, housing circuit breakers protecting against overloads. Mount the subpanel securely on an accessible, dry wall space, observing local code requirements.
Connect the incoming cable carefully to the subpanel’s terminals, ensuring tight connections. Label circuit breakers clearly to facilitate identification during maintenance.
Wiring Outlets, Switches, and Lighting for Your Shed
Follow your layout closely when installing outlets, switches, and lights. Position outlets strategically to accommodate your workspace. Outdoor buildings typically require ground-fault circuit interrupter (GFCI) outlets for safety.
Switches should be placed conveniently for easy access upon entering your shed. Run wires through conduit or wall cavities neatly and securely, ensuring adequate support as required by code.
Grounding Your Shed’s Electrical System
Proper grounding protects your electrical system and prevents electric shocks. Install a grounding rod near your shed according to local building codes, typically driven eight feet into the ground.
Securely connect grounding wires from the grounding rod to the grounding bar in your subpanel. Ensure all metal conduit, boxes, and components are properly grounded.
Conducting Final Checks and Inspection of Shed Electricity
Perform thorough checks once your installation is complete. Use a voltage tester to confirm functionality of each outlet, switch, and fixture. Verify secure connections, proper grounding, and circuit breaker functionality.
Arrange an inspection from your local electrical authority if required. Passing inspection confirms your installation meets safety standards, providing legal and insurance protections.
Enhancing Shed Electrical Safety
Ensure longevity and safety through proper maintenance. Regularly inspect your installation for loose connections, damaged wiring, corrosion, or unusual signs. Promptly address any issues.
Label electrical components clearly to assist future maintenance. Store electrical diagrams and inspection documents safely for future reference.
Integrating Advanced Electrical Features
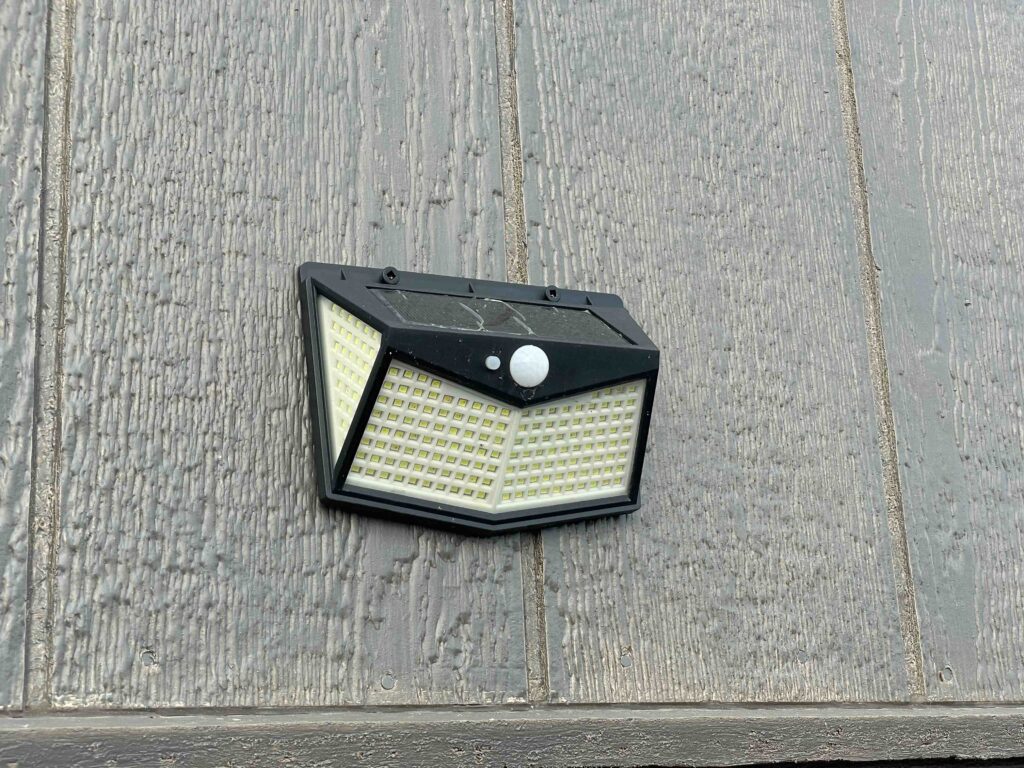
Integrate advanced features to enhance shed functionality. Motion-sensor lighting, programmable thermostats, and smart home integration improve convenience and energy efficiency. Solar-powered lighting or partial solar solutions might supplement your main power supply economically and sustainably.
Addressing Common Electrical Problems in Sheds
Common issues such as overloaded circuits, moisture infiltration, and corrosion require proactive strategies. Regular inspection, proper sealing, ventilation improvements, and weather-resistant components mitigate these issues.
Environmental and Efficiency Considerations
Choosing energy efficient lighting and appliances reduces operational costs and environmental impact. LED lights, Energy Star-rated tools, and appliances significantly lower electricity consumption.

Conclusion
Installing electricity in your shed expands its versatility, creating an efficient, safe, and functional workspace or living area. Comprehensive planning, careful execution, adherence to safety standards, and ongoing maintenance ensure long-lasting results.
For professional assistance or premium outdoor buildings, explore Hartville Outdoor Products. Check their offerings in outdoor sheds and buildings to discover robust solutions for your needs.