
How to Cut Storage Bins
Modifying storage bins is often a practical and cost-effective solution for homeowners, gardeners, and DIY enthusiasts looking to tailor their storage to fit specific needs. While store-bought bins offer durability and convenience, they don’t always match the dimensions or functions required for certain applications. Whether you’re building custom drawer systems, tool storage, or portable utility boxes, learning how to cut storage bins can help make the most of your available space.
Cutting plastic bins sounds simple, but it requires thoughtful planning, appropriate tools, and safety precautions to ensure a clean result and prevent unnecessary waste. In this guide, we’ll explore the reasons you might want to modify a storage bin, review the best approaches for achieving accurate cuts, and discuss how to repurpose the modified bins for long-term use.

Why Cut a Storage Bin?
There are plenty of reasons to customize your storage containers. Some people cut down bins to fit under shelves or inside modular storage units. Others want open-top access or modified sides for easy reach. For gardeners, bins are sometimes cut into troughs or planters. For mechanics or hobbyists, partially open bins allow quicker access to tools and parts.
Customization can also save money. Instead of buying a custom container or built-in shelving system, modifying an inexpensive bin with a utility knife or saw can deliver nearly the same functionality at a fraction of the cost. Additionally, customizing bins means you can make your storage more visually accessible, stackable, or compatible with existing shelving.
Choosing the Right Bin to Modify
Not all plastic bins are created equal. Before cutting into one, examine the plastic type and thickness. Thicker bins, often used for outdoor storage, may require heavier-duty tools, while thinner indoor bins may cut easily but lack structural integrity after modification. Look for a bin that will maintain its shape even after part of the material is removed.
Transparent bins are often ideal for modification because they let you see the contents without opening them, even after trimming. Solid-color bins can still be useful, but they might need additional labeling or clear windows added post-modification.
Safety Comes First
Before beginning any cutting project, make sure to wear protective gloves and safety goggles. Even seemingly soft plastic can splinter or send small shards flying when cut, especially with rotary tools or power saws. Always secure the bin with clamps or on a non-slip surface to prevent movement while cutting.
Use tools like utility knives for thin plastic, jigsaws for curved edges, and Dremel rotary tools for detailed work. Always follow manufacturer instructions for tool use and cut slowly to avoid cracking the plastic or overheating it, which can lead to warping.
Planning Your Cut
Sketch out the cut area with a marker and straightedge. For curved or rounded edges, use a flexible ruler or compass to guide your line. Double-check measurements before cutting, especially if you’re fitting the bin into a tight space like under a bed or inside a closet organizer.
Also consider structural stability. Avoid cutting into the corners or near the base of the bin unless you’re reinforcing it afterward. Removing too much material can compromise the bin’s ability to hold weight or resist stacking pressure.
Best Tools for Cutting Storage Bins
According to Family Handyman, choosing the correct tool for the job can make all the difference in getting clean, safe results. Their guide outlines key tips for selecting blades and avoiding plastic cracking.
Depending on the thickness and flexibility of the plastic, different tools will yield better results. For most thin plastic bins, a sharp utility knife does the job well with steady scoring. Score multiple times along the marked line before applying pressure to snap the section off.
For thicker bins, jigsaws with fine-tooth blades provide smooth edges. Dremel tools are excellent for detailed work and small adjustments. Heat-cutting tools can also be used for thick plastics but should be handled with caution as they can produce fumes and uneven cuts if misused.
Post-Cut Finishing
If you’re looking for guidance on plastic finishing and edge smoothing, resources like Makezine offer DIY tutorials for working with various materials, including plastic containers and sheet goods.
After making your cut, you may be left with sharp or rough edges. Use sandpaper, a metal file, or a rotary tool with a sanding bit to smooth the edges. This step not only improves appearance but also makes the bin safer to handle and stack.
If you’ve created an open-top bin or a side-access bin, consider reinforcing the edges with adhesive plastic strips or edge guards. These additions keep the bin from cracking over time and also protect your hands from sharp surfaces.
Repurposing Cut Bins
Websites such as HGTV offer creative ideas for transforming storage bins into attractive and functional DIY solutions for the home and garden.
Once cut, your bin can be used in a variety of ways. Open-top bins are great for pantry or linen closet storage. Bins with front openings can fit under workbenches or be used as drawers inside cubbies or custom shelving.
Gardening enthusiasts often cut bins into planters or compost containers. You can even drill drainage holes and line them with landscaping fabric for additional functionality. In garages or sheds, cut bins offer quick-grab storage for tools, cables, or cleaning supplies.
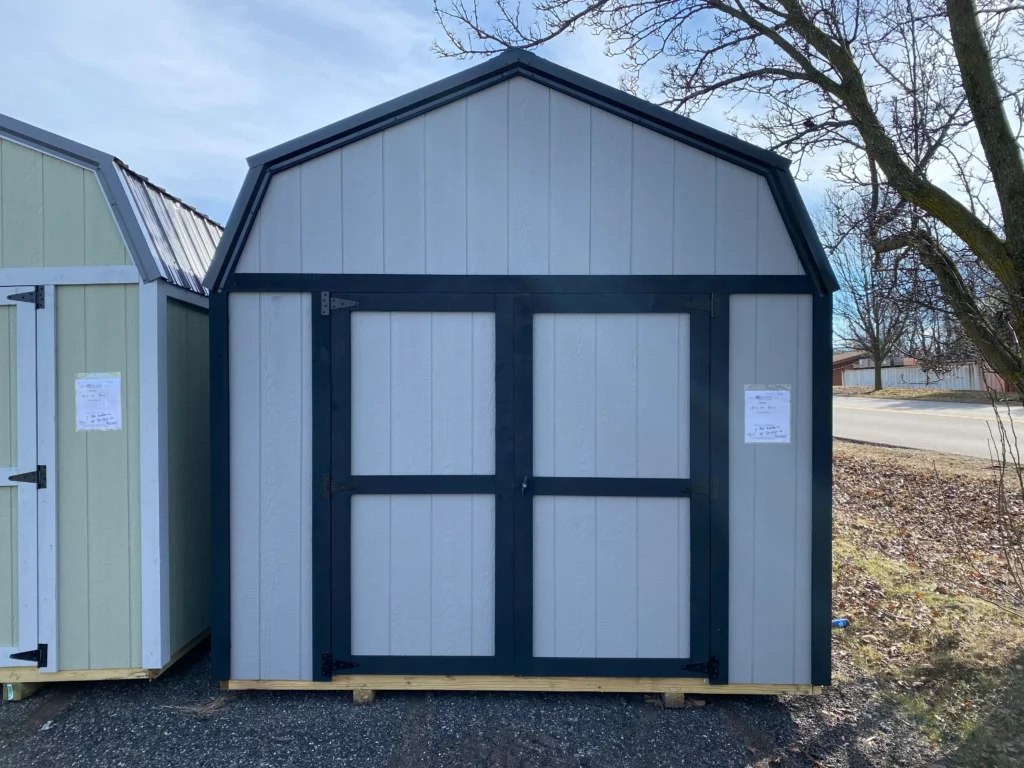
Storing Modified Bins in Outdoor Structures
If you’re storing your modified bins in an outdoor shed or utility building, like those offered by Hartville Outdoor Products, make sure the bins are weather-resistant. Even well-ventilated sheds can experience moisture build-up, so use desiccants or breathable covers to protect contents.
Also make sure bins are elevated off the ground if they’ll sit for long periods. Use shelving systems or pallets to avoid direct contact with the floor, which can accumulate condensation.
Tips for Long-Term Durability
Even after a clean cut, modified bins need routine checks. Every few months, inspect for cracks or warping, especially if they are exposed to changing temperatures or are used outdoors. Reinforce with epoxy or replace if integrity is compromised.
If stacking bins, always place heavier or unmodified bins at the bottom. Modified bins—especially those with open sides—are better on top to avoid bearing weight.
Conclusion
Cutting storage bins isn’t just a DIY trend—it’s a practical solution for customizing your storage setup. Whether you’re adapting bins to fit furniture, improving accessibility, or repurposing them for gardening or garage use, the key lies in proper planning and safe execution.
With a steady hand and the right tools, you can create personalized storage solutions that rival commercial products in both appearance and function. Combine these DIY skills with strong, reliable outdoor structures from Hartville Outdoor Products to build a complete and long-lasting storage system tailored to your space.