How To Build Garage Shelves
Estimated reading time: 7 minutes
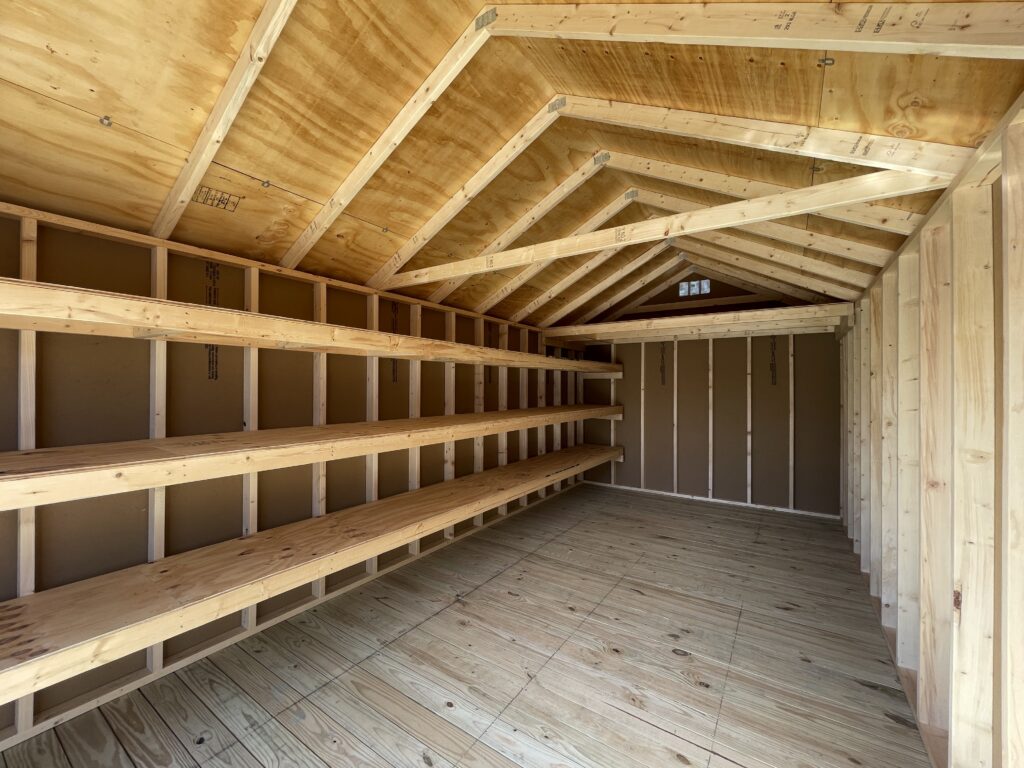
There are going to be so many different ways for you to build garage shelves. You can end up picking them for a single wall in your garage. Or you can just have them on all the walls. Let’s think of all of the different heights you can have these at as well. Plus think of all of the materials you are going to store in these units. So be sure you plan accordingly for your garage size.

Different Materials
When you are looking for materials you may like to be sure they will be durable. This may send you on the path of choosing to go with wood. Then you may be someone who chooses to select metal shelves for your garage instead. Or you can even pick a composite materials which you like better. Do not forget about all of the different styles and lengths these can all come in as well. Plus you can customize things as you see fit.
Then when you have different materials you may come up with different ideas. Or you can match other materials that have been used at your home. Then you may like to have everything sanded and stained. Or it may be a regular plastic look that you have. No matter what there are great options.

Shelf Lengths
When you are picking out shelves you will want to consider the length. If you have small things to store then pick a small length. Then if you have a lot of things to store you will want much larger ones. Plus keep in mind the depth of the unit as well. If you plan on storing toys and plants then you will want wide shelves. So before you get the shelves just be sure you plan ahead.
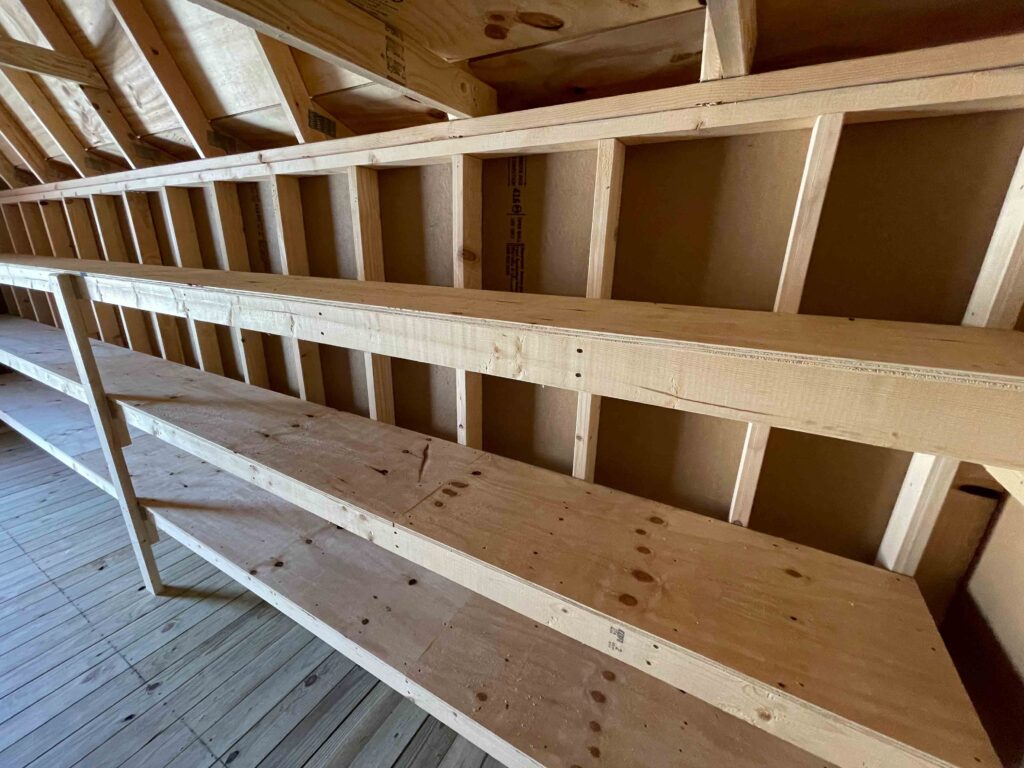
Then longer the shelves the more they will hold. Then you will make sure they have a good support system. Also, be sure you are using good materials on the shelf as well. Also, you can have a multitude of strong-built shelves for heavy items. Always make sure your shelves are supported.

Single Layer Shelves
When it comes to having shelves you may only need a single layer. This can be used to store all of your hand tools. Or the place you charge your batteries for your power tools too. Then you can even have this be the place you store all of your collectibles as well. Or maybe you make this the place for you to do your hobbies. It will be nice for you to store things on shelves and free up space elsewhere.
When you have a single-layer shelf you will want to make sure it is cut to length. The length should be cut to where it will at least hit two studs. This will support your shelf. Then you will want to make sure that your brackets are level. Also, make sure that the shelf is level as well. So as you can tell there are some important things for single-layer shelves.

Multiple Layer Shelves
As you choose different shelf types you will probably want to store more things on them. You can choose to store plants on a shelf by a window. Then you may even like to set some treasured items on the shelves so they are kept up high and safe. Then you can even end up storing some family heirlooms on these shelves as a display. No matter what the layout will be truly breathtaking. So you might as well see how many shelf layers you can have.
When you have a multiple-layer shelf you will want them to be small. Then you will be able to put a good amount of small things on these. Or a larger thing on each shelf. Plus this can help you space out items you would like to have.

Shelf Styles
When it comes to shelves there are going to be many different styles. One of those styles is going to be the classic plank style. Then you may like to think about having slanted shelves too. Or even ones made at a 45-degree angle. Another thing you may enjoy can even be having the shelves rounded. No matter what there are going to be so many creative ideas for you to choose from.
Another shelf style can be a complete block shelf. Or even something like a triangle shelf too. Then you realistically can make any shelf shape you would like. This can help you complete a possible them that you may have to go on. Then you can combine these and mix creativity with your very own style. How to build garage shelves? Make sure you know what kind of style you want.

Hardware Shelves
When you are looking for a nice shelf you may want specific hardware. It can end up being due to the color of the shelf and hardware. Or it may be how you want to paint it. Remember that you may even like to have different-style shelves in different places. Then the hardware could even end up being made with different materials and different colors too. As you can see the combinations are truly endless.
When it comes to hardware there are a lot of great options. Also, there are a lot of nice styles you can choose from as well. You would like to see what kind of brackets and shelves you can combine.

Hanging Shelves
When you have a shelf you will want to make sure you install it properly. One thing to be sure is that it is the length you need it. Also, be sure that the unit is level too. Then you will need to make sure this is screwed into a stud for support. Do not just screw the shelf into the drywall. If you do then it may fall at any given moment.
When you hang the shelves make sure you can have things in arms reach. Also, make sure it is not in a cluttered space. You can also use different types of materials depending on how things are hung. Or what you are hanging your shelves into. Either way, every task is always an adventure.

Wrapping Up
There are a large variety of different ways to build garage shelves. Then there are also a lot of different materials you can select from as well. Keep in consideration all of the different shelf lengths you can choose from. You may have to select if you want to have a single-layer shelf. Then you have to have multiple-layer shelves as well. Keep in mind all of the different ways you can style a shelf too. Once you have all of this figured out you will have your new shelves in no time. We hope this helps you know how to build garage shelves.
