
How To Build Barn Doors
Barn doors have become a trendy feature for homes, businesses, and outdoor spaces. They add a rustic charm, are functional, and provide a unique way to divide spaces or add a stylish accent to any room. If you’re looking to learn how to build barn doors, you’ve come to the right place. This guide from Hartville Outdoor Products will walk you through the necessary steps and materials to create beautiful, durable barn doors. Let’s go into how to build barn doors.

Understanding Barn Doors
Barn doors are sliding doors that are often used in place of traditional hinged doors. They can be mounted to a wall or track system and slide open and closed. This design is popular because it saves space while offering a more visually striking look compared to standard doors. Typically, barn doors are made of wood, though they can be customized with different materials, finishes, and hardware to suit any style.
The great thing about learning how to build barn doors is the customization potential. You can create a door that fits your exact needs, whether you want a traditional barn door look or something more modern with sleek lines and different finishes.
Materials You Will Need
Before diving into how to build barn doors, you will need to gather the necessary materials. Depending on the style and size of the doors you want to make, the materials will vary slightly. Here’s a basic list of what you might need:
- Wood (solid wood boards, plywood, or reclaimed wood)
- Barn door hardware kit (including track, rollers, and mounts)
- Wood screws
- Wood glue
- Measuring tape
- Circular saw or table saw
- Drill
- Sandpaper or sander
- Paint or stain (optional)
- Hinges or brackets (for mounting)
These materials will help you create a solid, sturdy barn door that can withstand regular use. If you want a more intricate design, you may also need additional tools and materials, such as decorative hardware or a router for creating more intricate patterns.
Step 1: Measure the Space and Plan the Door Design
The first step in learning how to build barn doors is measuring the space where the door will hang. Start by determining the width and height of the opening you want to cover. Make sure to measure both the width and height at several points to ensure the measurements are accurate.
Once you have the measurements, it’s time to plan the design of your barn door. Barn doors can range from simple and rustic to elaborate and modern, so take the time to decide what suits your space best. Here are some design considerations:
- Size: Standard barn doors are typically 30–36 inches wide and 80–84 inches tall, but you may want to adjust the size based on your needs.
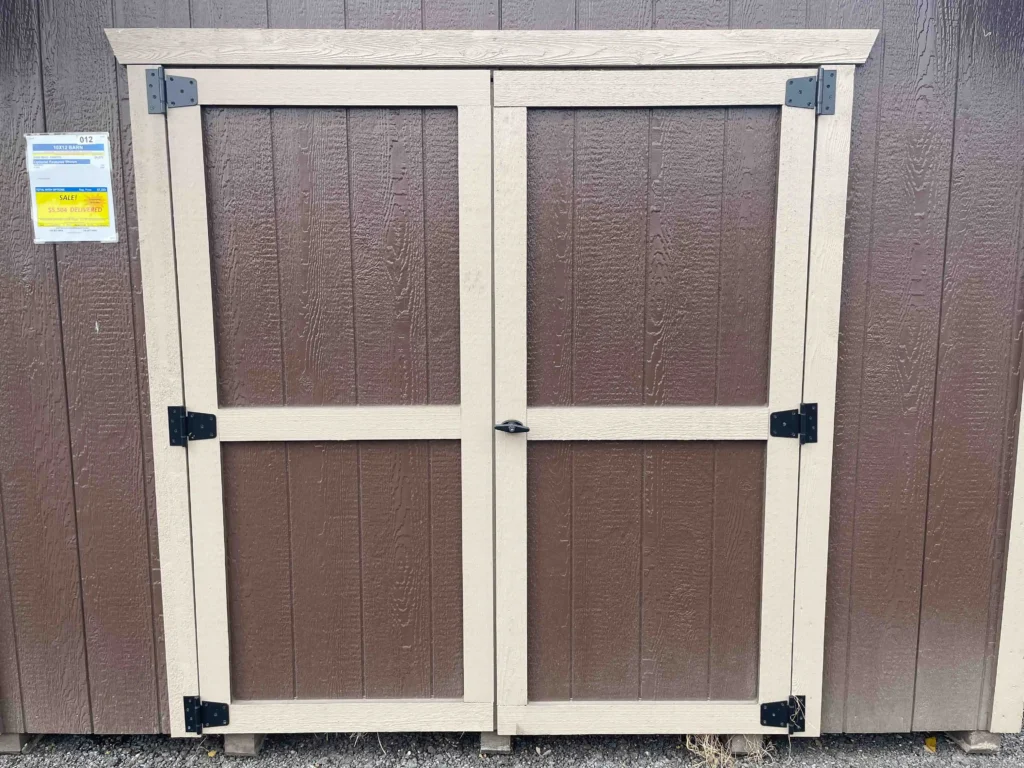
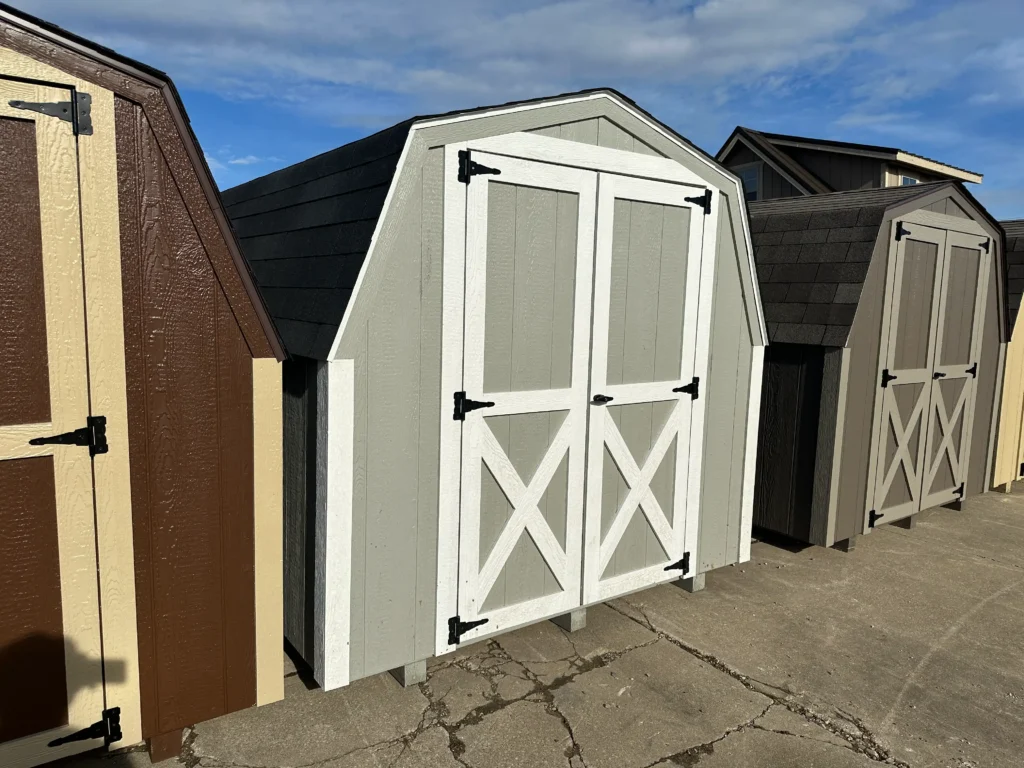
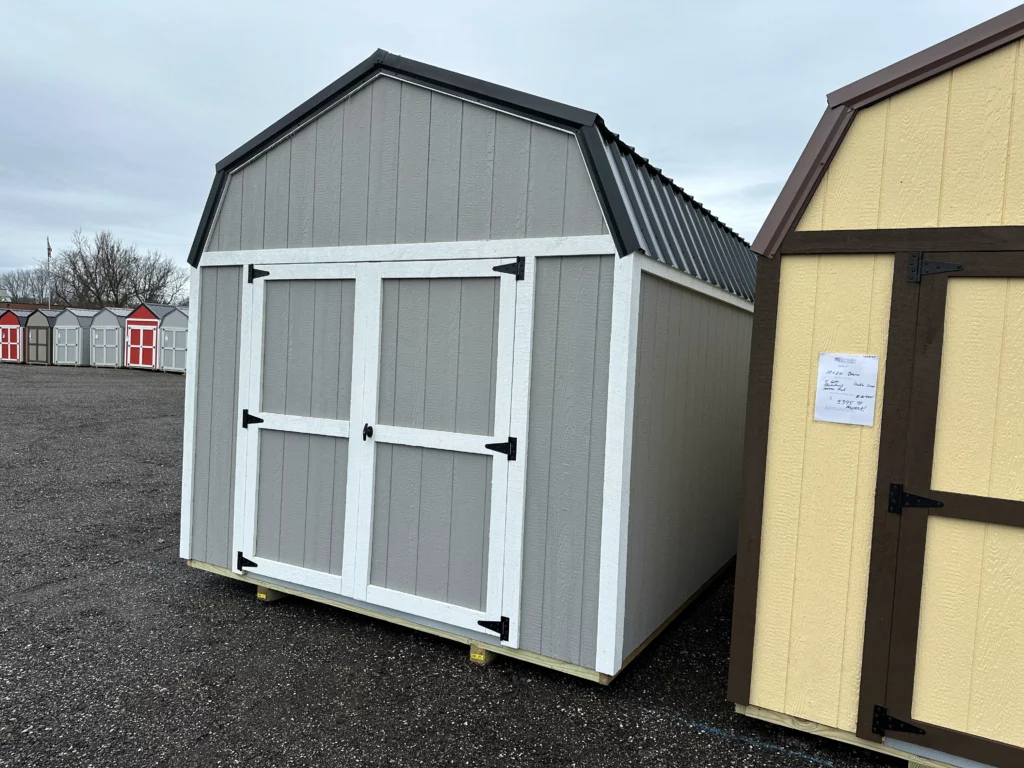
- Style: Do you prefer a classic, farmhouse style or a sleek, contemporary look? The design of your barn door can vary from a flat, single-panel door to one with decorative cross braces or paneling.
- Finish: Will you stain or paint your barn door? The finish you choose will impact the final look of the door and how it complements your space.

Step 2: Cut and Prepare the Wood for Your Barn Door
Once you’ve planned out the design, it’s time to start cutting your wood. If you’re using reclaimed wood, you may already have pieces that fit your measurements. However, if you’re using fresh lumber, you will need to cut the wood to the correct sizes.
Use your saw to cut the wood panels to the height and width that fits your opening. If you’re using multiple boards to create a wider door, you’ll need to join them together. For a more polished look, you can use wood glue and screws to secure the boards into place, creating a solid surface. Once the door is framed, you can begin attaching any additional panels or decorative elements.
Step 3: Sand and Finish the Door
After cutting and assembling your barn door, it’s time to sand the surface smooth. Sanding is an essential step to create a clean, professional look. Use a sander or hand sandpaper to remove any rough edges, splinters, or imperfections from the wood.
Once you’ve sanded the door, you can proceed with painting or staining. A stained finish will allow the natural beauty of the wood to shine through, while paint can add a pop of color or a modern touch. Be sure to apply at least two coats of your chosen finish and allow plenty of drying time between coats.
Step 4: Install the Barn Door Hardware
Now that your barn door is assembled and finished, it’s time to install the hardware. Barn door hardware is essential for the smooth sliding operation of the door. The hardware typically includes a track, rollers, hangers, and other components. Here’s a general guide to installing the hardware:
- Attach the Track: The track is mounted to the wall above the door frame, so make sure to position it at the correct height. Use a level to ensure that the track is straight, and drill pilot holes into the wall. Once the track is in place, attach it securely using screws.
- Attach the Rollers to the Door: Next, attach the rollers to the top of the barn door. These rollers will allow the door to slide smoothly along the track. Be sure to follow the instructions that come with your hardware kit, as different kits may have specific installation requirements.
- Hang the Door on the Track: With the rollers in place, you can now hang the door on the track. Lift the door and place the rollers into the track, making sure that everything is lined up correctly. Once the door is hanging, test it by sliding it open and closed.
- Install the Door Stops: Finally, attach the door stops to either end of the track. These will prevent the door from sliding off the track and help to ensure smooth operation.
Step 5: Add Final Touches and Enjoy
With the door securely mounted and functioning, it’s time to add any finishing touches. If you opted for decorative hardware, such as handles, hinges, or corner brackets, now is the time to install them. These touches can enhance the overall look of your barn door and tie it into the rest of your decor.
Once everything is installed, take a step back and admire your work. You’ve successfully learned how to build barn doors, and now you can enjoy the added beauty and functionality they bring to your space.
Tips for Building Barn Doors
- Take Your Time: Building barn doors is a rewarding DIY project, but it’s important to take your time and pay attention to detail. Ensure that each step is completed correctly to achieve the best results.
- Use Quality Materials: The quality of your wood and hardware will make a big difference in the durability and appearance of your barn door. Choose materials that are built to last and will complement your space.
- Consider Pre-Made Kits: If you’re looking for a quicker project, consider purchasing a barn door kit. These kits often come with all the necessary components, including hardware and pre-cut wood, saving you time and effort.
Conclusion
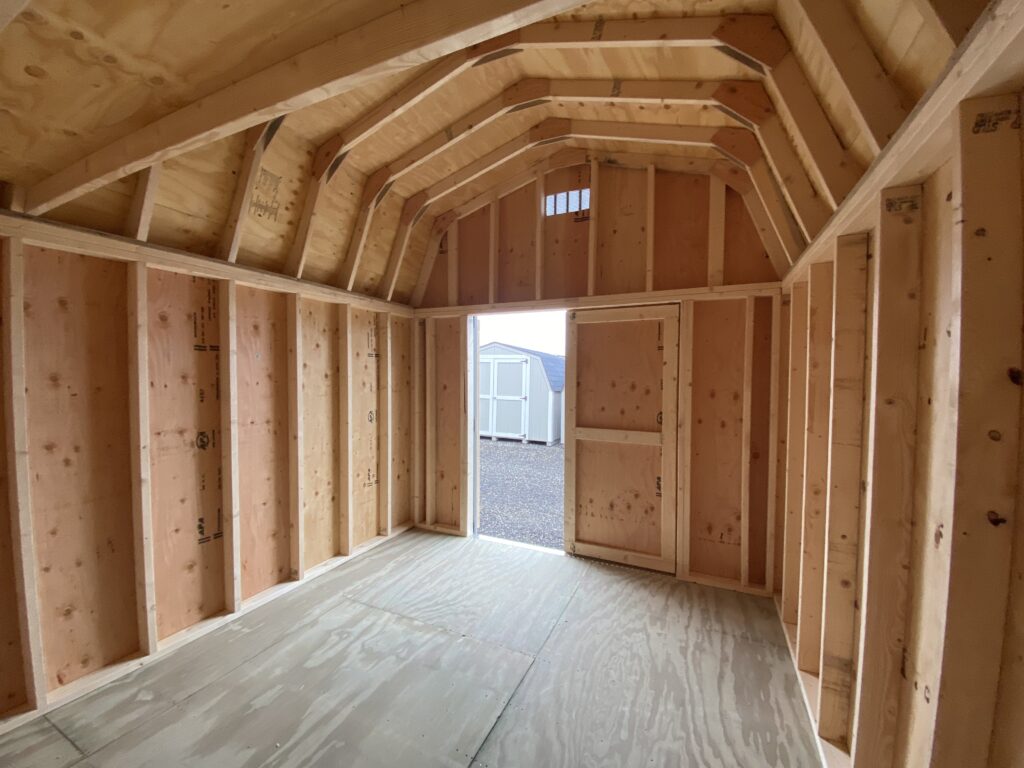
Learning how to build barn doors is a satisfying and rewarding project that can transform your space. With the right tools, materials, and instructions, anyone can create a beautiful, functional barn door. Whether you’re adding a rustic accent to your home or improving the function of your outdoor space, barn doors are a great choice. Follow these steps from Hartville Outdoor Products to build your own custom barn doors and enjoy the timeless style they bring to any setting. If you run into difficulty, our prefab barns and sheds include barn doors.