How to Build an Outdoor Dining Table
Creating your own outdoor dining table is not just a fulfilling DIY project but also a chance to tailor your outdoor furniture to match your exact style and space. A handmade table can bring people together on warm summer nights or cool fall evenings, becoming the heart of your patio. Building one yourself may sound intimidating at first, but with the right guidance, you can craft a beautiful, durable table that reflects your craftsmanship and taste. In this guide, we walk you through the process step by step, offering tips on design, material selection, and weather protection.
Start With a Vision and a Plan
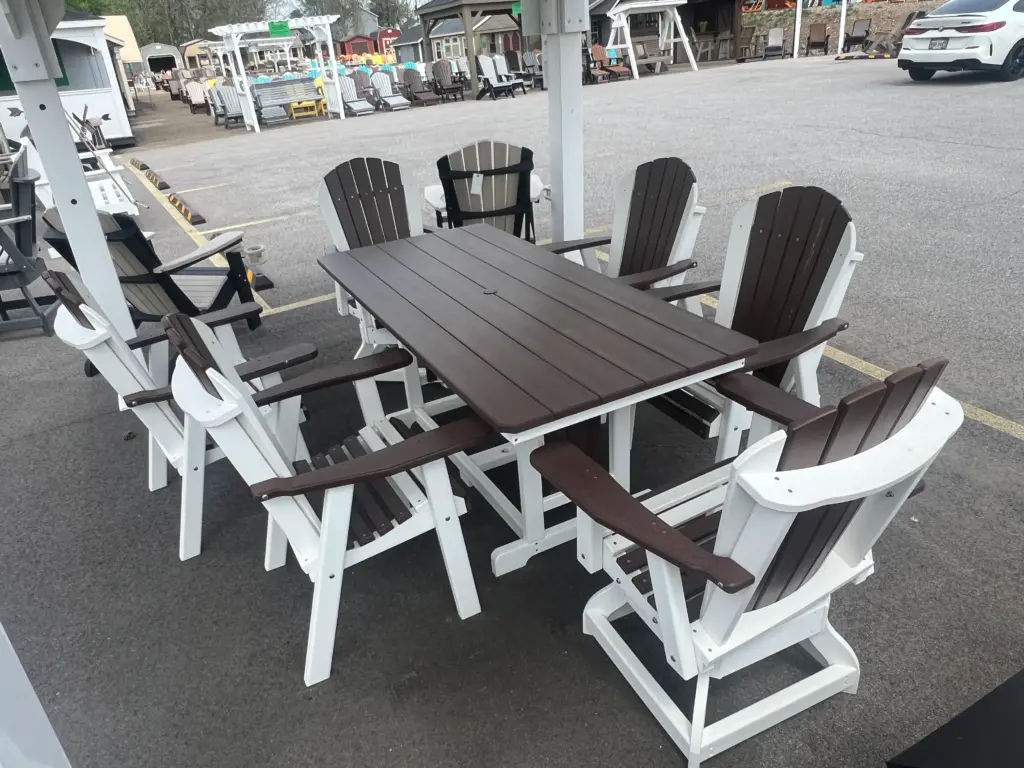
Before purchasing wood or picking up tools, start by defining what kind of table you want. Consider the size of your outdoor space and how many people you’d like to seat. If you often host guests, a large rectangular table may be ideal. For more intimate gatherings or smaller patios, a square or round design could be more appropriate. Sketch out a rough design and decide on dimensions. Standard outdoor dining tables are usually 28 to 30 inches high, with widths ranging from 36 to 40 inches. For a six-person table, a length of about 72 inches offers comfortable spacing. Keep in mind the clearance needed for chairs and walking space around the table.
You can explore inspiration for table designs by visiting sources like This Old House or Fine Woodworking, which offer expert advice and design galleries.
Choose the Right Materials
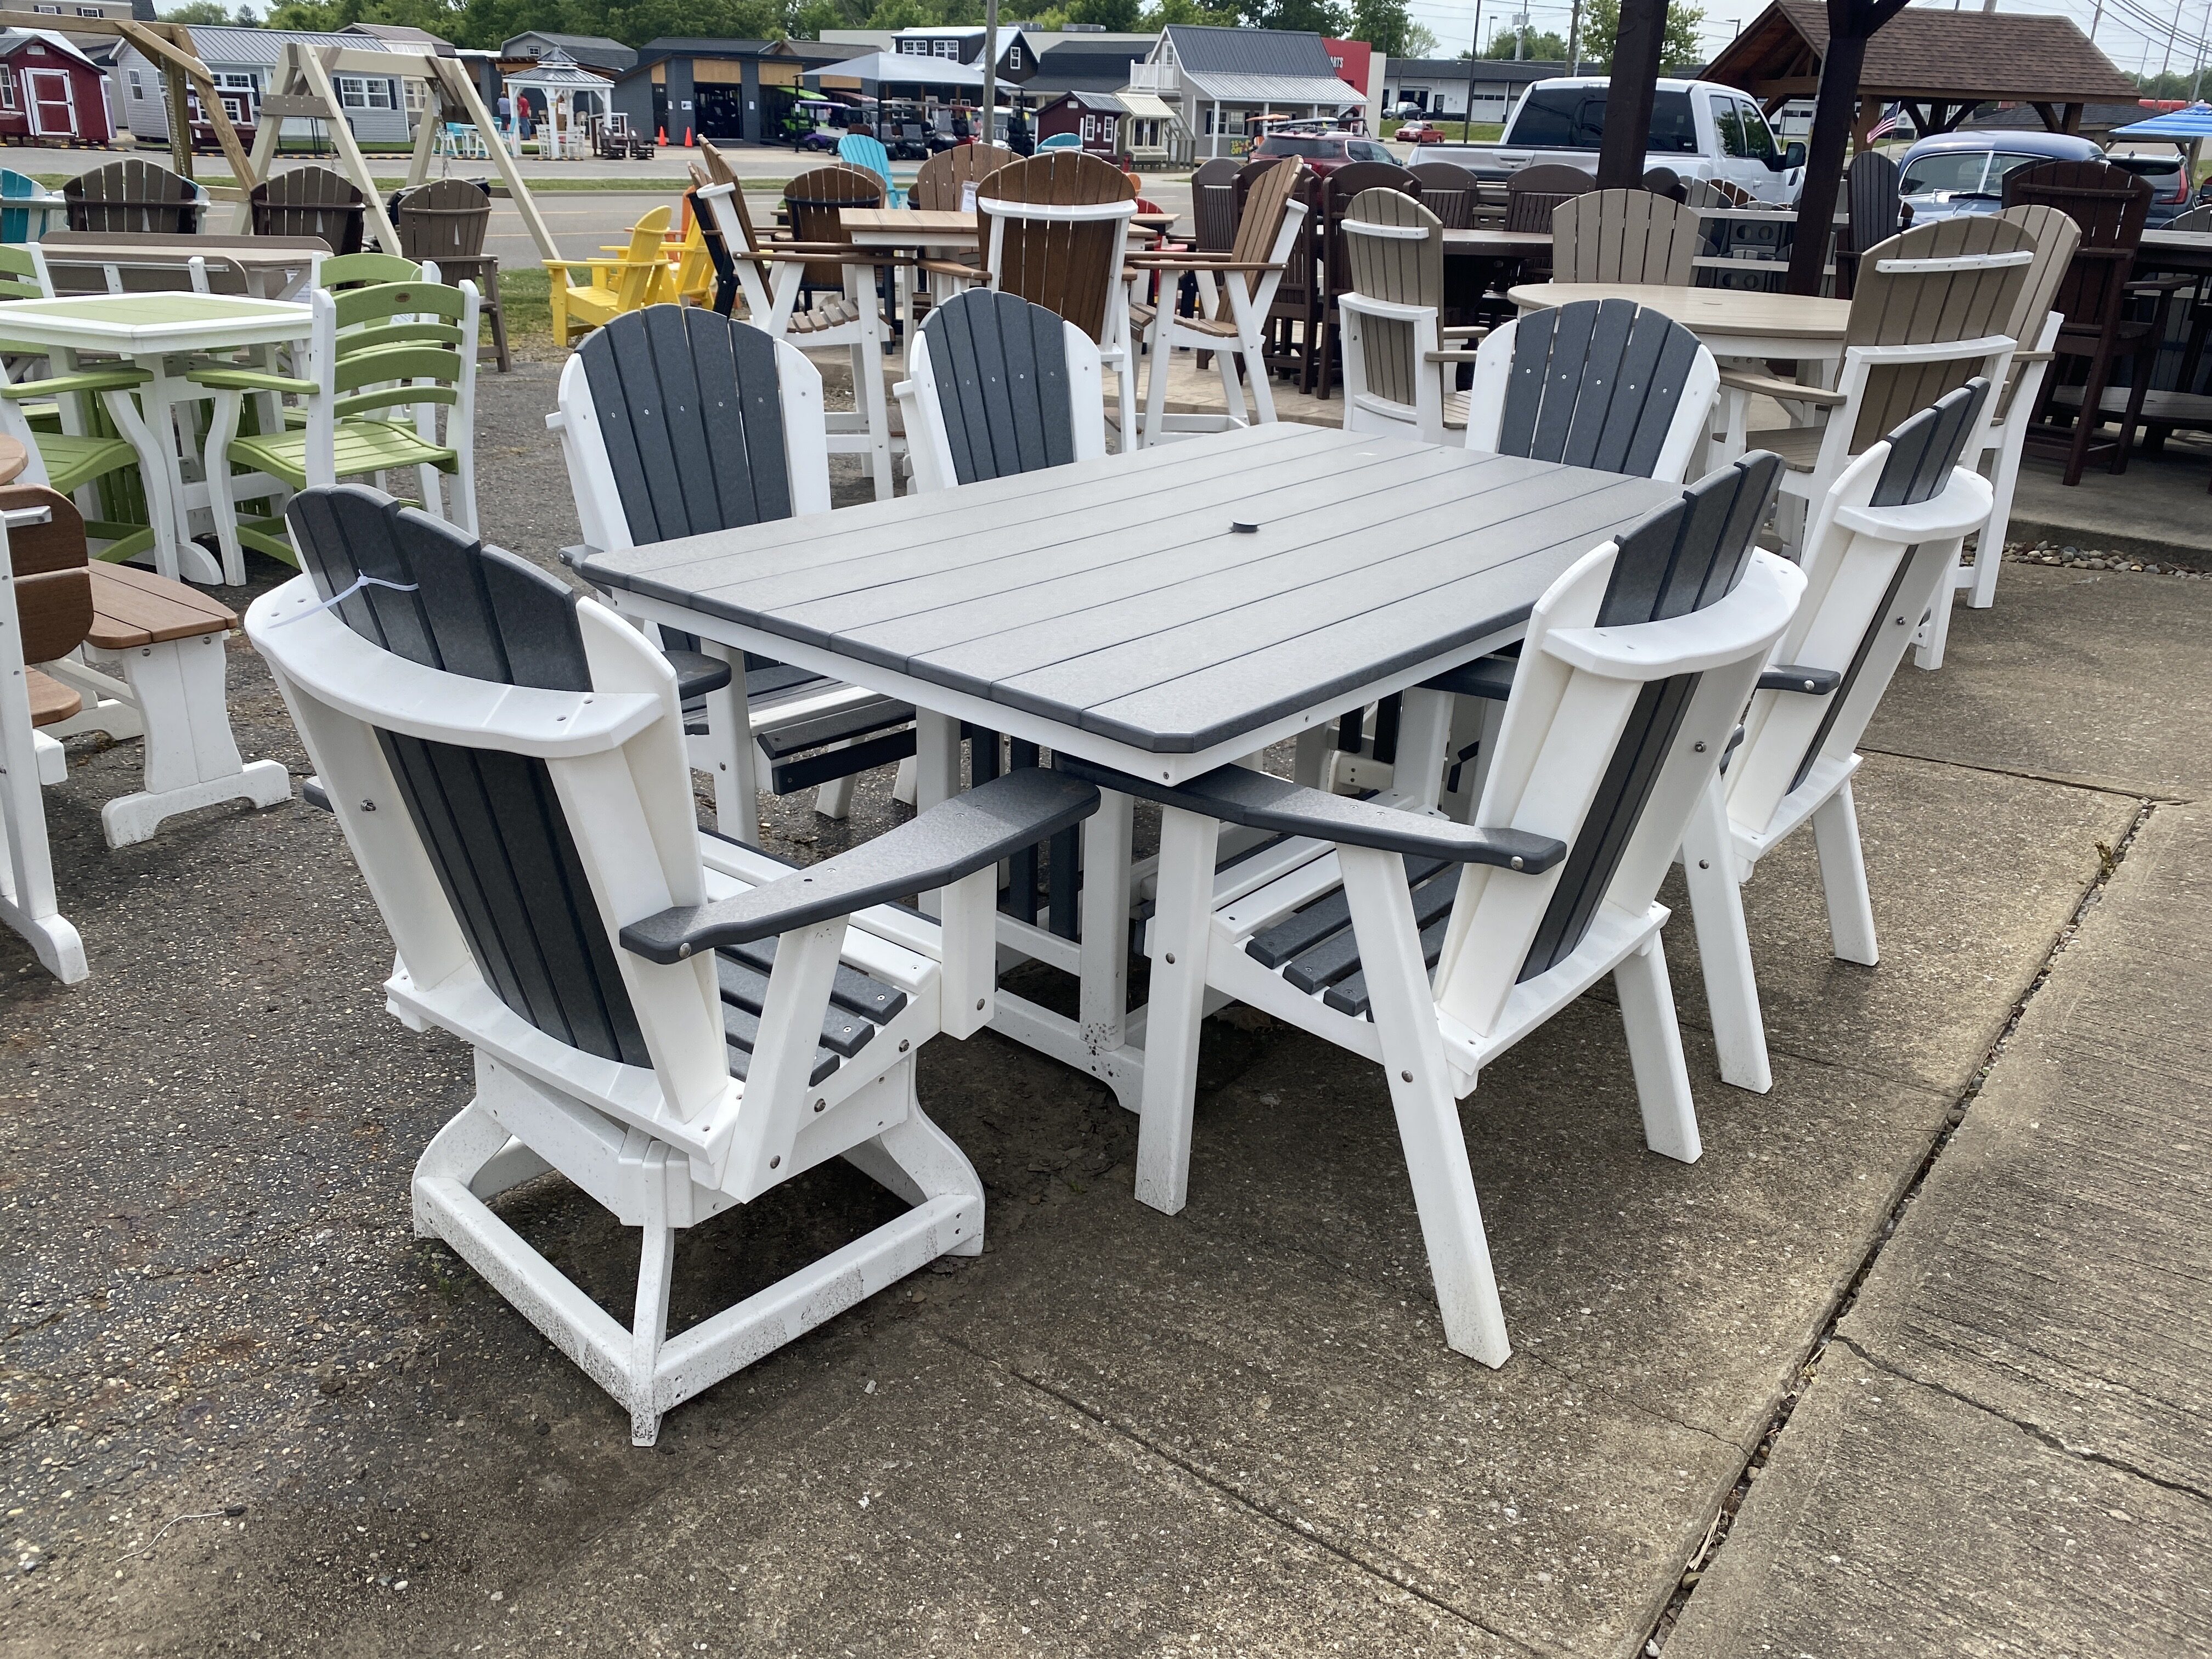
Your material choice will determine how well your table holds up to outdoor conditions. Hardwoods like teak, cedar, and redwood naturally resist decay and insects, making them excellent choices. Pressure-treated pine is more affordable and widely available, though it may require additional sealing. For an eco-friendly option, consider using reclaimed wood, which offers character and reduces environmental impact.
When selecting hardware, go for stainless steel or galvanized screws and brackets. These are less likely to rust when exposed to moisture. To preserve the longevity of your materials, make sure to check for FSC-certified wood, ensuring responsible forestry practices.
Build a Solid Frame
Begin your construction with the frame—the foundation that ensures your table remains stable. Start by cutting the lumber according to your dimensions. Assemble the apron (the rectangular box beneath the tabletop) using pocket-hole screws for clean, strong joints. Attach sturdy legs to each corner, ensuring they are square to the frame.
If you’d like additional support, install a center stretcher or cross-bracing between the legs. This can enhance stability, especially for longer tables. Use clamps to hold everything in place as you drill and secure your connections. Consult resources like Family Handyman for framing tips.
Construct the Tabletop
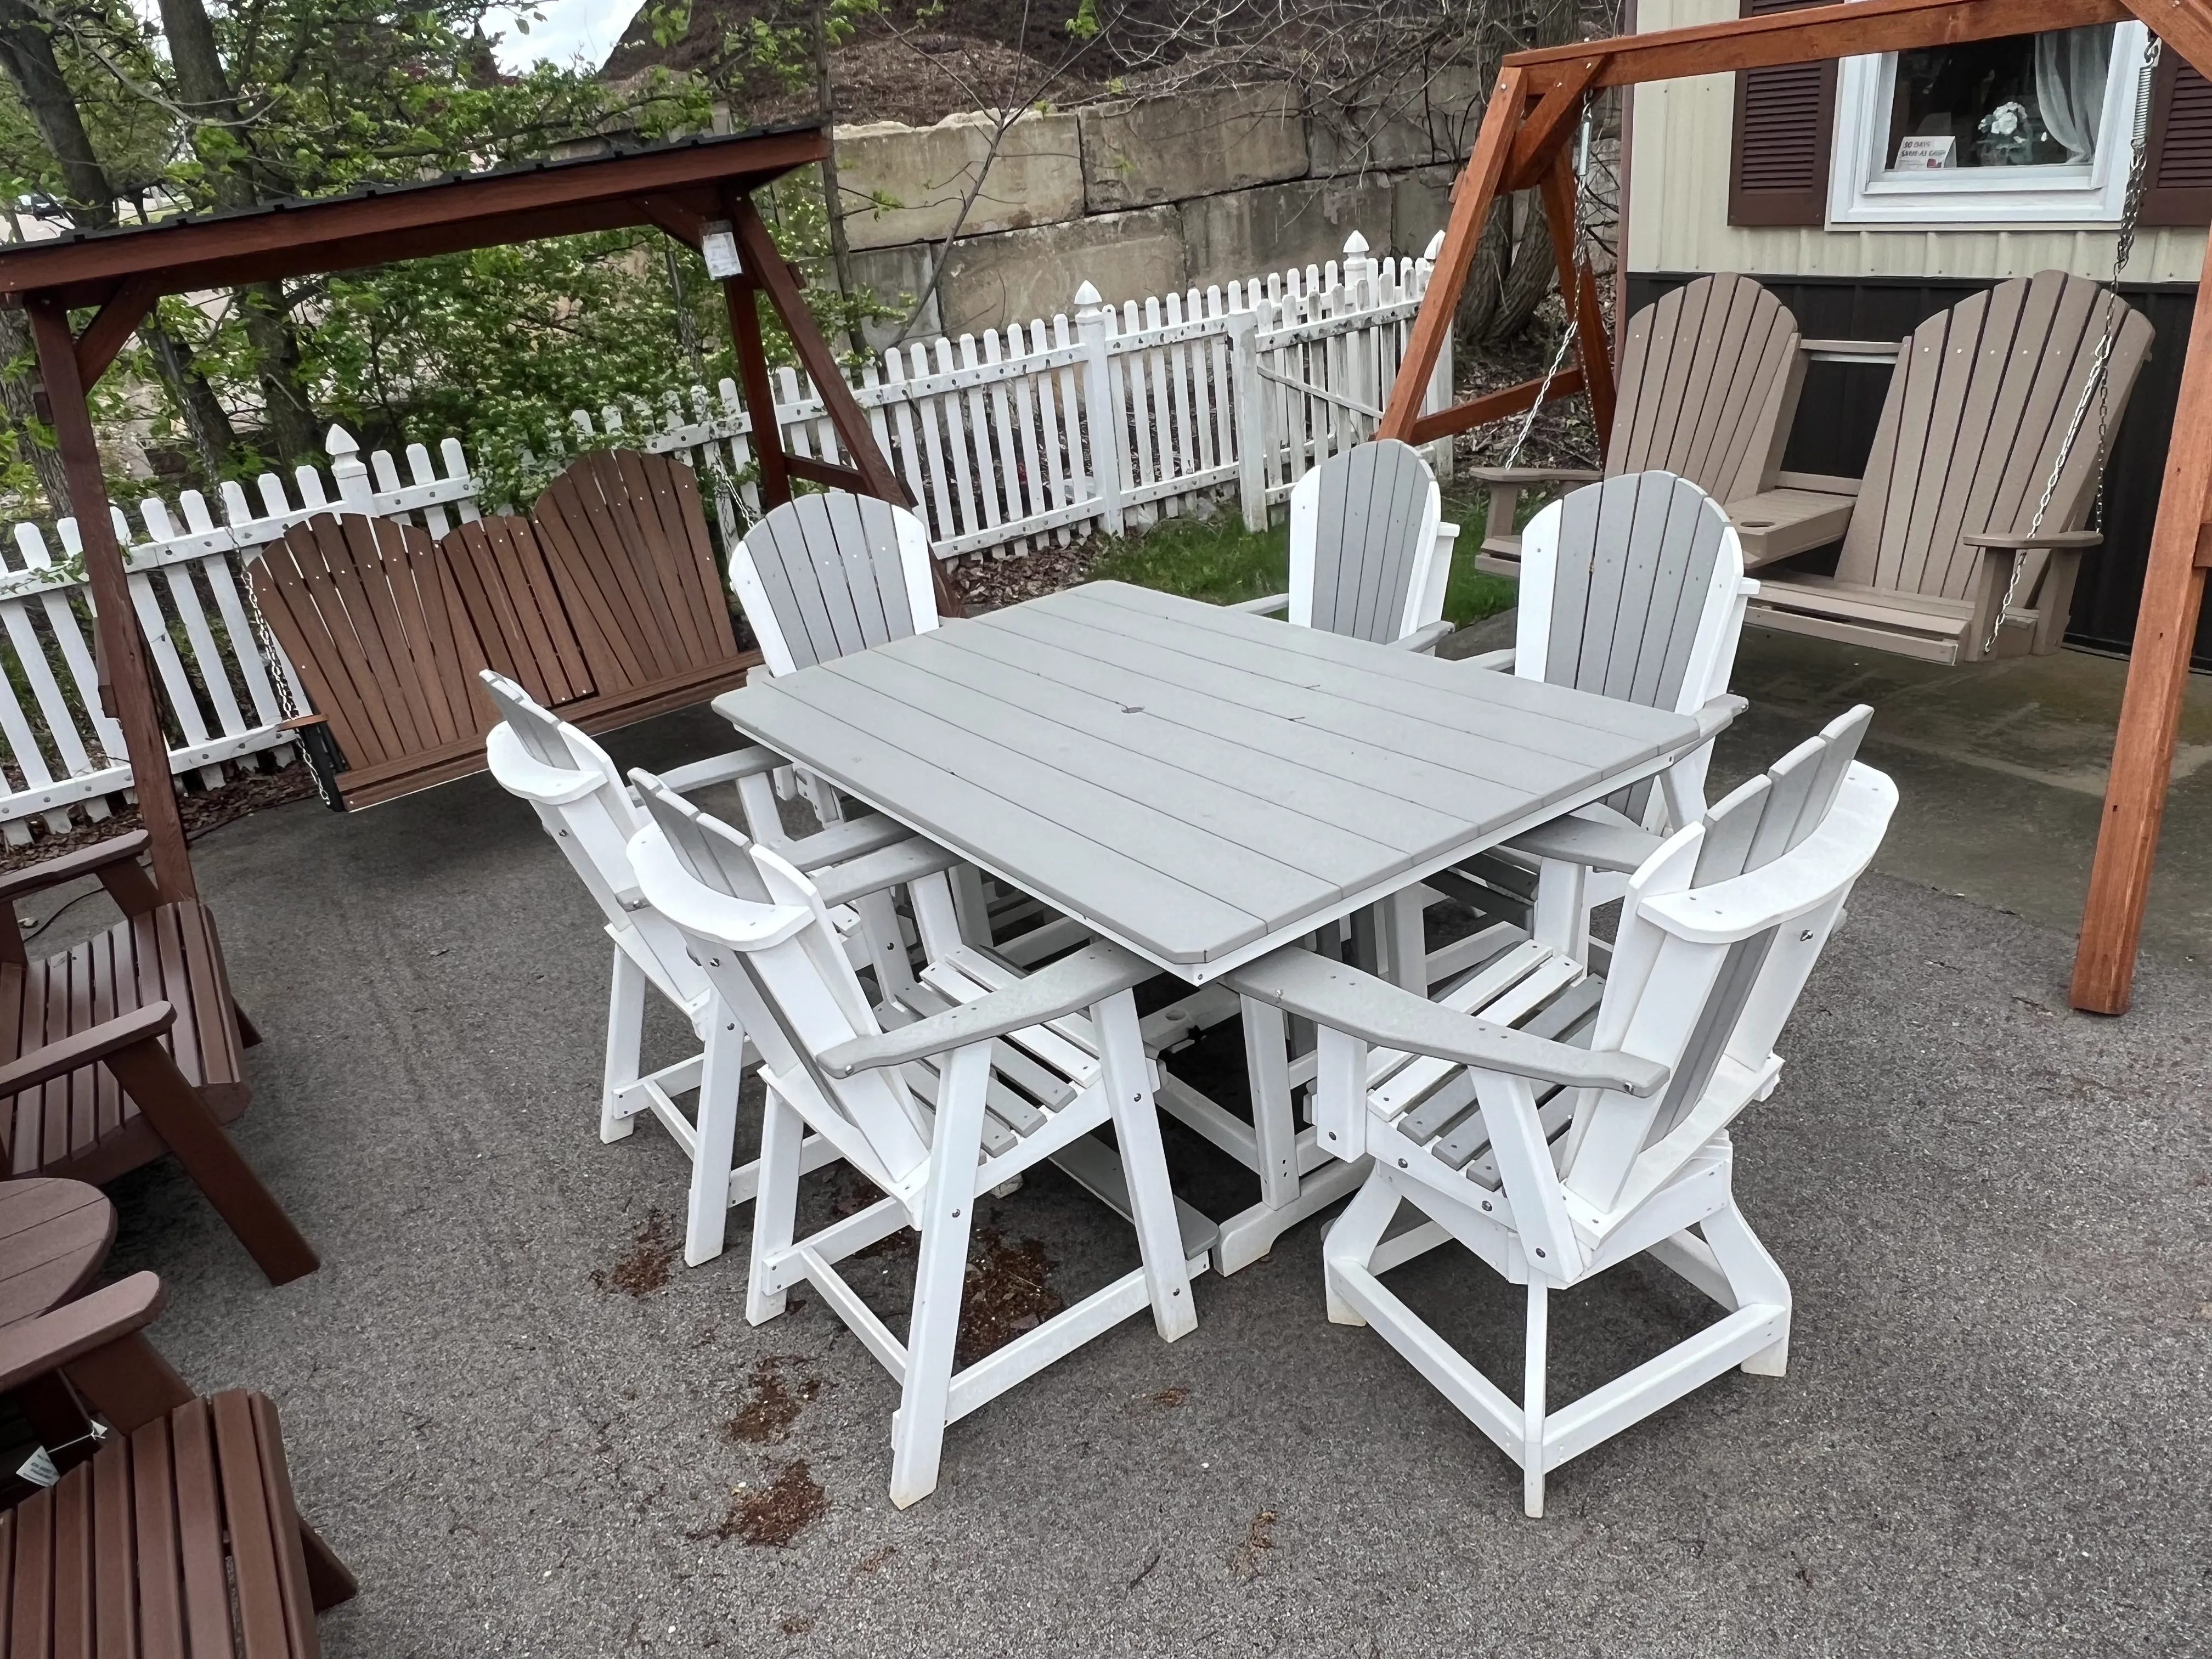
The tabletop not only defines the aesthetic of the table but also serves as its most functional part. Lay out your tabletop boards, ensuring they are evenly spaced and straight. Some builders prefer to use biscuit joints or dowels for added strength between planks, but it’s optional. Leave small gaps between boards (about 1/8 inch) to allow for wood expansion and water drainage.
Secure the boards to the apron using screws driven in from underneath to preserve a clean look on the surface. After installation, use a belt sander to smooth out uneven areas and soften sharp edges.
Add Finishing Touches
Once the table is fully assembled, you can add details that personalize the project. Consider rounding the corners for a more refined look or using decorative trim for a custom feel. Sand the entire table with medium and fine-grit sandpaper to ensure a smooth finish.
To protect your creation from the elements, apply a high-quality outdoor sealant, stain, or paint. Products specifically labeled for exterior use offer better durability. Apply multiple coats, allowing each to dry thoroughly. Reapply the finish annually or as needed to maintain protection.
Consider Function and Storage
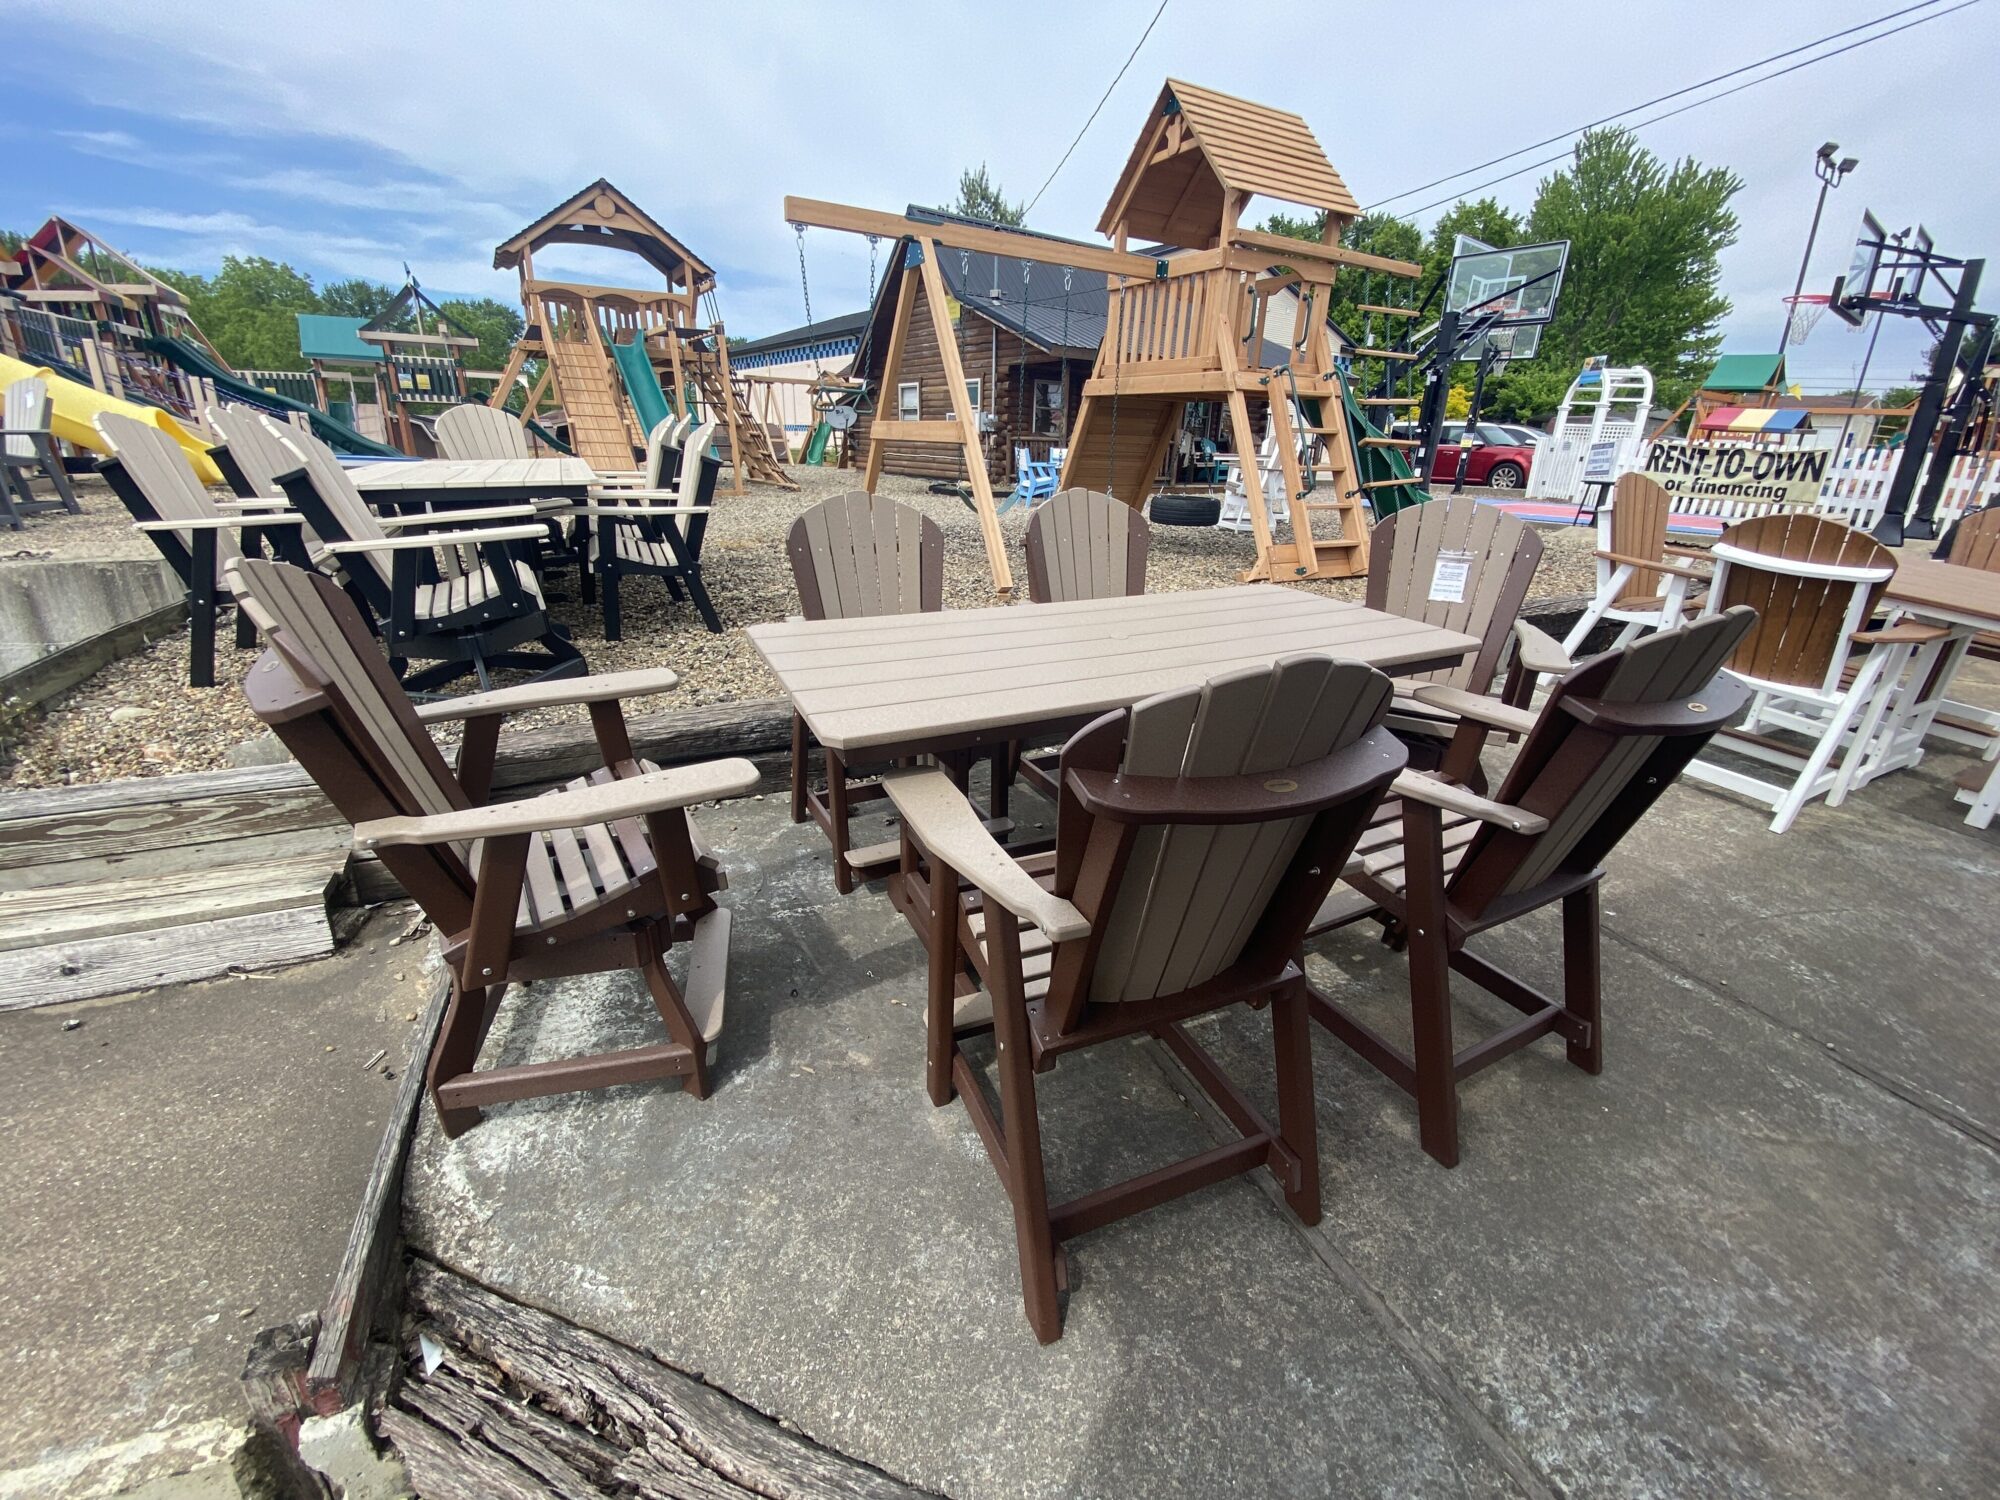
An outdoor table is often exposed to sun, rain, and fluctuating temperatures. To extend its life, position it under a covered patio, pergola, or shade umbrella. You may also want to invest in a protective cover when not in use.
Storing accessories like tablecloths, cushions, and serving items nearby can also elevate your outdoor dining experience. Hartville Outdoor Products offers a range of practical solutions, such as the Value Series Storage Sheds and On the Lot Sheds, which pair perfectly with your DIY furniture project by providing stylish, weather-resistant storage.
Incorporate Built-In Features
Adding built-in features to your outdoor dining table can improve its utility. Ice troughs, umbrella holes, or hidden compartments are popular additions that don’t detract from design. These small upgrades can provide comfort and functionality that make your outdoor space even more inviting.
Protect Against the Elements
Weatherproofing goes beyond paint and sealants. Consider placing your table on a surface with good drainage, like gravel or pavers, to avoid prolonged contact with standing water. Using rubber feet or pads under the legs can further elevate the table and extend its lifespan.
Keep It Level and Safe
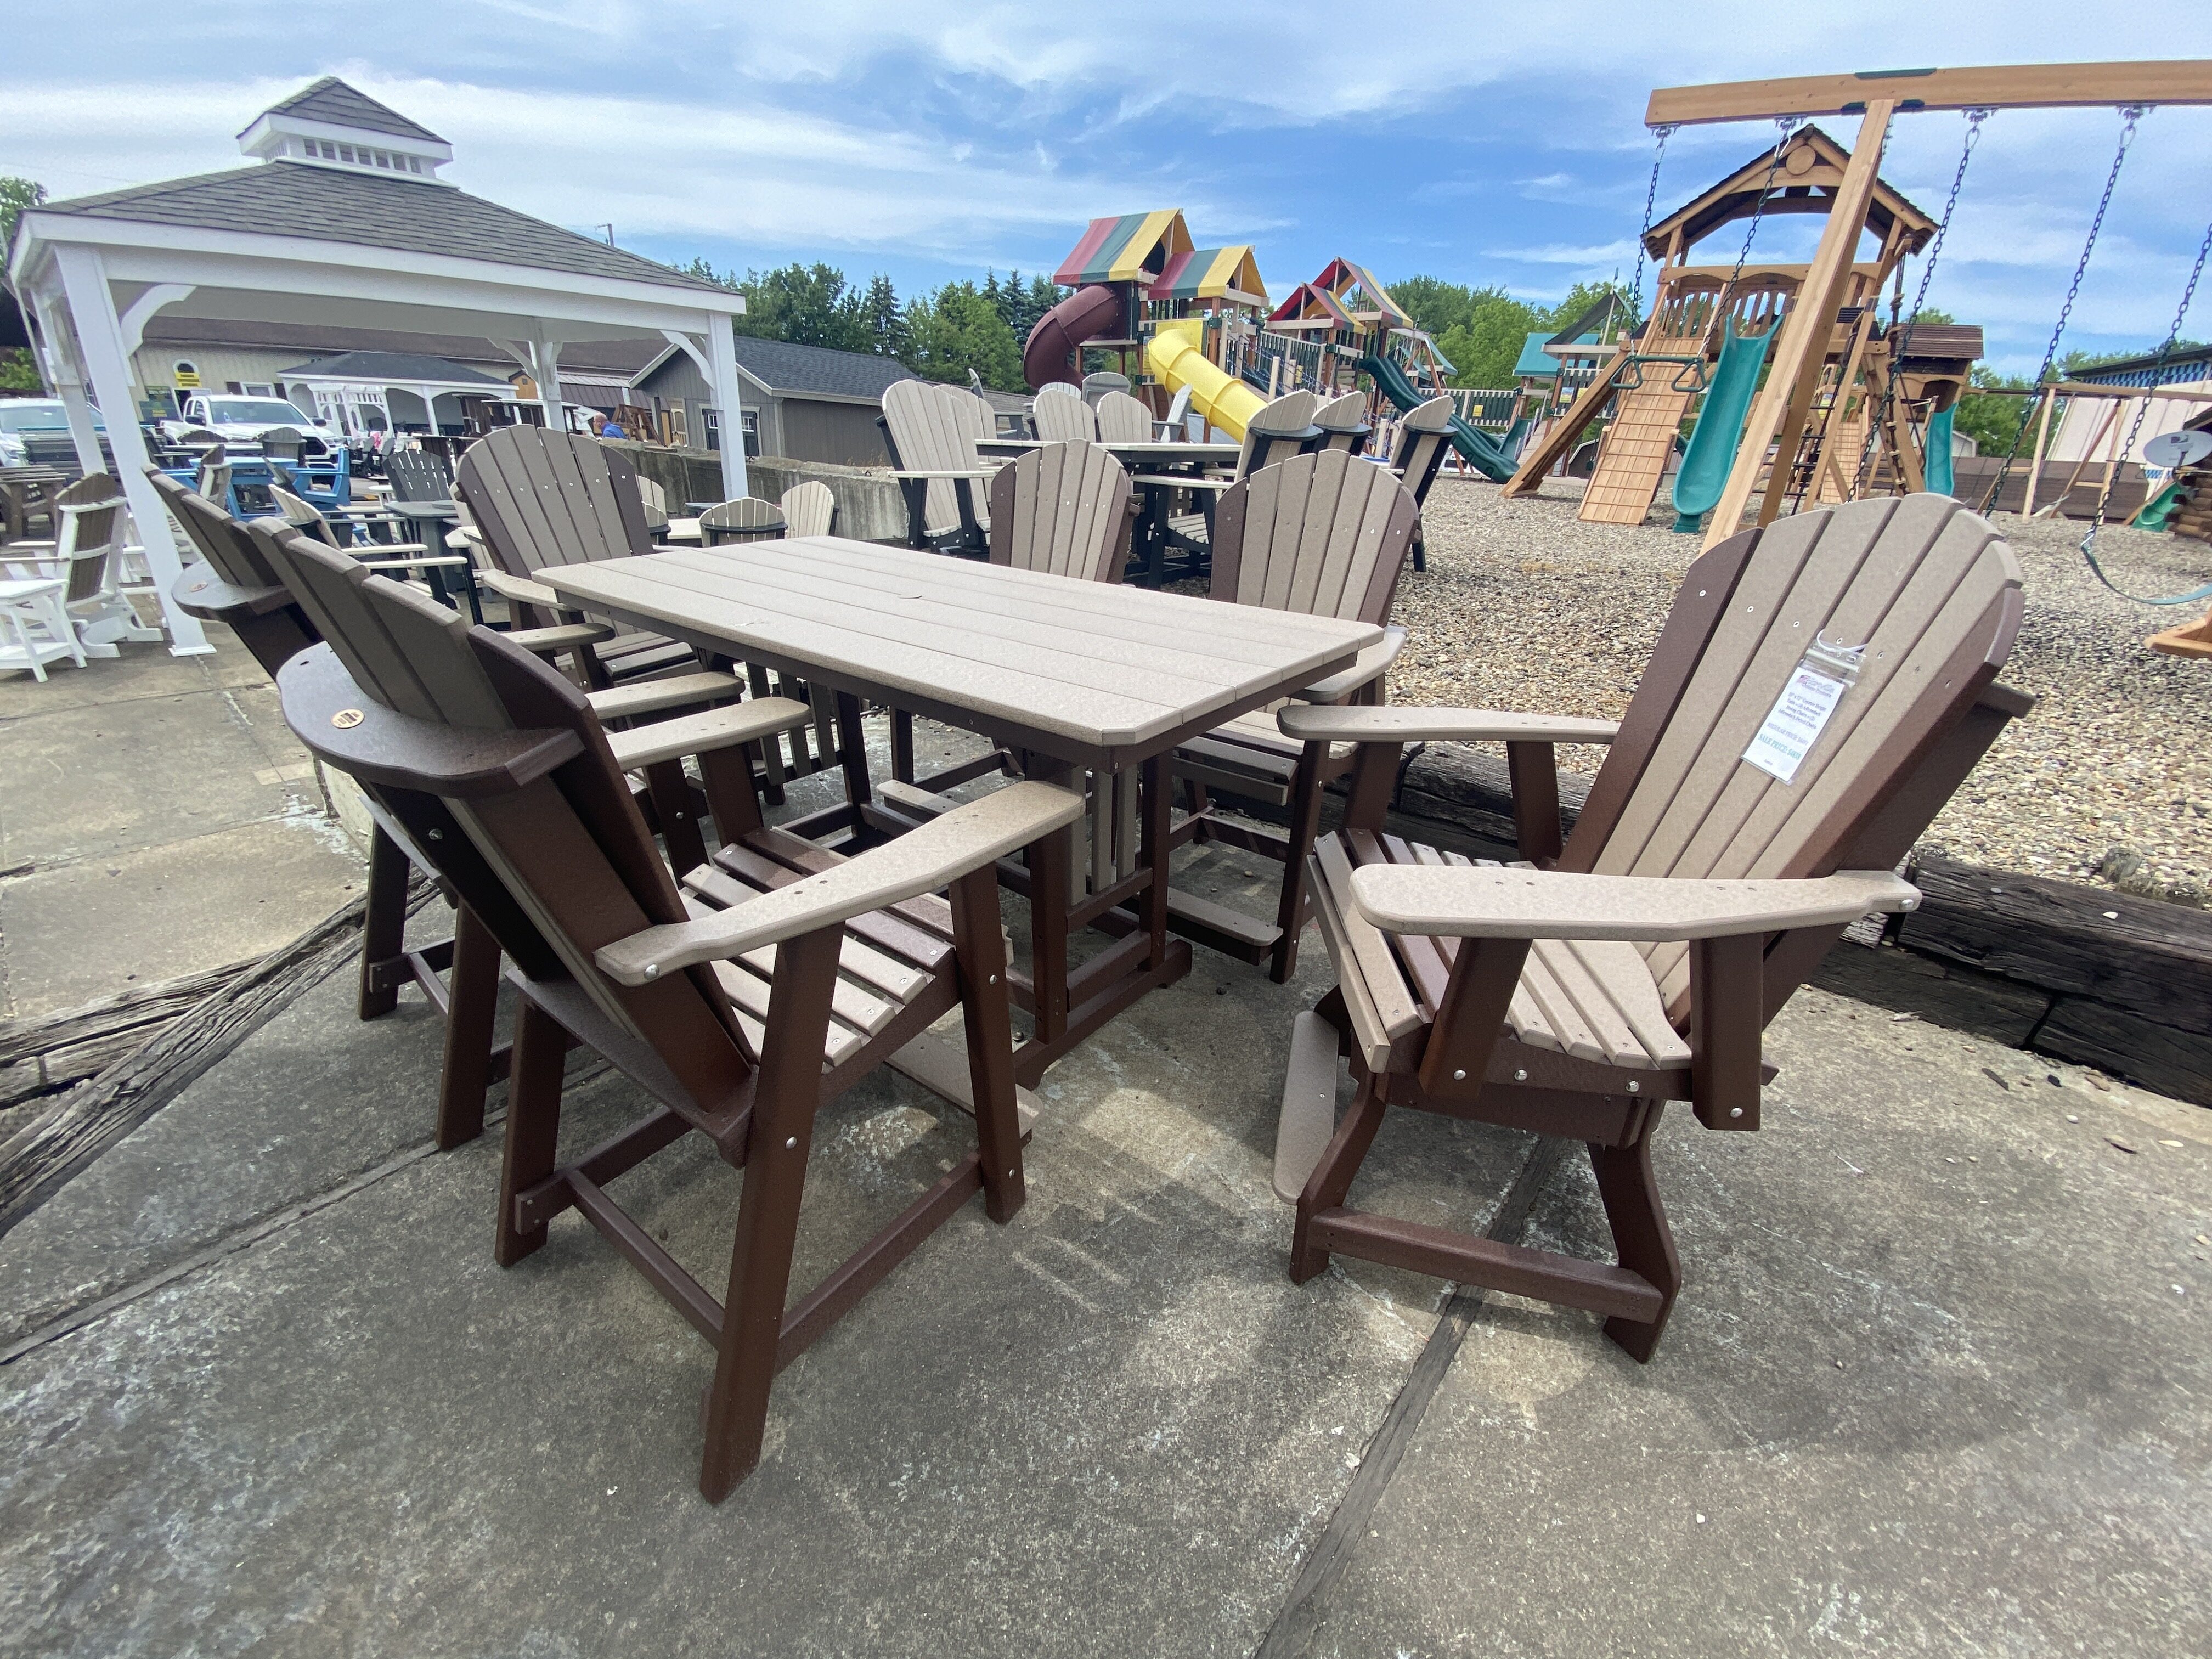
A wobbly table not only frustrates guests but also wears down joints over time. Use a level during construction and periodically check your table after it’s placed outdoors. If needed, insert shims or adjust leg lengths to keep everything even and stable.
Customize the Seating
Your table build may also inspire you to make matching benches or chairs. Using leftover lumber is a cost-effective way to maintain design consistency. You might even consider adding upholstered cushions or weather-resistant pillows for added comfort.
Light It Up
Outdoor dining extends into the evening with the right lighting. String lights, lanterns, or LED candles set the mood and improve visibility. Choose lighting that matches your table’s style and your backyard’s overall theme.
Embrace the Experience
Beyond the practical aspects of construction, building an outdoor dining table is a project filled with reward. You’re not just building furniture; you’re creating a gathering place. Every saw mark and brush stroke adds character, transforming raw materials into a centerpiece for memories.
Whether you’re planning evening dinners or weekend brunches, your hand-built table becomes the setting for laughter, conversation, and connection. And as seasons change, you can take pride in knowing the table at the center of your patio was crafted by your own hands.
Conclusion
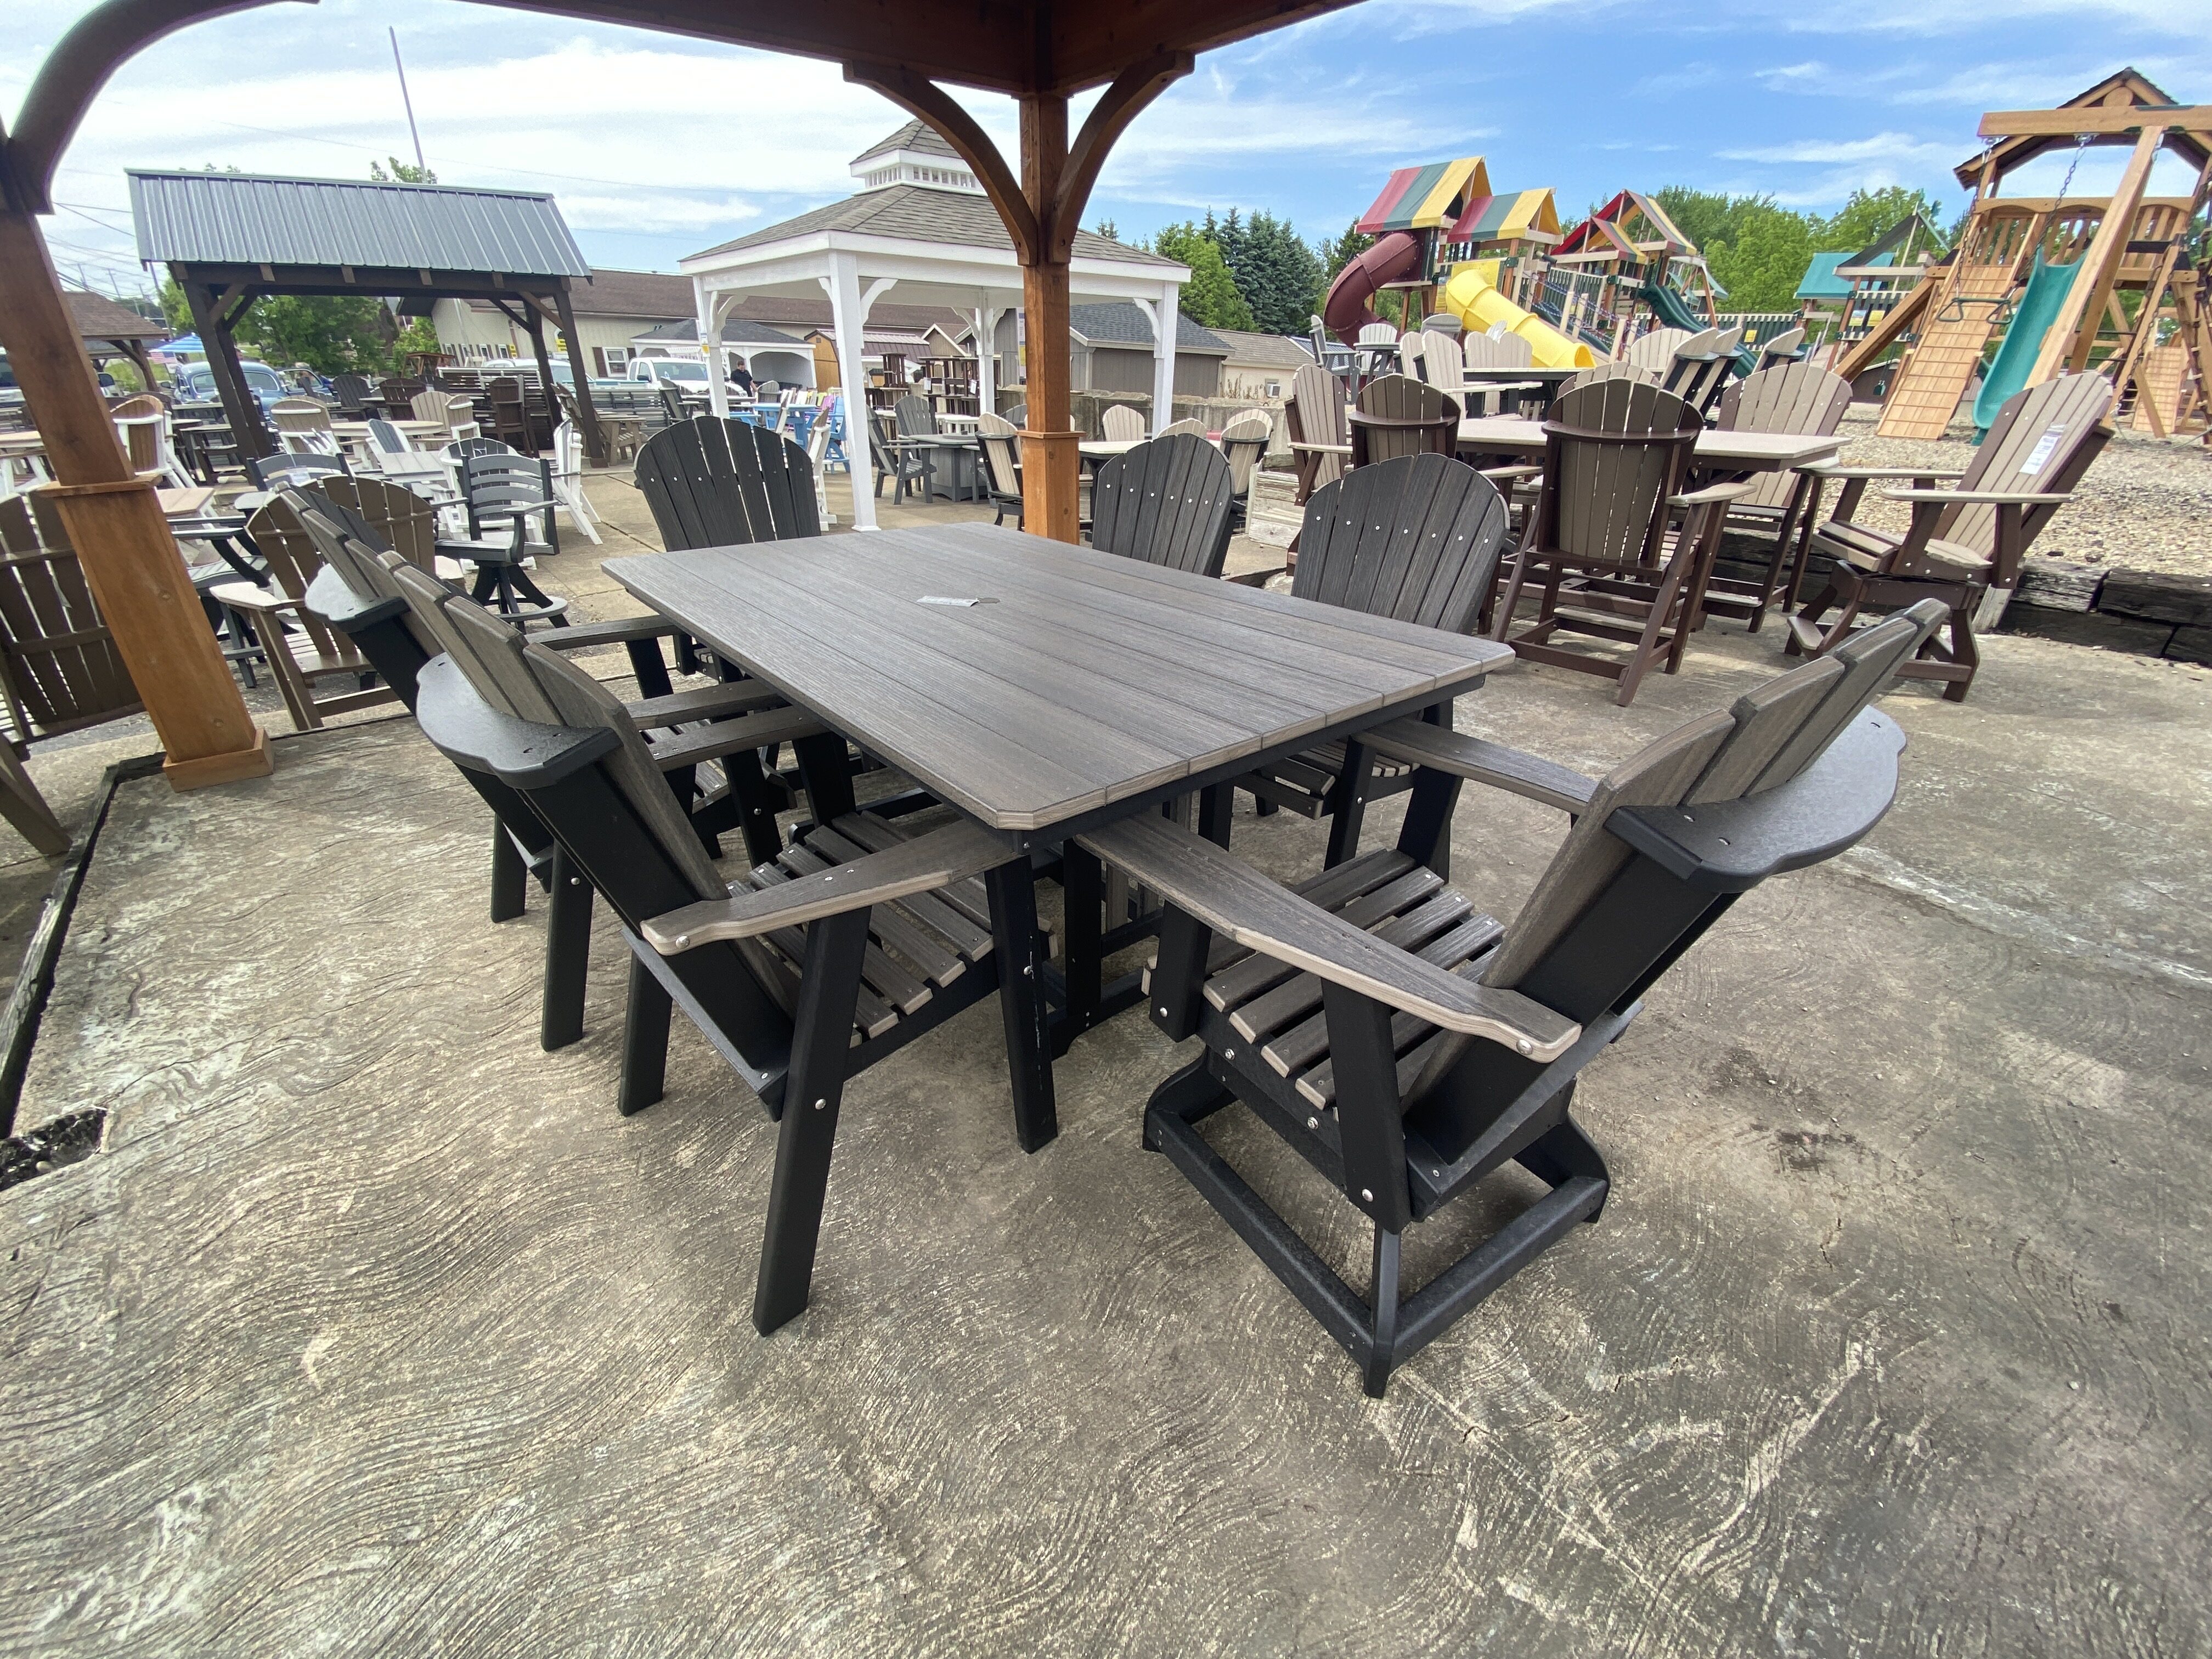
Learning how to build an outdoor dining table combines craftsmanship with creativity. By choosing the right materials, following a solid plan, and finishing with care, you’ll enjoy a custom table that brings style and function to your outdoor living space. With the added convenience of storage sheds from Hartville Outdoor Products, your backyard will be ready for entertaining anytime. This is more than a weekend project—it’s the start of a lifetime of outdoor memories.
