How to Build a Shed Ramp
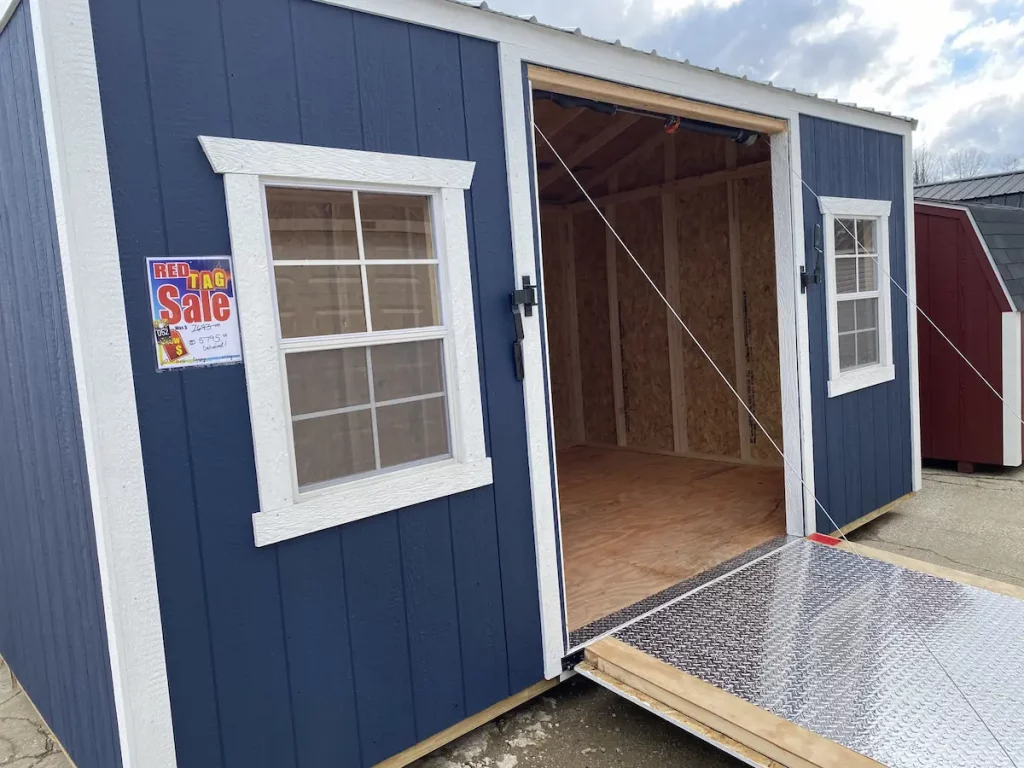
A shed ramp is a practical addition to any outdoor structure, providing smooth and safe access for wheeled equipment like lawnmowers, wheelbarrows, bicycles, or even mobility devices. Without a proper ramp, moving heavy or bulky items into your shed can become a frustrating and potentially dangerous task. Building a shed ramp is a relatively simple yet impactful project that can be completed with basic tools and materials. This guide will walk through the essential steps to build a functional, durable shed ramp that enhances convenience and safety. We also happen to carry storage shed with ramps if interested.

Why a Shed Ramp is Important
Shed ramps serve several important functions. First and foremost, they improve accessibility by bridging the gap between the ground and the shed floor. Most sheds are elevated slightly to prevent moisture accumulation, which creates a step or ledge that can be difficult to maneuver. A ramp eliminates this barrier, making it easier to transport items in and out of the shed.
In addition to enhancing usability, a properly constructed ramp increases safety. It reduces the risk of trips and falls while moving equipment, especially when carrying heavy items. For those using rolling carts, scooters, or other wheeled tools, the ramp provides a smooth, stable transition point.
Evaluating the Shed’s Height and Location
Before beginning construction, assess the height from the ground to the shed floor. This measurement will determine the ramp’s slope and overall length. A gradual slope is preferable to maintain safety and usability. A commonly recommended ratio is a 1:8 slope, meaning for every inch of vertical rise, there should be eight inches of ramp length. For example, a 12-inch rise would require a ramp 8 feet long.
Consider the space available in front of your shed and ensure the ramp’s length won’t obstruct walkways or interfere with landscaping. Also, evaluate the ground conditions, checking for stability and drainage. It’s best to avoid placing ramps in areas prone to pooling water or erosion.

Choosing the Right Materials
Durability and weather resistance should guide your material choices. Pressure-treated lumber is commonly used for shed ramps because it resists rot, decay, and insects. The framing can be constructed using 2×6 or 2×8 boards, while the ramp surface might include decking boards, plywood, or grooved planks for added traction.
Using galvanized screws or exterior-grade fasteners is essential to prevent rusting over time. To improve safety, consider adding grip strips or anti-slip coating, especially if the ramp will be exposed to rain or snow.
Preparing the Ground and Base
A solid base is crucial for ramp stability. Start by clearing the area where the ramp will rest. Remove grass, roots, or debris, and dig down a few inches to create a level surface. It’s helpful to add a layer of compacted gravel to aid drainage and prevent shifting.
In some cases, concrete blocks or patio stones can be placed under the ramp’s lower edge to provide additional support. Ensure these are level and aligned with the direction of the ramp for a clean, even foundation.

Framing the Shed Ramp
Begin constructing the ramp frame by cutting joists to the required length, based on the calculated slope. These joists will support the ramp surface and should be spaced 12 to 16 inches apart. Cut each joist with an angle at the lower end to rest flush with the ground, while the upper end will attach to the shed’s floor frame.
Use a ledger board to anchor the top of the ramp to the shed. This horizontal board should be securely fastened to the shed using lag bolts. Then, attach each joist to the ledger board using joist hangers or screws, ensuring all are evenly spaced and aligned.
Add blocking between joists to prevent twisting and increase rigidity. This step helps the ramp maintain structural integrity under load.
Installing the Ramp Surface
Once the frame is in place, attach the ramp surface using decking boards or plywood. Decking boards should be installed perpendicular to the direction of travel, leaving small gaps between boards for water drainage. If using plywood, ensure it is exterior grade and properly sealed.
Screw the surface boards securely into the joists, using at least two screws per joist intersection. Avoid overdriving the screws to prevent weakening the wood or damaging the surface. After installation, walk the ramp to check for any flex or movement.
For improved traction, especially in wet conditions, consider applying non-slip paint or attaching adhesive grip strips. This addition is particularly helpful if the ramp will be used frequently during inclement weather.

Finishing and Sealing
To prolong the ramp’s lifespan, apply a weatherproof sealant or outdoor-rated stain to all wood surfaces. This protects against moisture, UV damage, and general wear. Seal all joints, edges, and corners to prevent water infiltration that could cause rot or mold over time.
Check the ramp for sharp edges, splinters, or protruding screws, sanding or trimming as needed to ensure a smooth, safe surface. Adding side rails or curbs can provide visual and physical guidance, especially for ramps that are higher or longer.
Maintenance and Safety Considerations
A well-built shed ramp requires minimal maintenance, but routine inspections are important. Periodically check for loose boards, rusted fasteners, or signs of wood deterioration. Clear leaves, snow, or mud from the surface to prevent slipping hazards.
If the ramp becomes slippery during winter, consider adding removable mats or using sand instead of salt, which can degrade wood over time. Maintaining a clean, sealed, and structurally sound ramp ensures safe use year-round.
Conclusion
Building a shed ramp enhances the accessibility, safety, and usability of your shed. With careful planning, proper materials, and solid construction techniques, a shed ramp can serve as a long-term solution for moving equipment and navigating your outdoor space. By following these steps, you can create a stable and reliable ramp that integrates seamlessly with your shed’s design and terrain.
