
How to Build a Lean To Shed
A lean-to shed is a practical and space-efficient outdoor storage solution. It is designed with a single-sloped roof that leans against an existing structure, making it easier to build than a freestanding shed. Whether you need extra space for tools, gardening supplies, or firewood, constructing a lean-to shed is a cost-effective and rewarding project. This guide will walk you through the step-by-step process of building a sturdy and durable lean-to shed.
Choosing the Right Location
Selecting the ideal location is crucial for the stability and longevity of your shed. Since a lean-to shed is built against an existing structure, choose a wall that offers support and easy access. Ensure the area is level and clear of debris. Consider factors such as drainage, sunlight exposure, and proximity to utility lines. If necessary, prepare the ground by leveling it and adding a gravel or concrete base to improve stability.
Understanding Permits and Regulations
Before beginning construction, check local building codes and zoning regulations. Some areas require permits for structures over a certain size, and there may be restrictions on how close you can build to property lines. Understanding these requirements beforehand prevents potential legal issues and ensures compliance with local ordinances.
Gathering Materials and Tools
The right materials and tools will ensure a smooth construction process. Common materials for building a lean-to shed include pressure-treated lumber for framing, plywood or metal sheets for siding, and asphalt shingles or metal panels for roofing.
Essential tools for the project include a circular saw, hammer, drill, measuring tape, level, framing square, and safety gear such as gloves and protective eyewear.
Designing the Lean-To Shed
Planning the design is essential for a successful build. Determine the dimensions of the shed based on your storage needs and available space. A typical lean-to shed is 4 to 8 feet deep and 6 to 12 feet wide, with a roof slope that allows rainwater runoff away from the main structure. Sketching a blueprint or using design software can help visualize the layout and materials needed.
Constructing the Foundation
A strong foundation provides stability and prevents shifting over time. Depending on the location and soil conditions, you can choose from different foundation types:
- Gravel Base: Ideal for temporary or lightweight structures, a gravel foundation allows for proper drainage.
- Concrete Slab: A durable option that provides a solid and level surface, suitable for permanent sheds.
- Wooden Skids: Pressure-treated lumber placed on leveled ground can support a small lean-to shed without extensive excavation.
Once the foundation is in place, confirm that it is level before proceeding with the frame construction.
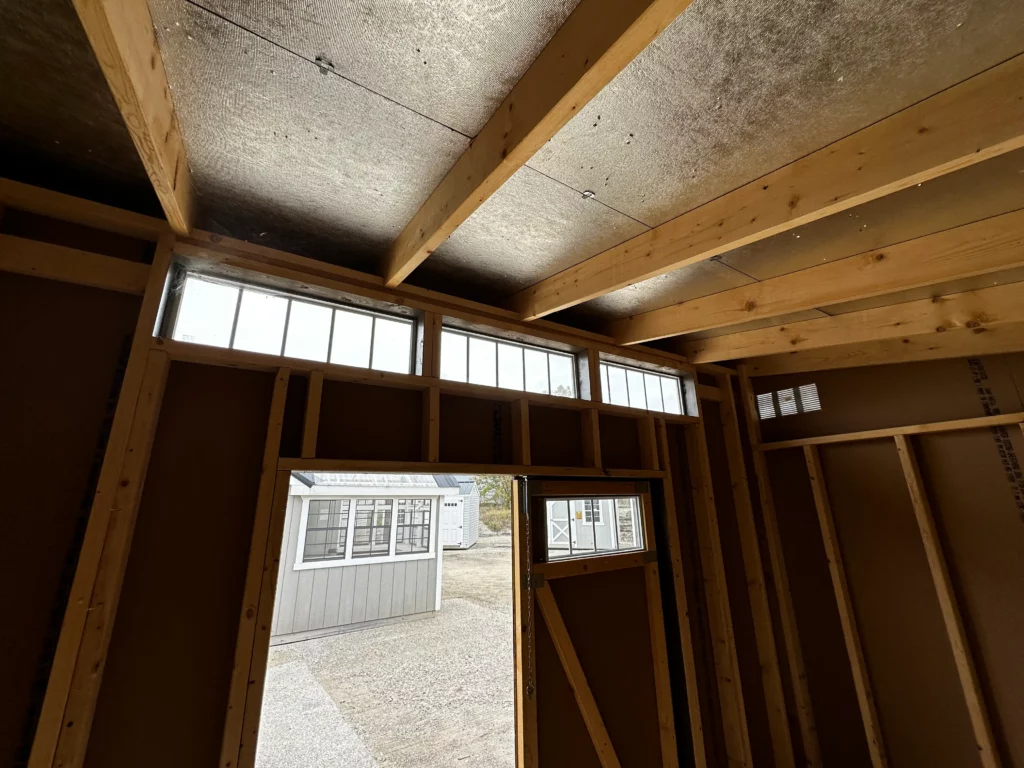
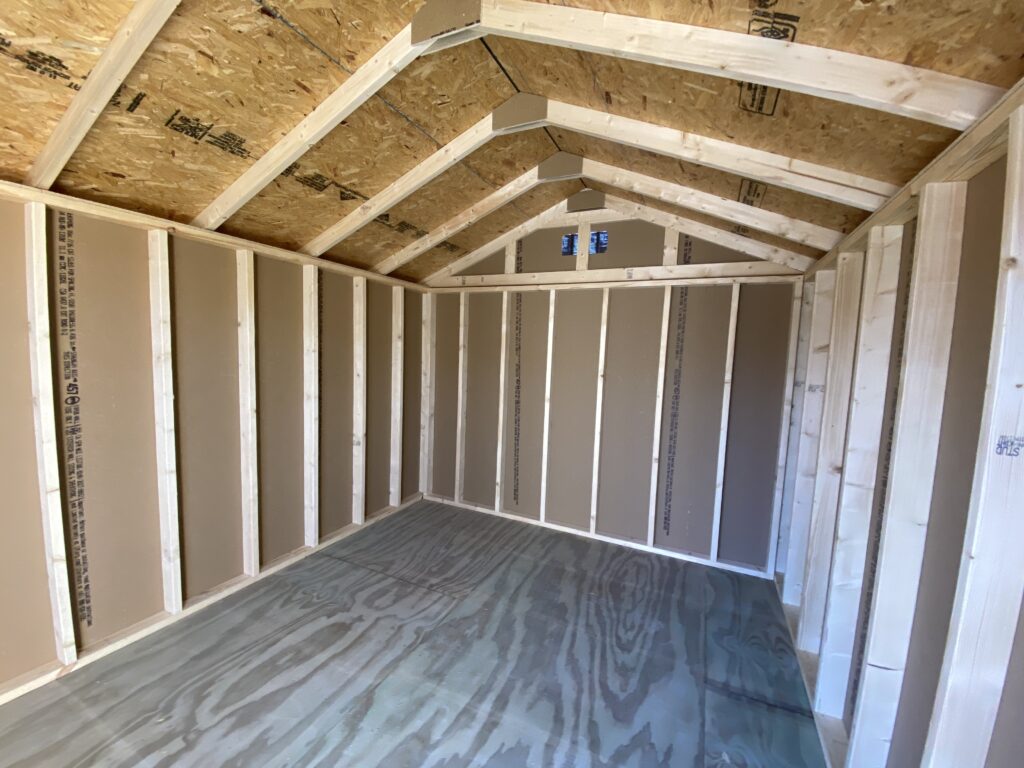
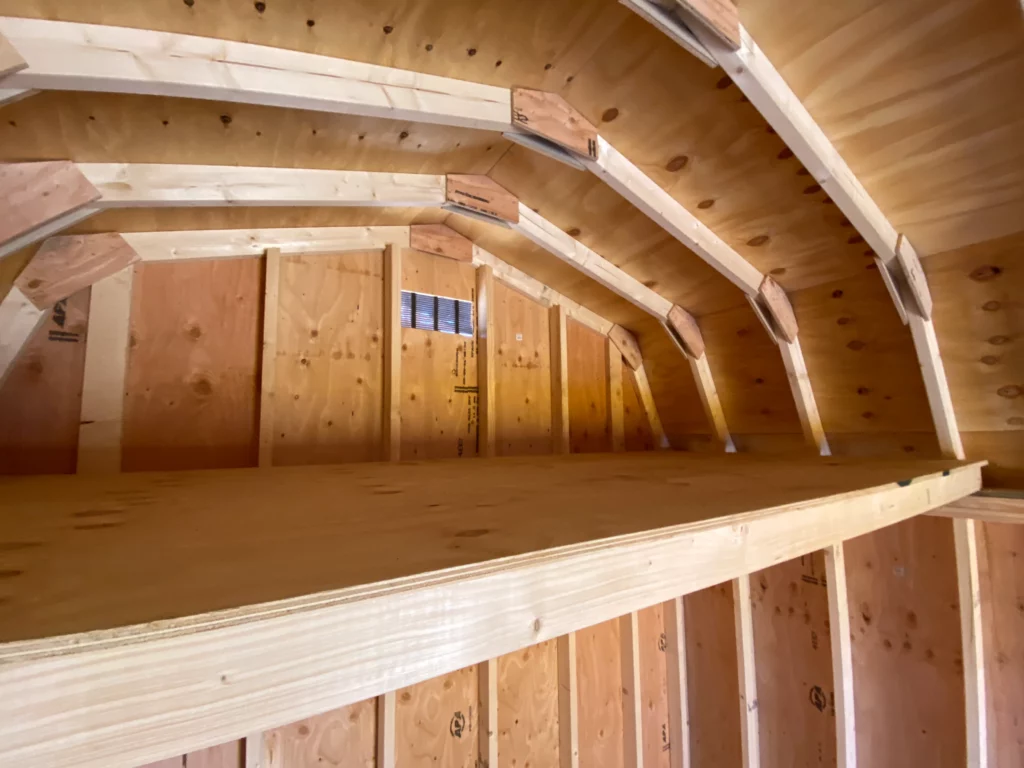
Building the Frame
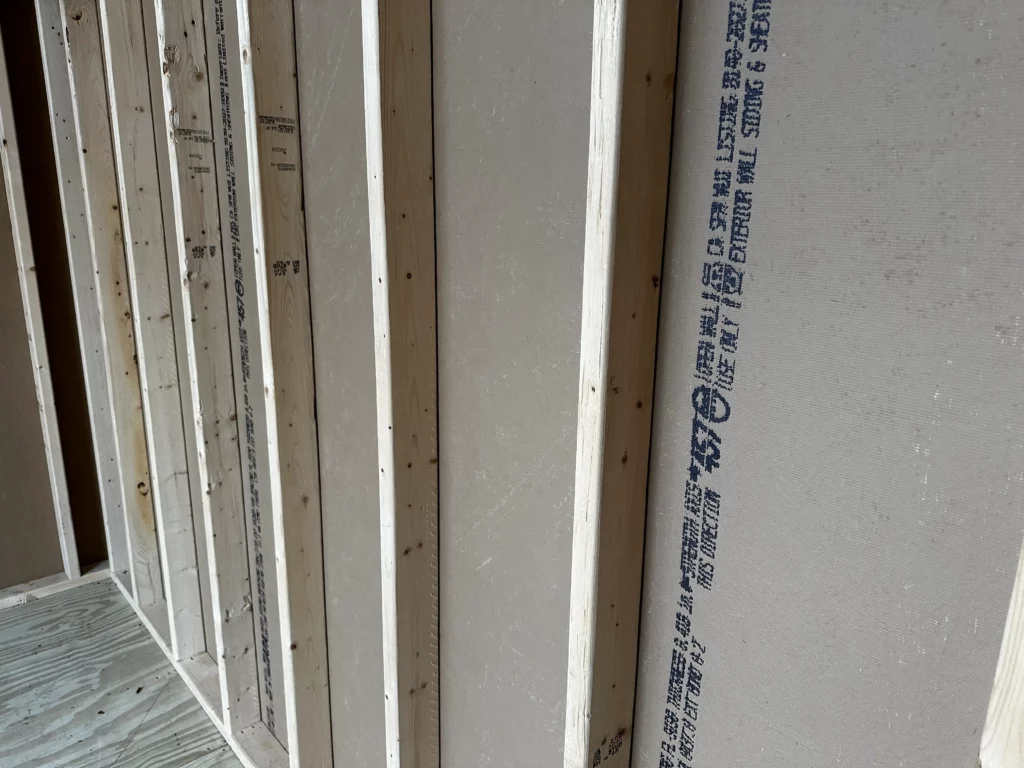
The frame is the backbone of the shed, supporting the walls and roof. Start by attaching vertical wall studs to the existing structure using lag bolts or anchors. Then, build the side and front walls separately before securing them to the main support wall. Space the studs 16 to 24 inches apart for maximum stability.
Once the walls are assembled, install horizontal beams at the top to support the roof. A header beam along the front opening provides additional reinforcement for doors or access points.
Installing the Roof
The roof design plays a vital role in protecting the shed from weather elements. The simplest method is to install rafters from the high side (attached to the existing wall) down to the front header beam. Space them evenly and secure them with metal brackets or screws.
Next, attach roof sheathing, which can be plywood or OSB (oriented strand board). Cover the sheathing with roofing felt to improve waterproofing, then install shingles or metal roofing panels to complete the roof. Ensure that the slope is sufficient to allow rain and snow runoff.
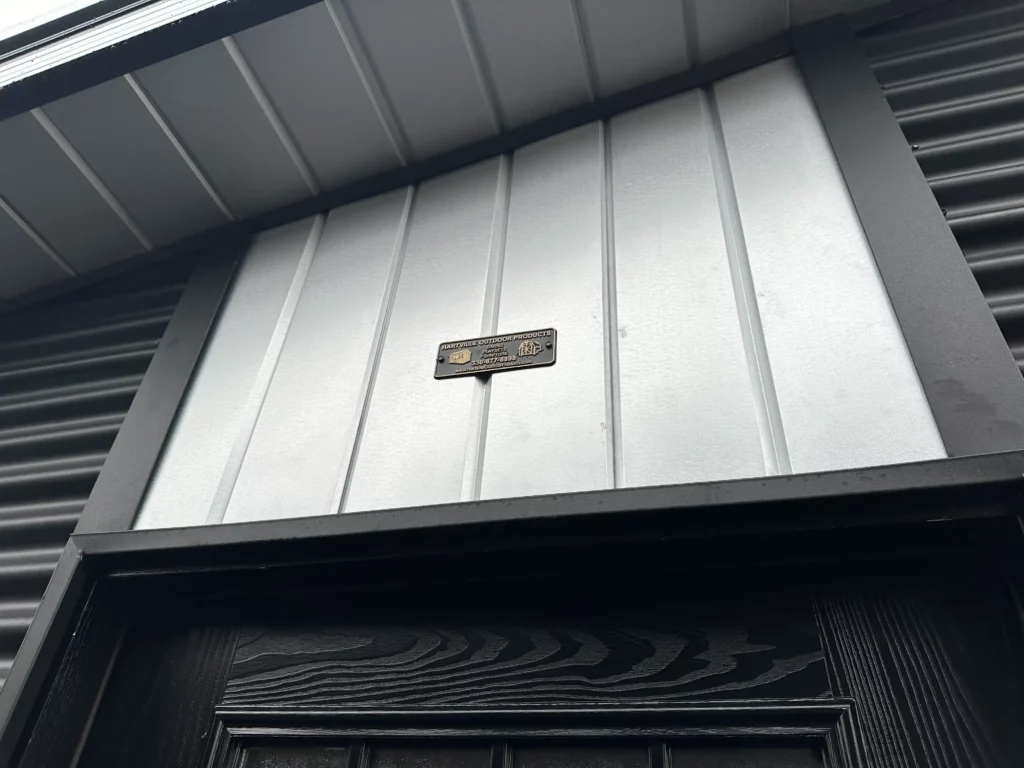
Adding Walls and Siding
With the frame and roof in place, install exterior walls using plywood, T1-11 panels, or metal siding. Secure the panels to the framing with nails or screws, ensuring they are aligned correctly. If desired, add insulation or vapor barriers for temperature control and moisture resistance.
To protect the shed from rot and pests, seal gaps with caulk and apply an exterior-grade paint or stain.
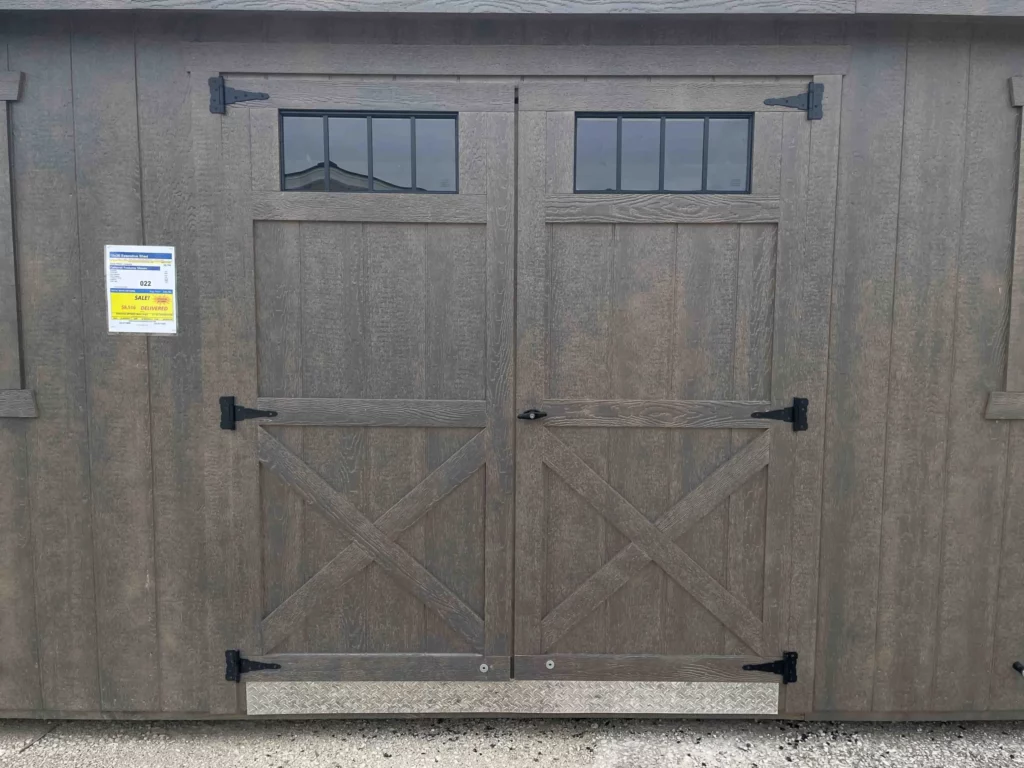
Installing Doors and Ventilation
A well-placed door provides easy access to the shed. Depending on preference and space, you can install a single or double door. Use heavy-duty hinges and a secure latch to keep belongings safe.
Ventilation is also essential to prevent moisture buildup and mold growth. Adding small vents near the roof or a window allows air circulation and keeps the interior dry.
Finishing Touches and Maintenance
After construction, inspect the shed for any loose fasteners, gaps, or areas needing additional sealing. Apply a weather-resistant finish to enhance durability. Organize the interior with shelves, hooks, or storage bins to maximize space usage.
Regular maintenance, such as checking for leaks, repainting surfaces, and clearing debris from the roof, will extend the shed’s lifespan.
Conclusion
Building a lean-to shed is an excellent way to create additional storage while utilizing existing structures for support. With careful planning, quality materials, and proper construction techniques, you can build a durable and functional shed that enhances your outdoor space. Whether used for tool storage, gardening supplies, or recreational gear, a well-built lean-to shed adds convenience and value to your property. We hope this helps you and if you are looking for prefab lean to sheds, we carry many at our multiple locations in Ohio.