How to Air Seal Roof Shed
Air sealing your shed’s roof is a crucial step in creating a weather-tight and energy-efficient structure. While sheds are often used for storage or as hobby spaces, preventing air leaks ensures better climate control, helps preserve stored items, and extends the life of the structure. Whether you’re sealing a new shed or upgrading an old one, understanding how to air seal a roof shed properly will keep outside elements where they belong.
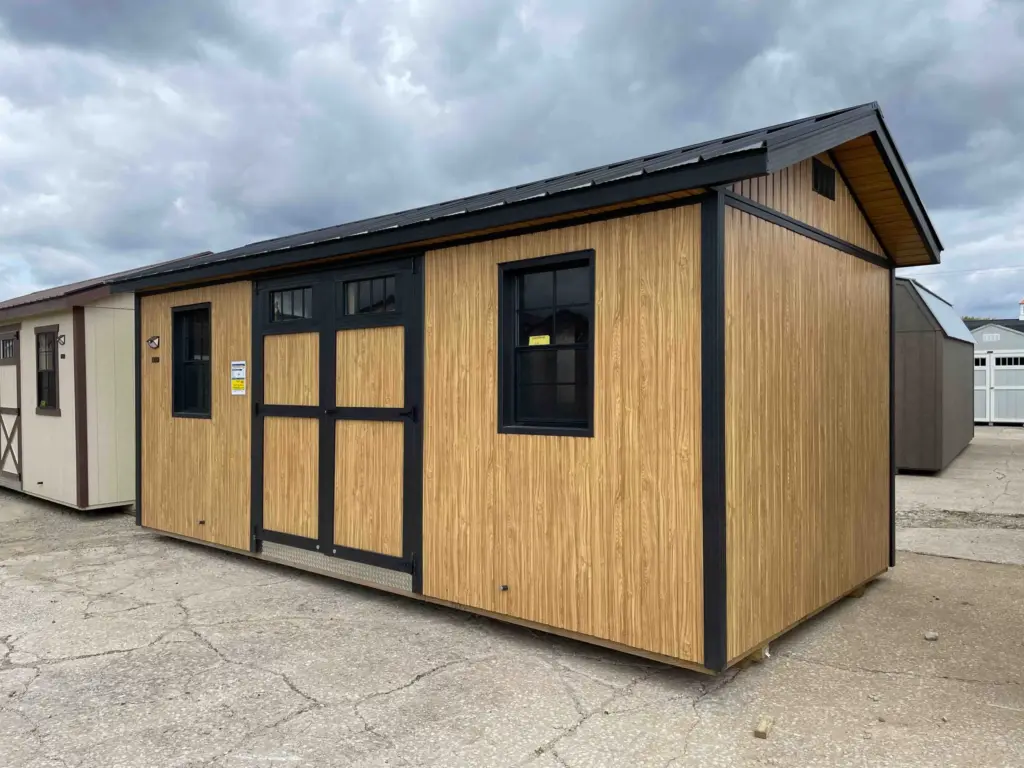
Why Air Sealing Matters
Unsealed gaps around the roof allow outdoor air, moisture, insects, and even rodents to enter. This can lead to temperature fluctuations, mold or mildew buildup, and faster deterioration of the structure. Proper air sealing not only guards your shed’s contents from the elements but also improves insulation performance if your shed is heated or cooled.
Inspect for Common Air Leaks
Before you start sealing, inspect the shed for common air leak points:
- Gaps at the junction of the roof and walls
- Cracks around vents or skylights
- Unsealed ridge caps
- Nail holes or screw penetrations in the sheathing
- Exposed seams between roofing panels
Use a flashlight to shine from inside the shed at night; if light escapes through the roof, that’s where air can too. You can also try the smoke pencil method on a windy day to detect moving air.
Use Caulk and Expanding Foam for Small Gaps
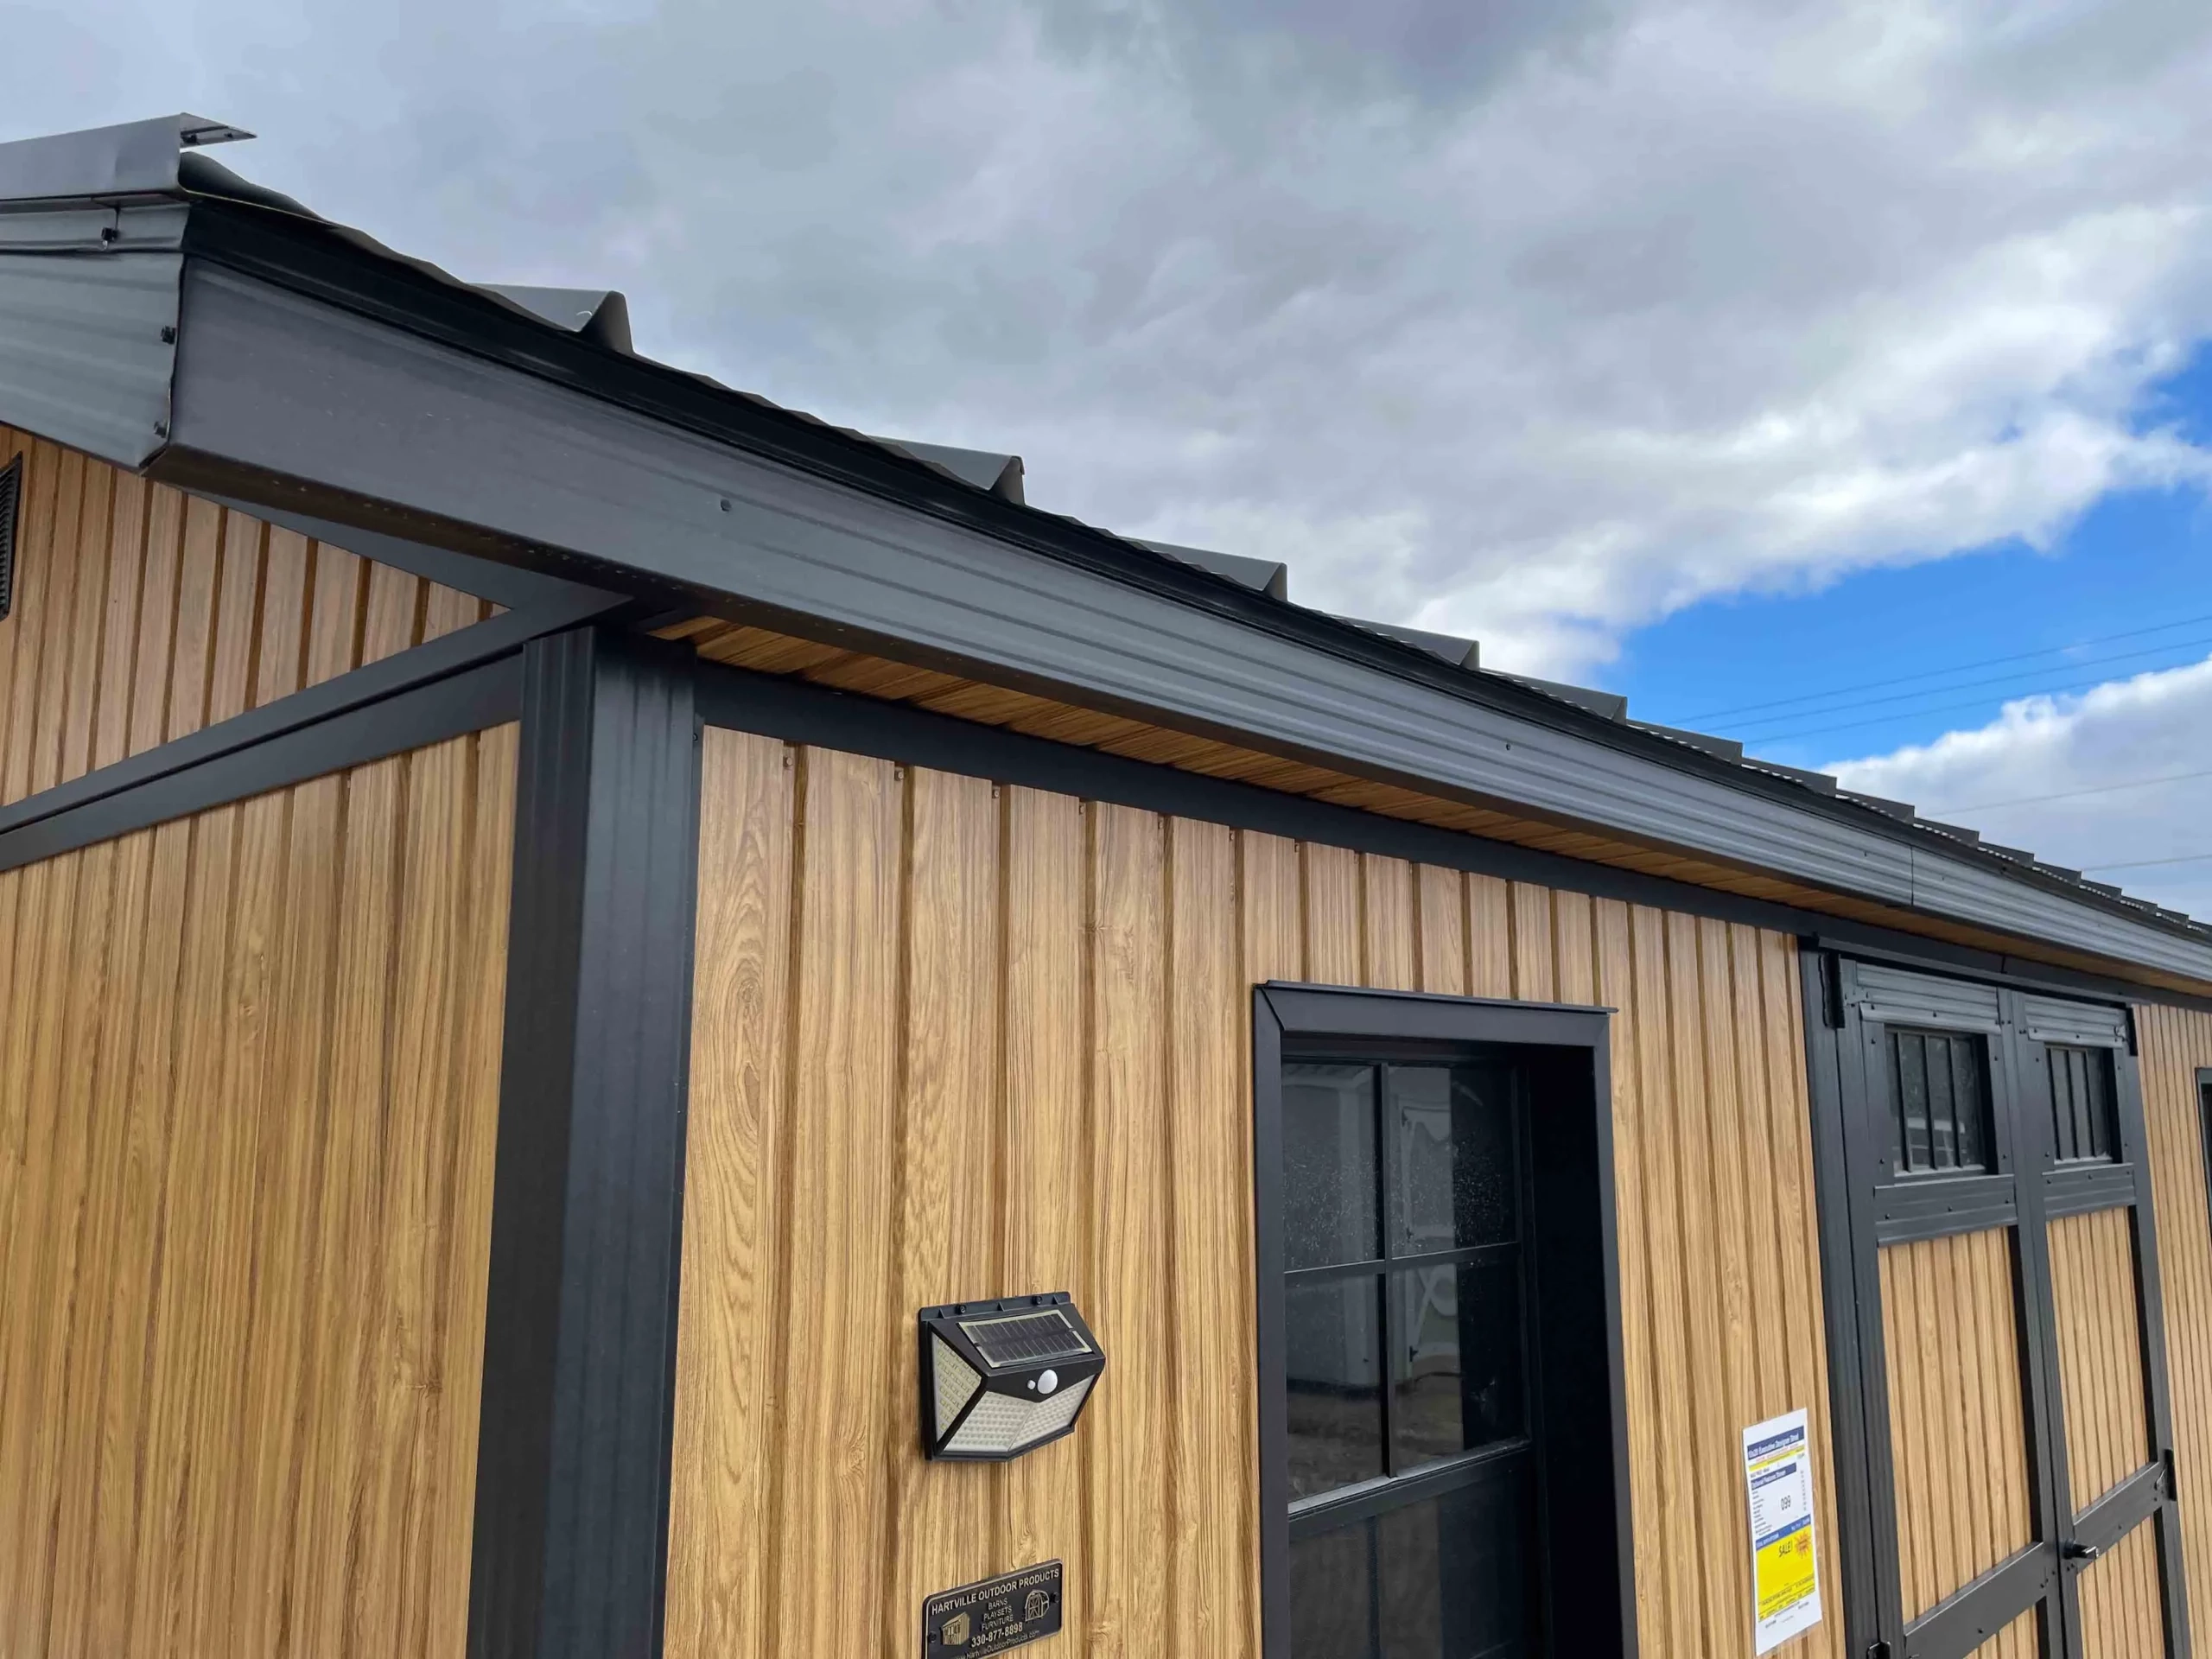
For minor cracks and seams around trim, fascia boards, or roofing panels, silicone or polyurethane caulk works well. For slightly larger holes or where materials expand and contract, low-expansion spray foam can fill in the gaps. Be sure to cut away any excess after it cures.
Avoid using caulk or foam in areas exposed to constant direct sunlight unless they’re UV-rated. Always read the manufacturer’s instructions and confirm the sealant is designed for exterior use.
Seal Between Roof Panels
If your shed uses metal or wooden roof panels, it’s common to find seams between them. These can be vulnerable to wind-driven rain or air leaks. Use roofing sealant or high-quality construction adhesive tape (such as flashing tape) to cover these seams. Flashing tape is a particularly useful product for long-term outdoor applications, and it’s often recommended in construction projects for durability.
Install Proper Flashing
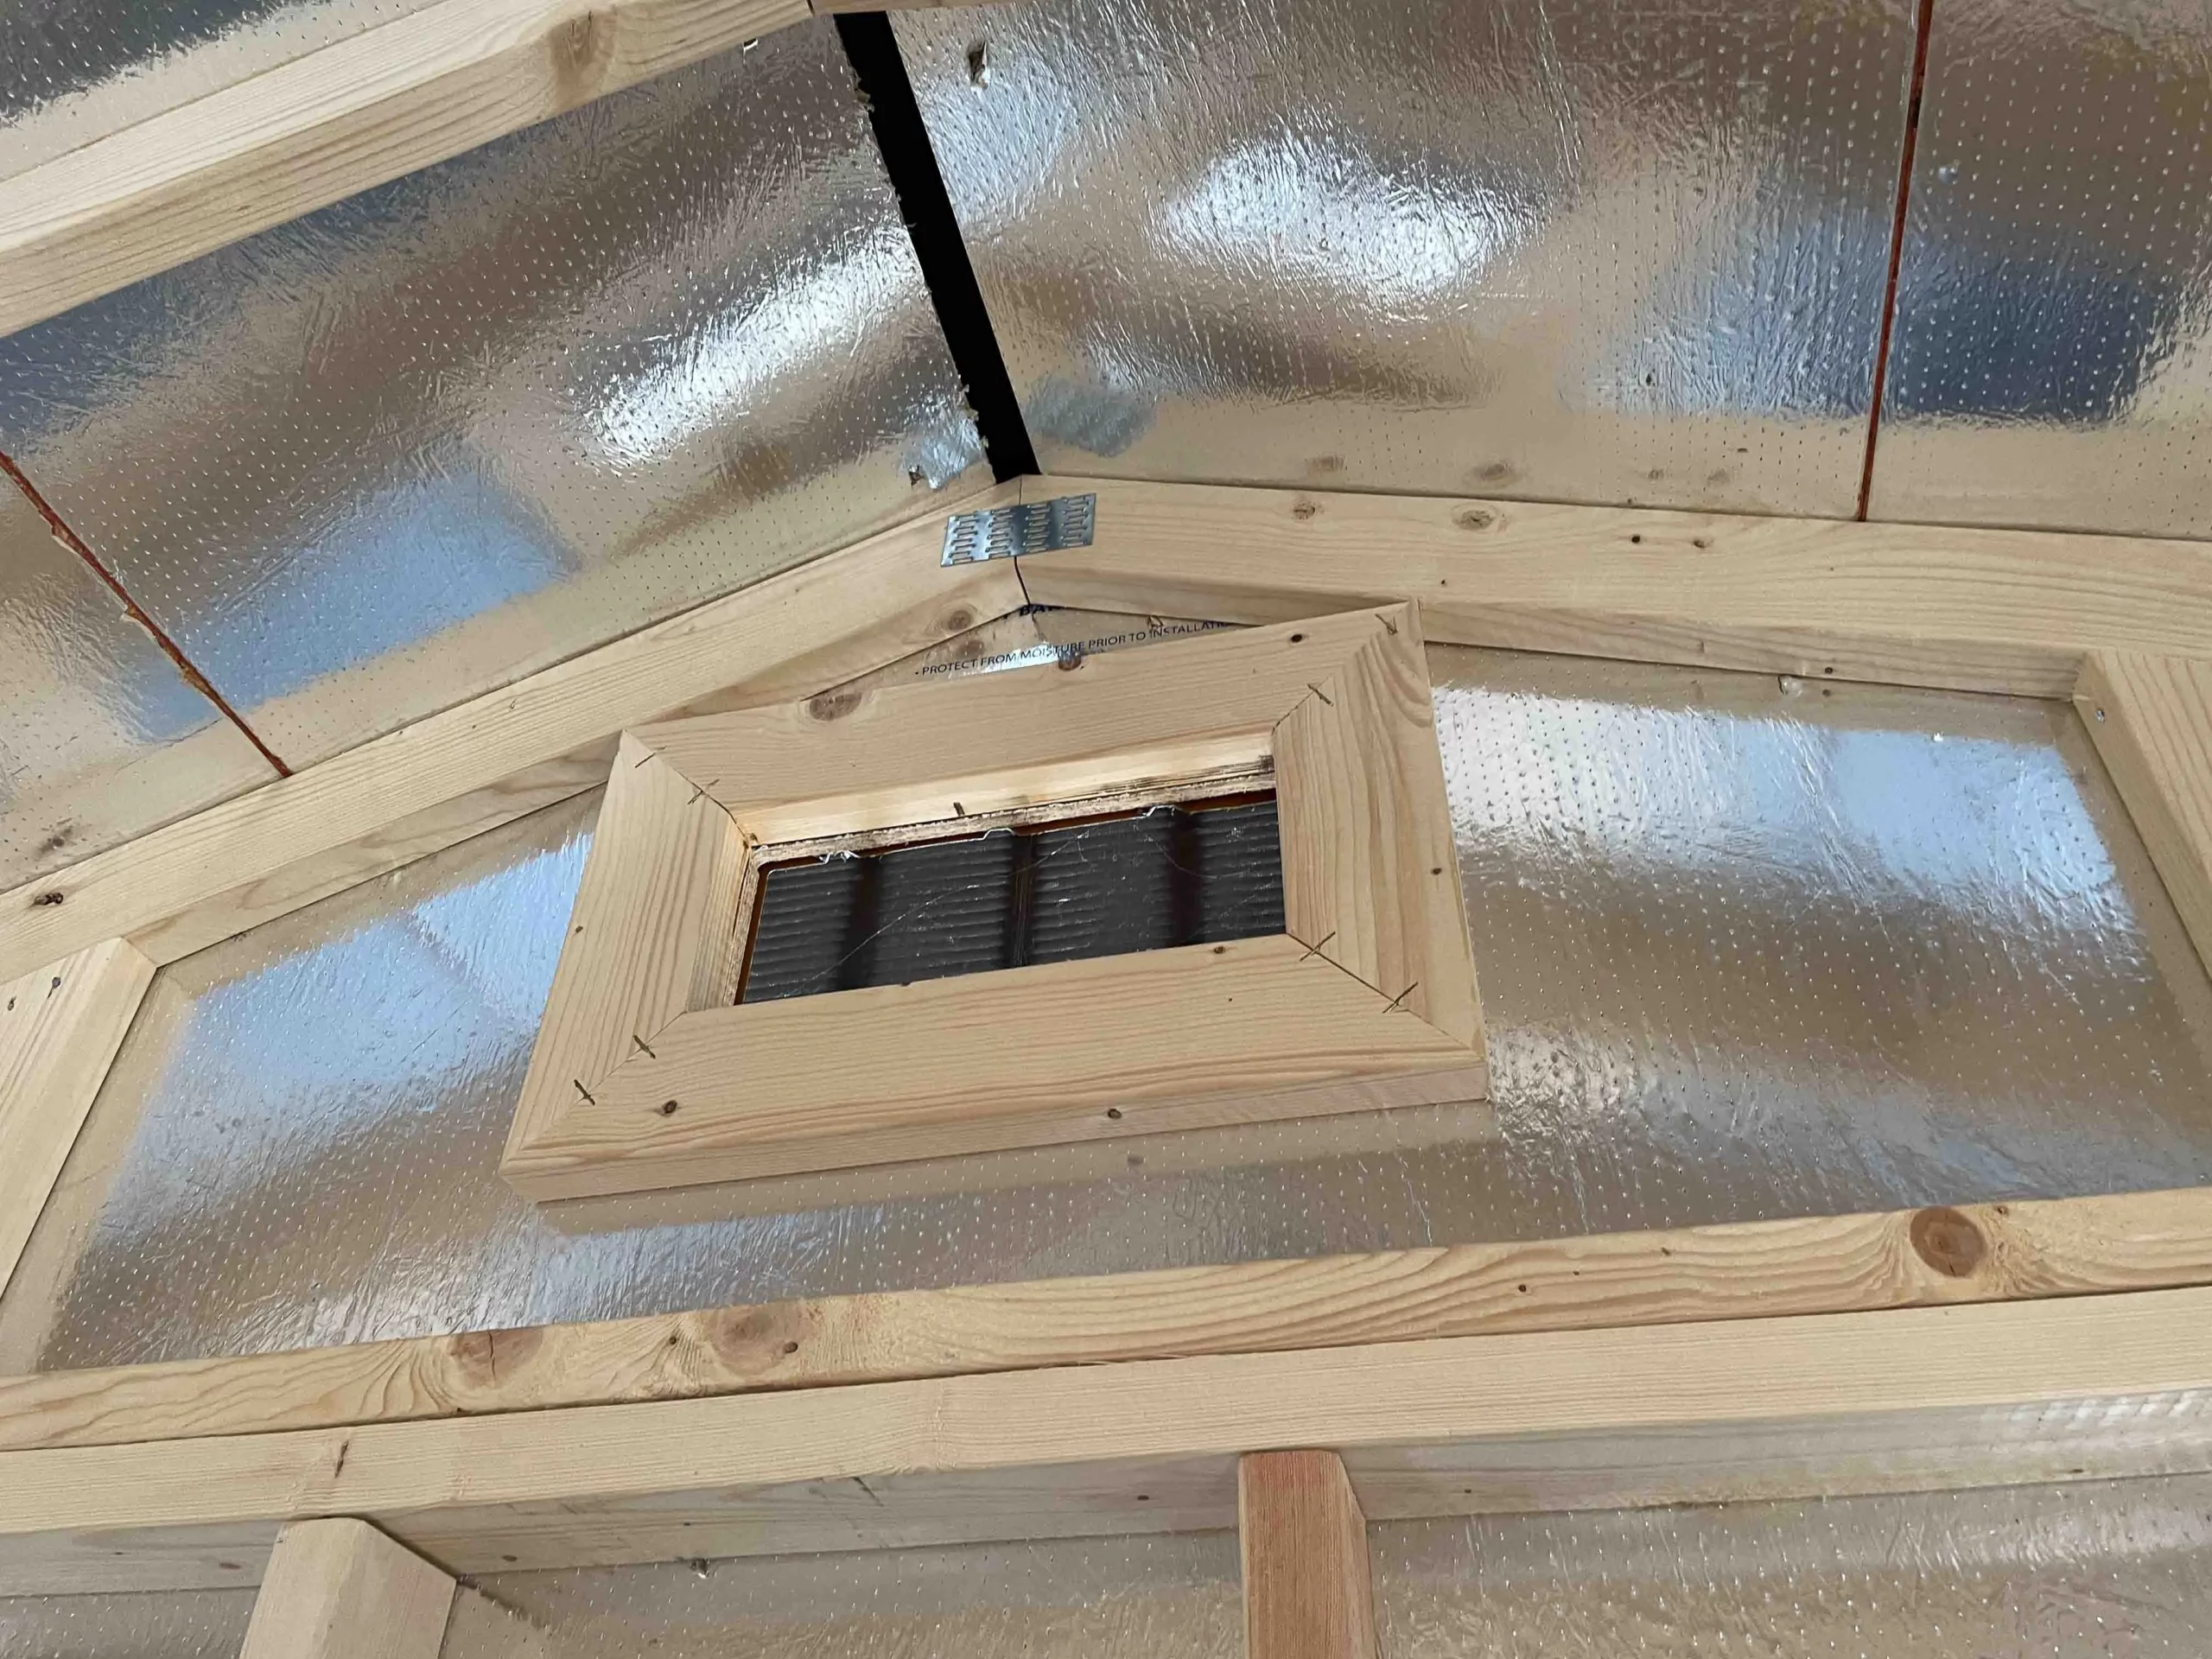
Adding flashing to key areas around the roof prevents water and air infiltration. Flashing should be installed around vents, skylights, chimneys, or any protrusions. At the ridge and eaves, flashing provides a second line of defense beneath your shingles or panels. When done properly, flashing bridges gaps and provides a smooth, waterproof barrier.
Insulate and Seal the Roof Deck (If Applicable)
If your shed is insulated, it’s especially important to seal the roof deck. Insulation without air sealing allows warm moist air to enter and condense on cooler surfaces. Use rigid foam boards between rafters and seal the edges with spray foam or foam tape. This method is useful for sheds converted into workshops or studios.
Also, check the area between the roof and top plate of the wall (the soffit). Air can easily enter through soffit vents or gaps. Use foam board or caulk to close off these gaps—just ensure you maintain necessary ventilation where required.
Add a Ridge Vent Baffle
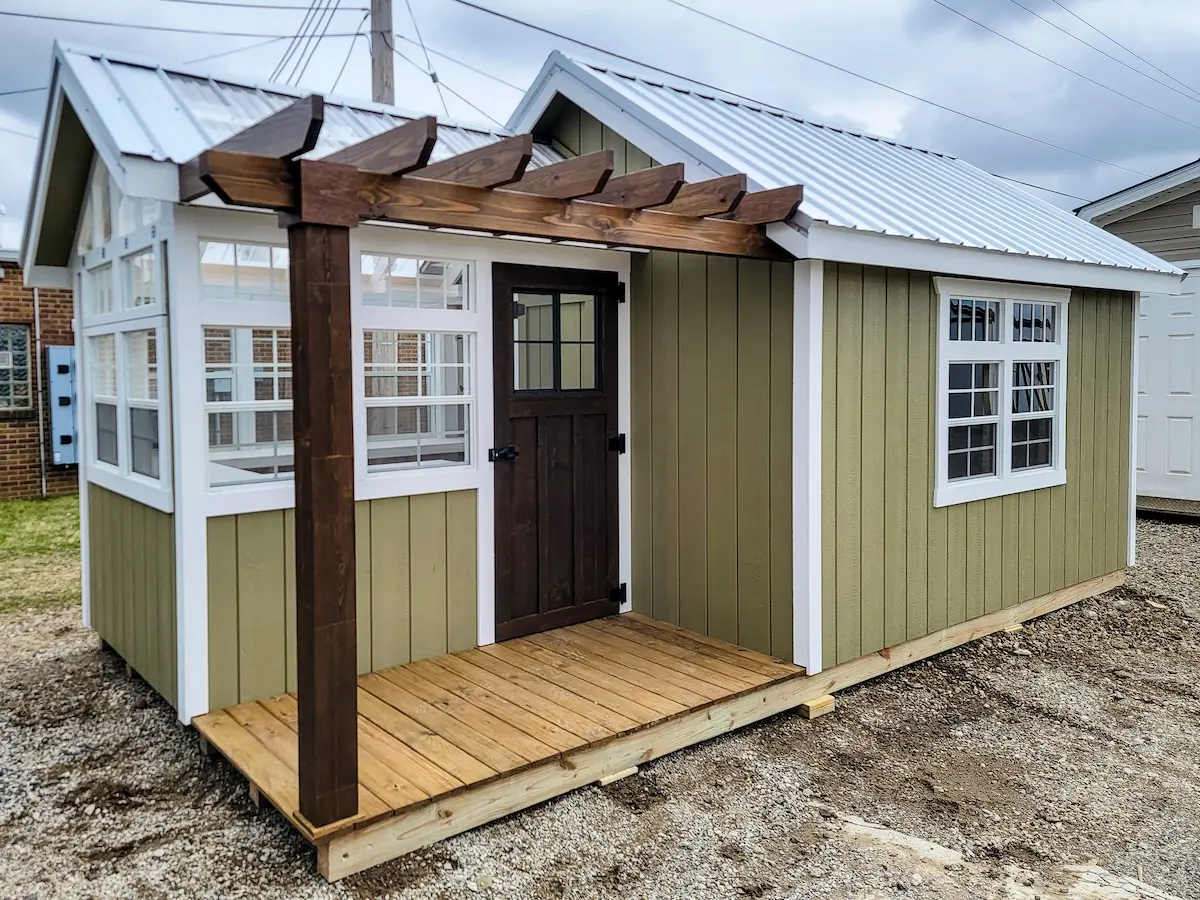
If your shed includes a ridge vent to help with airflow, install a baffle or weather-resistant vent insert. These allow air to circulate while preventing drafts and moisture from entering. Choose a baffle made of UV- and weather-resistant material for longer durability.
When combined with proper soffit vent sealing, a ridge vent baffle helps strike the balance between healthy ventilation and energy efficiency.
Maintain Proper Roof Ventilation
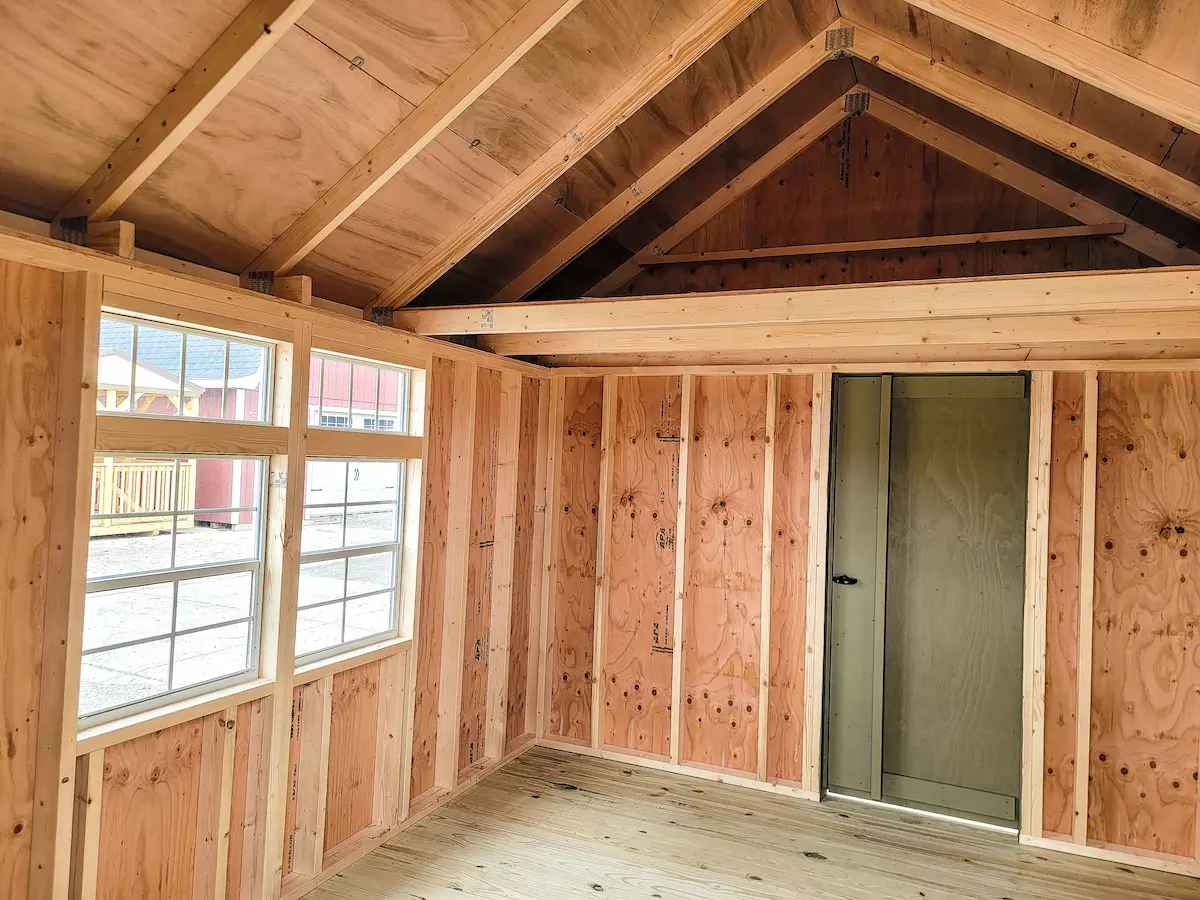
While air sealing is important, your shed roof still needs to breathe. A completely sealed attic space (even in a shed) can trap moisture and heat, especially during summer months. Use soffit vents, ridge vents, or gable vents in combination with your air sealing system. Products like Cor-A-Vent provide modern, easy-to-install venting systems that are popular in professional construction.
Use Weatherproof Barriers Under Shingles
During construction or reroofing, lay a high-quality underlayment like synthetic roofing felt beneath your shingles. This creates a layer that resists water and air while allowing vapor to escape. Make sure seams overlap and are securely fastened. You can also apply self-adhesive membranes for even greater protection around edges or valleys.
Routine Checks and Maintenance
Even after sealing, your shed can develop new air leaks over time. Seasonal maintenance is key. Check for signs of deterioration around seals, cracks forming from movement, or areas where rodents may have chewed through material. Reapply caulk or foam as needed. Brush away debris from roof edges and check inside for signs of daylight or moisture.
Choosing the Right Shed to Seal
If you’re beginning with a high-quality shed, you’ll have fewer issues with air leaks from the start. Hartville Outdoor Products offers a wide range of sheds designed with tight seams and solid roof construction. Their on the lot sheds and value series storage sheds provide a great starting point for any DIY roofing upgrade or air-sealing project.
These sheds come in various sizes and materials, offering dependable builds whether you’re storing tools or converting your shed into a comfortable workspace. Starting with the right structure can make sealing and insulating much easier.
Final Thoughts
Air sealing your shed roof might seem like a small detail, but it has a big impact. From protecting stored items and improving comfort to prolonging the life of the structure, the benefits are clear. By inspecting for leaks, sealing appropriately, and combining sealing with smart ventilation, you’ll ensure your shed remains sturdy, dry, and efficient year-round.
