
A strong shed starts with a strong floor. The walls and roof may get most of the attention, but the floor carries the structure, storage, tools, equipment, and people who use the building. Learning how to build a storage shed floor correctly helps prevent sagging, moisture damage, uneven doors, and premature wear. A well-built floor also makes the rest of the shed easier to frame because it gives you a square, level platform to work from.
Before cutting lumber, decide how large the shed will be and what you plan to store inside. A small garden shed has different load needs than a building used for riding mowers, heavy tools, shelving, or workshop equipment. You also need to think about drainage, ground conditions, foundation type, joist spacing, and subfloor material. Taking time to plan these details can save you from major repairs later. The floor should stay dry, remain level, and support the full weight of the shed for many years.
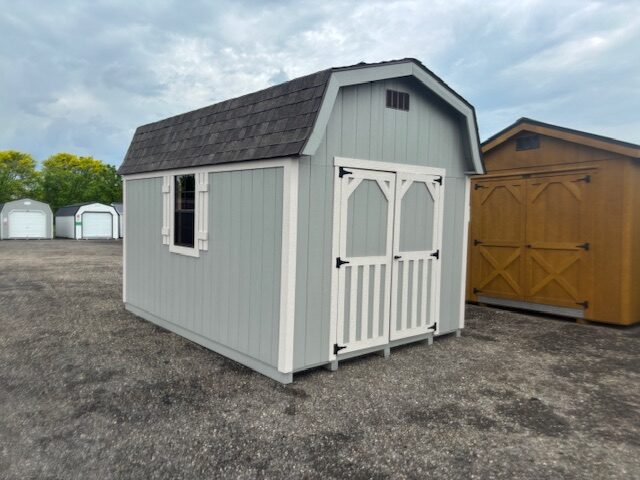
How To Build A Storage Shed Floor Correctly
Start with a clear floor plan that matches the outside dimensions of the shed. Mark the width and length, then decide how the floor frame will sit on the foundation. Most small sheds use treated skids, concrete blocks, gravel pads, piers, or another approved support system. Larger structures may require a more substantial foundation. The key is to create stable support before you build the floor frame. Never place untreated floor framing directly on wet soil because moisture can damage the lumber quickly.
Once the base is ready, build the floor frame from pressure-treated lumber where exposure to moisture is possible. Create a rectangular perimeter with rim joists, then install the interior joists at the spacing required by your design. Check the frame for square by measuring diagonally from corner to corner. Both measurements should match. If they do not, adjust the frame before fastening everything permanently. A square floor makes wall framing much easier and helps doors and siding fit correctly later.
Prepare A Level And Well-Drained Site
The floor will only stay level if the ground beneath it remains stable. Choose a location that does not collect standing water after rain. Remove grass, roots, topsoil, and loose organic material from the building area. These materials can settle or decompose over time. A compacted gravel pad often works well because it creates a stable base and allows water to drain away from the shed. Extend the gravel slightly beyond the building footprint to reduce mud and splash around the lower walls.
Check the site with a long level or laser level before construction begins. Correct low or high areas now rather than trying to compensate with the floor frame later. Also consider the surrounding grade. Water should move away from the building instead of toward it. If the property has a noticeable slope, you may need additional site preparation or a different foundation system. Homeowners comparing shed sizes and foundation needs can browse in-stock storage sheds from Hartville Outdoor Products to see how different building sizes affect floor area and overall footprint.
Choose The Right Foundation For The Shed
The foundation supports the floor and helps protect it from ground moisture. Small storage sheds often sit on treated skids placed over compacted gravel. Concrete blocks can also provide support when local conditions and building size allow it. Other designs use concrete piers or slabs. The right choice depends on soil, climate, shed size, intended load, and local building requirements. A heavy shed or one that stores equipment may need more support than a lightweight garden structure.
Whatever foundation you choose, spread the supports evenly beneath the floor. Concentrated loads can cause joists or skids to sag when support points sit too far apart. Make sure each support remains level with the others. Do not rely on loose stones, scrap wood, or unstable materials to raise one corner. These temporary fixes can shift over time. Check local rules before construction because some communities regulate shed foundations, setbacks, and building permits. A stable foundation is worth the extra effort because every part of the shed depends on it.
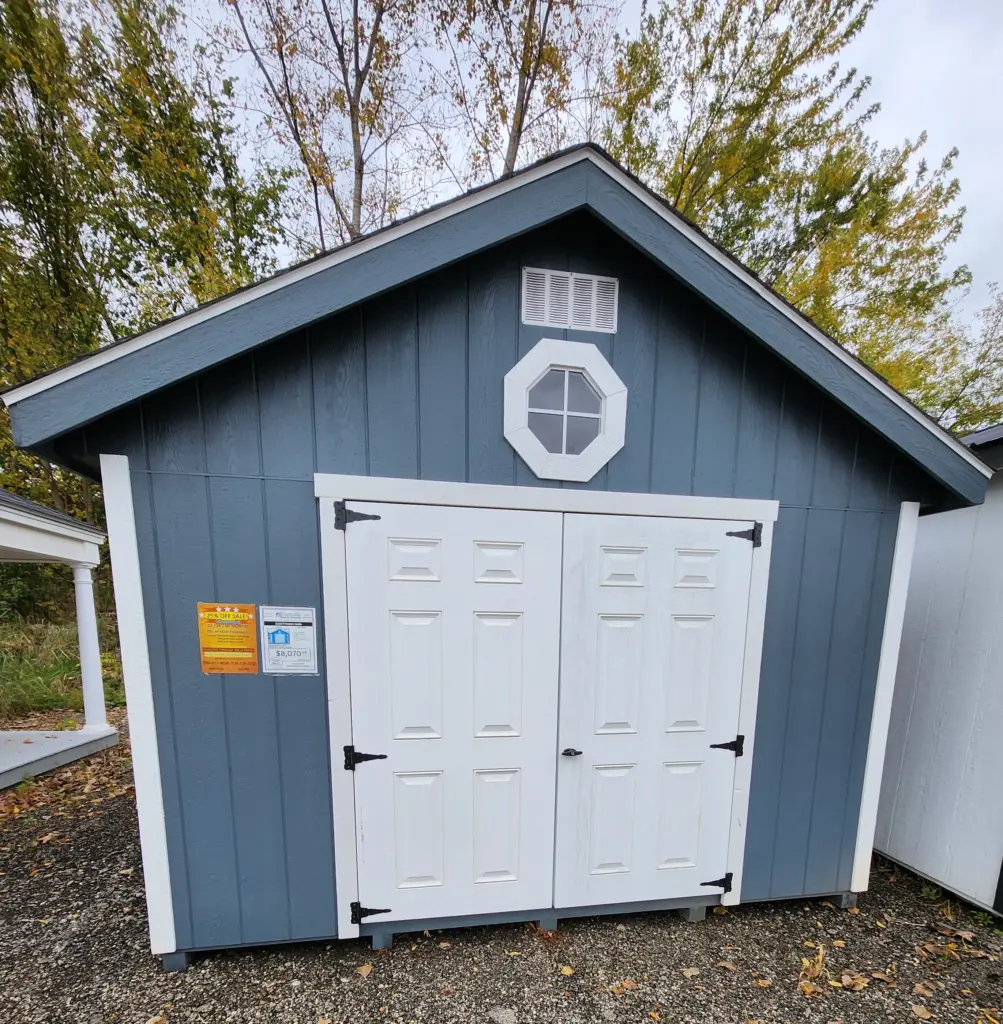
Frame The Floor With Properly Spaced Joists
Floor joists carry the load between the foundation supports. Their size and spacing depend on the shed width, span, and expected weight. Many small sheds use dimensional lumber spaced at regular intervals across the frame. Place the joists with their crowns facing the same direction when possible. Fasten them securely to the rim boards with suitable structural fasteners or joist hangers when the design requires them. Keep the spacing consistent so the subfloor receives support along every edge.
Think about heavy storage before finalizing the joist layout. A riding mower, workbench, large tool chest, or stacked equipment can place much more weight on the floor than ordinary garden supplies. You may need larger joists, closer spacing, or extra blocking in high-load areas. Add blocking where it improves stiffness or supports subfloor edges. Once the frame is complete, walk around it and check for movement. A properly supported frame should feel solid before you add the floor sheathing.
Install A Durable Shed Subfloor
After framing, cover the joists with a strong subfloor material. Exterior-rated plywood or suitable oriented strand board often works well for storage sheds. Choose a thickness that matches the joist spacing and expected loads. Place panels so their long dimension runs across the joists rather than parallel to them. Stagger panel joints when practical and leave the manufacturer-recommended expansion gap between sheets. These gaps give the material room to respond to changes in moisture and temperature.
Fasten each panel securely to the joists with appropriate screws or nails. Make sure panel edges land on framing rather than hanging unsupported between joists. Pay extra attention near door openings because repeated foot traffic and equipment movement can stress the floor in that area. If you plan to roll a mower or heavy cart into the shed, keep the entrance level and well supported. A smooth, solid subfloor makes storage easier and creates a dependable surface for shelves, cabinets, and interior finishing.
Protect The Floor From Moisture And Rot
Moisture causes many shed floor problems. Start by keeping the floor framing above wet soil. Use pressure-treated lumber where the design exposes wood to moisture. Maintain drainage around the building and keep roof runoff away from the foundation. Gutters can help on larger sheds, while proper grading can direct water away from smaller buildings. Check the bottom edge of siding too. It should not trap water against the floor framing.
Ventilation beneath an elevated shed can also help the floor dry after wet weather. Avoid sealing the space underneath in a way that traps moisture. Inspect the floor every year for soft spots, discoloration, mildew, or signs of insect activity. Repair leaks before they damage the framing. For general background on how moisture affects wood, see wood preservation on Wikipedia. Keeping the floor dry remains one of the best ways to extend the life of any wood-framed storage building.
Check The Floor Before Building The Walls
Before framing walls, inspect the entire floor platform. Measure the diagonals again and confirm that the frame remains square. Check the level across several directions. Make sure all subfloor fasteners sit flush and every panel edge has support. Look for loose joists, gaps, or areas that flex under your weight. Correct these issues now. Once walls and roofing go up, floor repairs become much harder.
Mark the wall layout directly on the completed floor. This helps you position bottom plates accurately and keeps the walls aligned with the perimeter. Check door locations one more time before framing begins. If the shed will have a ramp, plan the threshold height now so the future ramp meets the floor smoothly. A careful final inspection gives you confidence that the platform can support the rest of the building. It also reduces the chance that small floor mistakes turn into larger framing problems later.
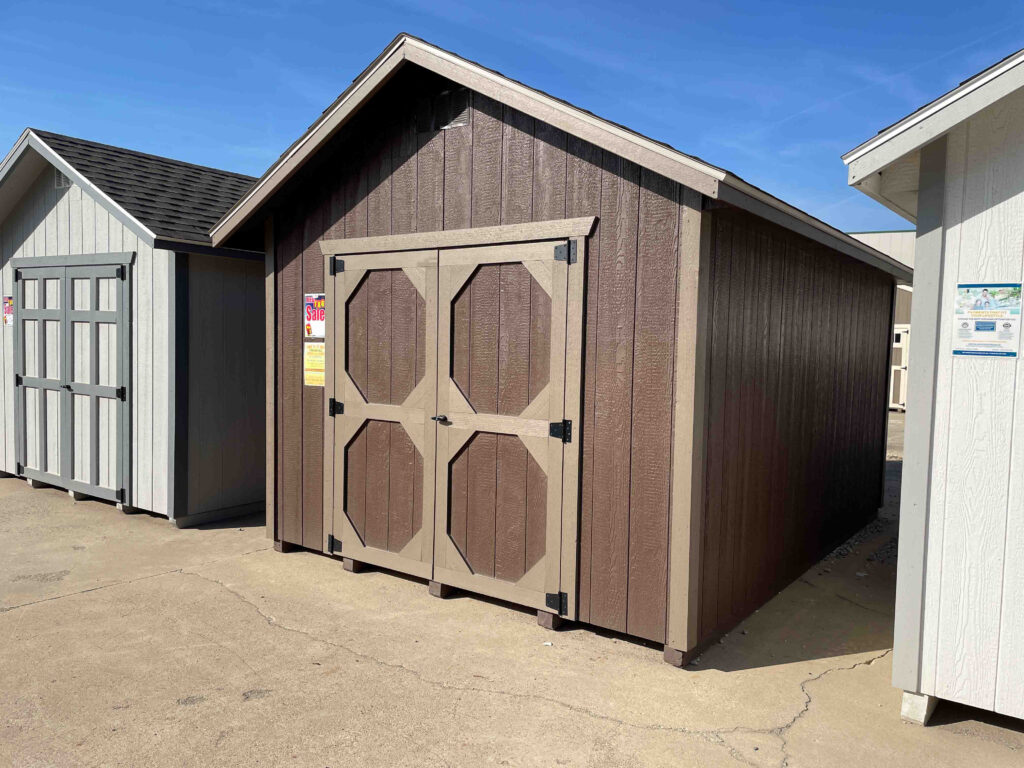
Start With A Floor Built For Long-Term Storage
Knowing how to build a storage shed floor gives you a strong starting point for the entire structure. Begin with a level, well-drained site and choose a foundation that matches the shed size and local conditions. Build a square frame, space the joists properly, and use a durable subfloor. Protect the lumber from moisture and check the platform carefully before adding walls. These steps create a floor that can handle storage, foot traffic, and equipment without excessive movement.
If you would rather skip the floor framing process, Hartville Outdoor Products offers storage sheds in a wide range of sizes and styles. Buyers can compare ready-built structures for lawn equipment, household storage, tools, hobbies, and other property needs. A professionally built shed can reduce the amount of site construction required while still giving you useful choices in size and layout. Whether you build from scratch or choose a finished structure, start with a stable base. A dependable floor helps every other part of the shed perform better for years.