
Wooden pallets can provide an affordable starting point for a backyard chicken shelter, especially when you already have access to clean, sturdy pallets in similar sizes. However, building with reclaimed materials requires more planning than simply fastening several pallets together. Learning how to make a chicken coop out of pallets means checking the wood carefully, creating a stable base, closing gaps, adding weather protection, and designing an interior that supports the needs of your flock. Pallets can supply useful lumber and wall sections, but they should become part of a complete structure rather than serving as the entire finished coop without modification.
Before starting, decide how many chickens the coop will house and where the structure will sit. You will need space for roosts, nesting boxes, ventilation, feeding, cleaning, and secure outdoor access. Inspect every pallet before using it and reject wood that is rotten, heavily stained, contaminated, broken, or structurally weak. Building the coop carefully from the beginning can make it easier to clean, more comfortable for chickens, and far more resistant to predators and severe weather.
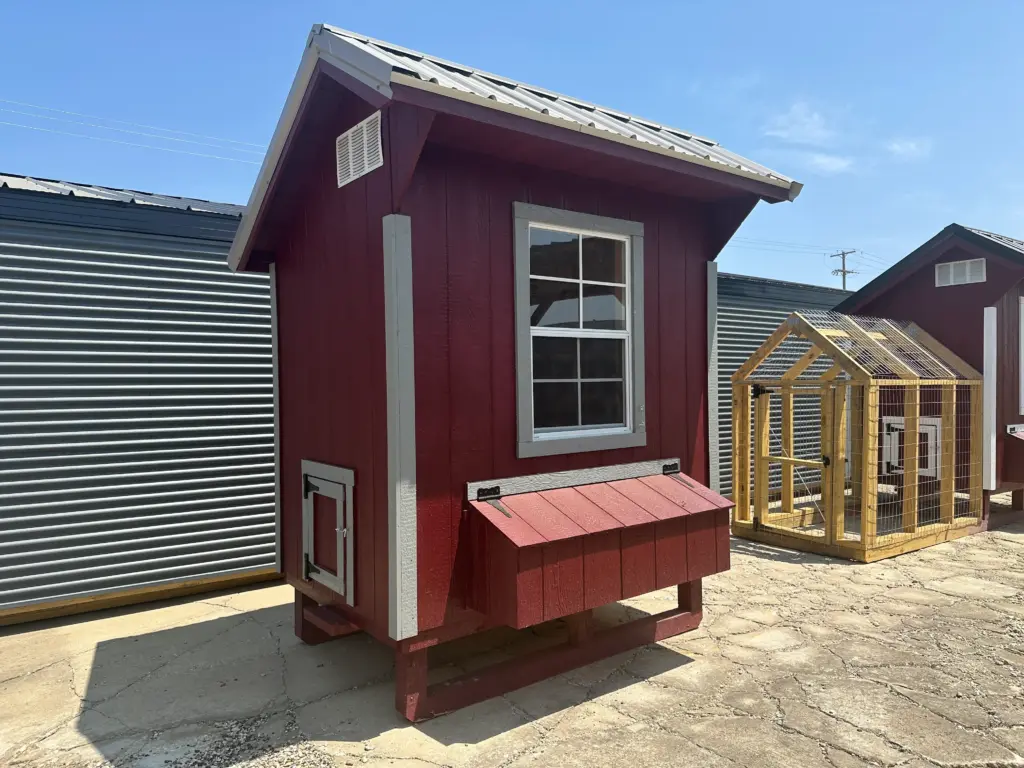
How To Make A Chicken Coop Out Of Pallets Safely
Begin by collecting more pallets than you think the project will require. Some boards may split during disassembly, while other sections may be too damaged to reuse. Look for pallets that are dry, solid, and free from strong odors, unknown spills, mold, or extensive deterioration. Inspect each piece for protruding nails, screws, staples, and sharp edges. Remove or flatten every exposed fastener before chickens have access to the structure. Reclaimed wood can work well for framing and siding, but only when its condition is suitable for a structure that animals will occupy every day.
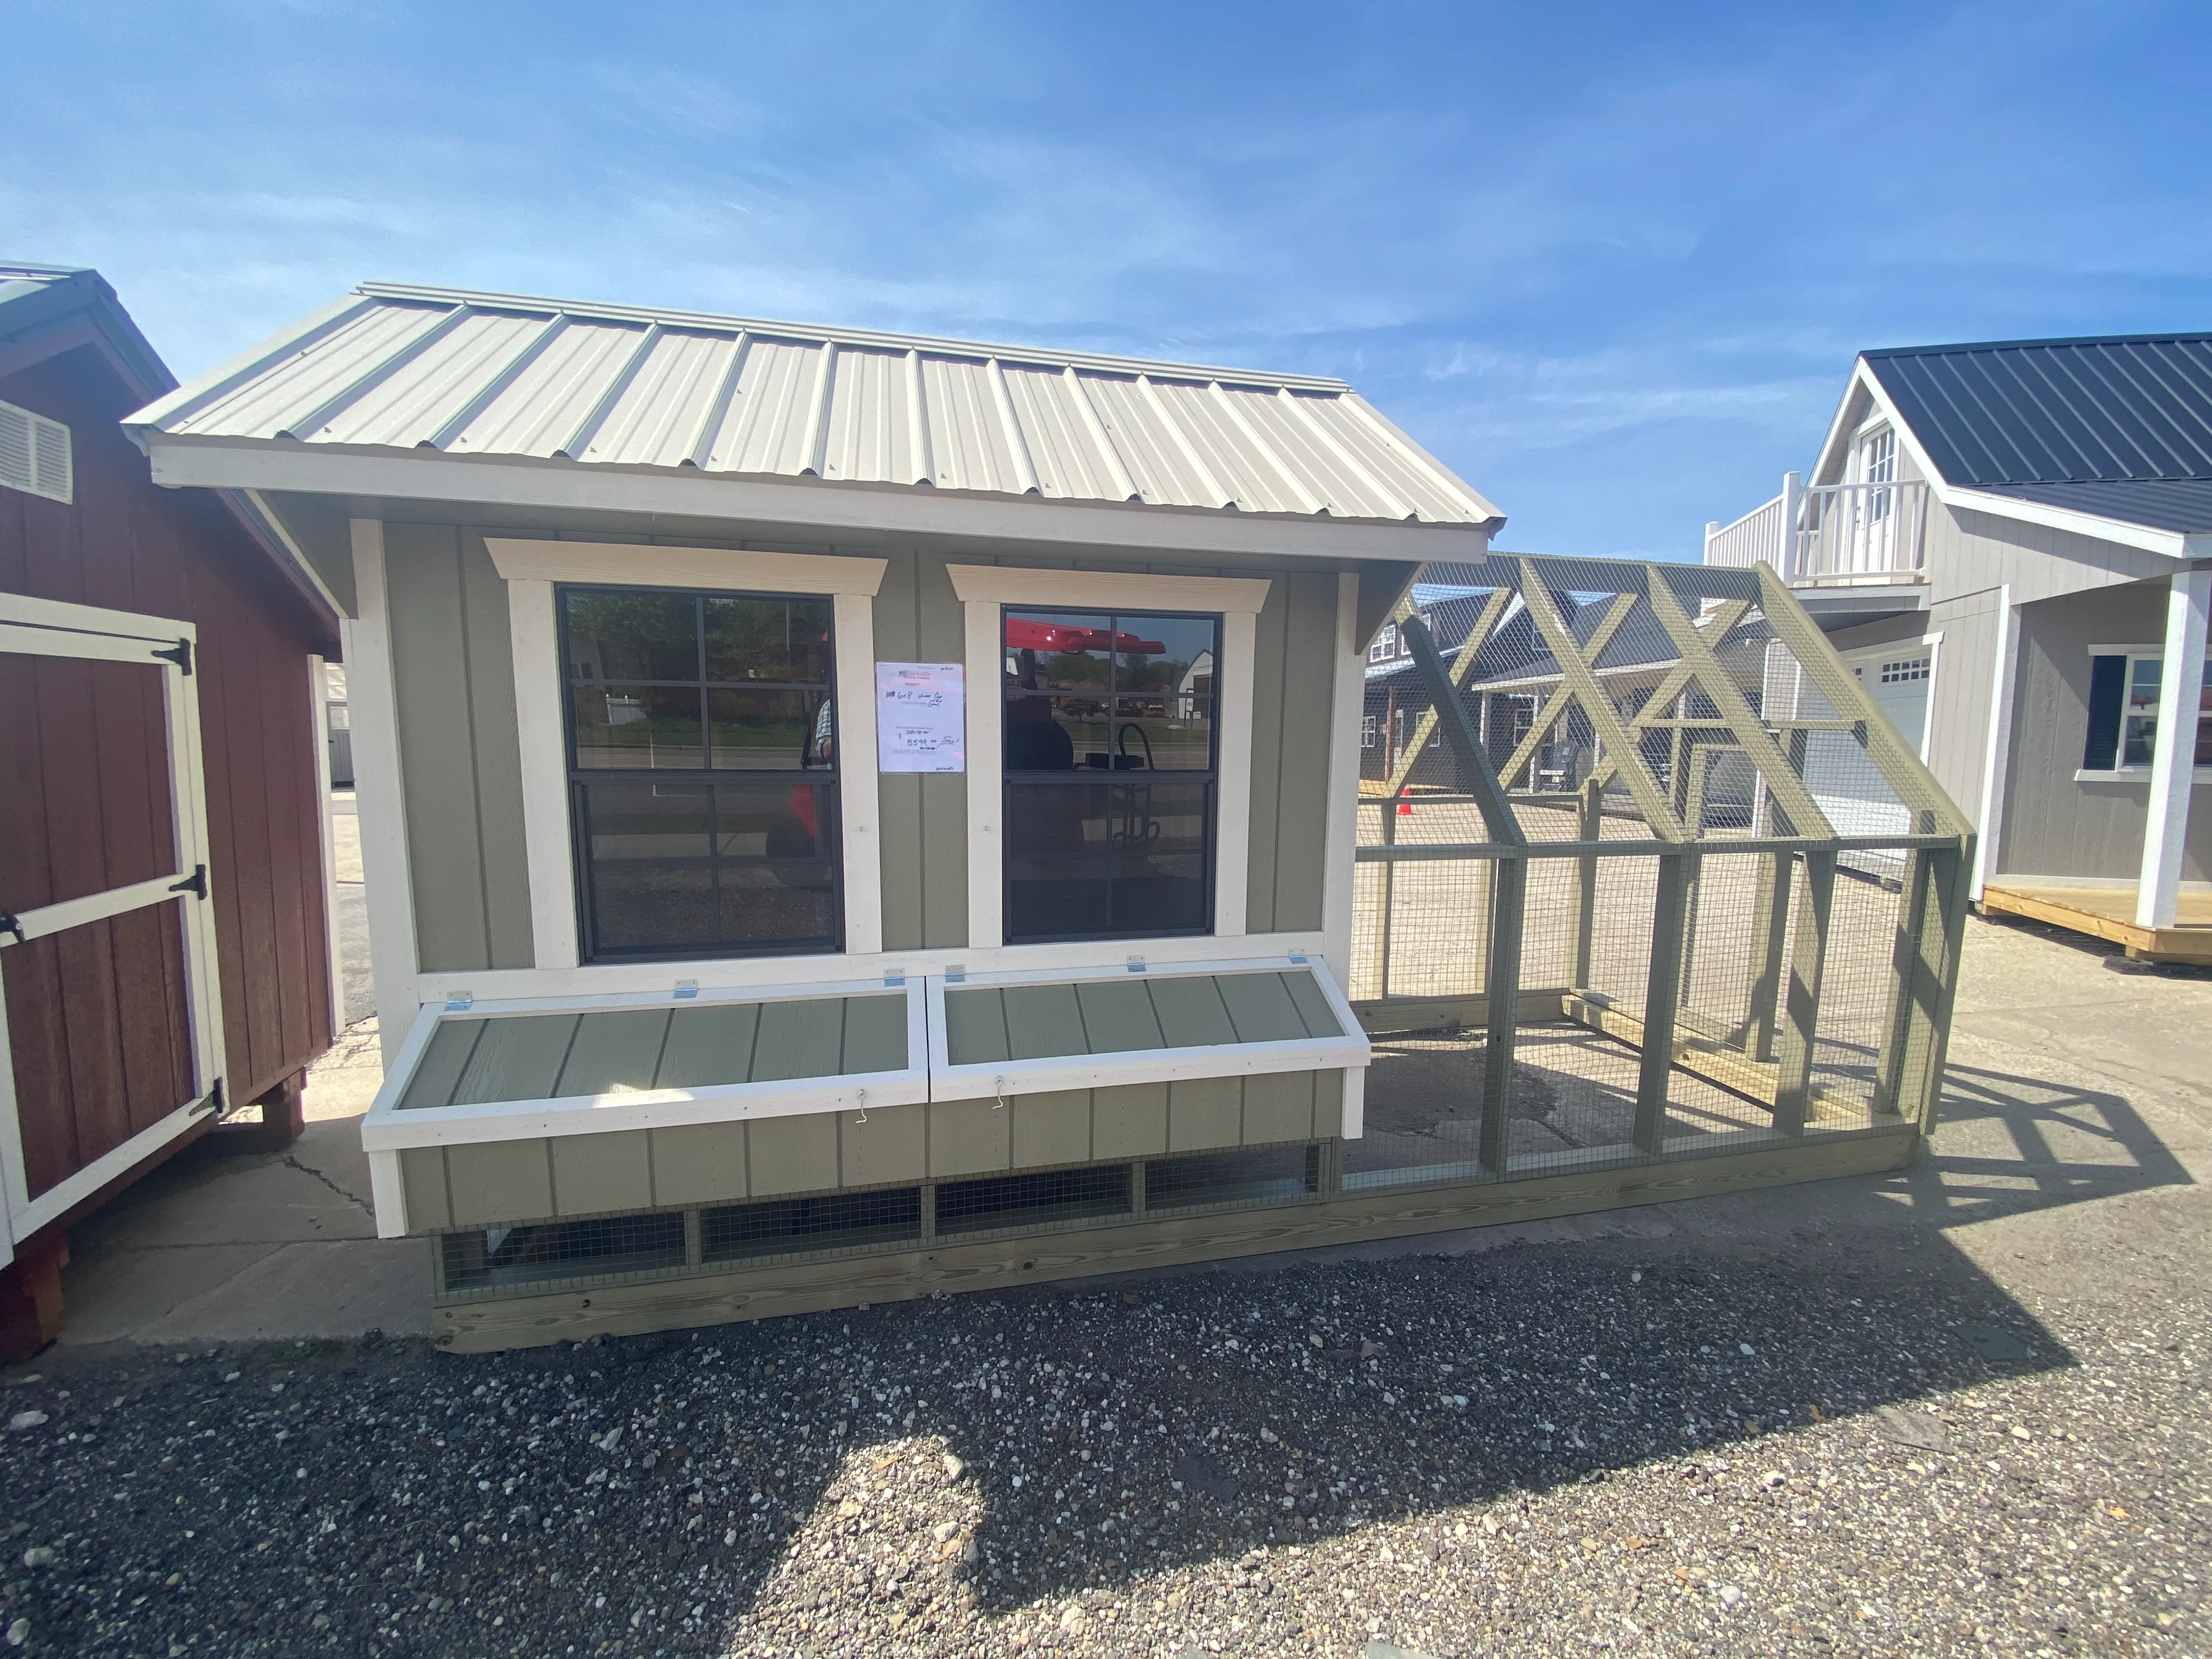
You can use complete pallets as portions of wall framing, dismantle them for individual boards, or combine both methods. Full pallets make construction faster, while individual boards allow you to close gaps and create cleaner exterior surfaces. Whatever method you choose, do not leave the original pallet openings exposed as the finished wall. Chickens need better protection from wind, rain, predators, and temperature changes. If you want to compare a DIY design with a finished structure, Hartville Outdoor Products currently offers a 6×8 chicken coop with a run that combines an enclosed shelter with protected outdoor space.
Choose A Dry And Convenient Location
A pallet coop should be placed on a well-drained part of the property rather than in a low spot where rainwater collects. Constant moisture can shorten the life of reclaimed wood and create wet conditions around the chickens. Look at the yard after a heavy rain and identify areas where water drains naturally. A slightly elevated location is often better than a depression. Positioning the coop where it receives some morning sunlight can also help dry damp surfaces, while afternoon shade may reduce overheating during warm weather. Make sure roof runoff from another structure does not drain directly toward the coop.
Daily convenience matters too. Chickens need regular feeding, fresh water, egg collection, observation, and cleaning. A coop placed at the farthest corner of a large property may become inconvenient during bad weather. Leave a clear walking path and enough room around the structure for maintenance. You may eventually need to repair siding, replace roofing, move bedding with a wheelbarrow, or expand the outdoor run. Check local rules concerning backyard chickens and accessory structures before construction begins. Some communities regulate flock size, setbacks, structure placement, or whether poultry can be kept on certain residential properties.
Build A Stable Base And Pallet Floor
The base should support the coop while keeping untreated or reclaimed wood away from continuously wet soil. Depending on the design and local conditions, the structure may sit on suitable skids, blocks, piers, or another properly prepared foundation. Level the base before constructing walls because an uneven platform can make the entire coop difficult to square. If you use pallets in the floor system, make sure they are strong enough to support the framing, bedding, chickens, feeders, waterers, and people who may enter for cleaning. Weak pallets should never be used as structural floor components.
Cover the pallet floor with a suitable solid surface rather than leaving large openings between pallet boards. Open gaps can collect manure and bedding while creating entry points for rodents and other animals. A smooth floor is easier to sweep and clean. Close perimeter gaps carefully and check underneath the structure for possible access points. Raising the floor slightly can help protect it from ground moisture, but the space beneath the coop must not become an easy hiding area for wildlife. Once the floor is level, measure the corners diagonally to confirm that the platform is square before beginning the walls.
Build And Strengthen The Pallet Walls
Stand the strongest pallets around the floor platform to establish the basic wall layout. Fasten them securely to the base and to one another rather than relying on a few nails to hold complete wall sections together. Add conventional lumber where needed to strengthen corners, support openings, and create solid connections for the roof. Temporary diagonal braces can help keep walls plumb while the remaining framing is installed. Plan openings for a human access door, chicken door, windows, vents, and nesting-box access before covering the walls.
After the basic frame is secure, cover large pallet openings. Salvaged pallet boards can be used as siding when they are suitable, although additional exterior materials may provide better weather protection. Overlap or arrange boards carefully so rain cannot easily enter through horizontal gaps. Pay particular attention to corners and the bottom of walls, where small openings can become entry points for predators. The finished wall should feel solid when pushed gently. Pallets are useful building materials, but the final coop still needs the stability expected from any outdoor structure. Reinforcing weak sections during construction is easier than repairing moving walls after the roof and interior have been completed.
Add A Weather-Resistant Roof And Ventilation
Do not rely on another pallet as the finished roof. Build a properly sloped roof frame that carries water away from the walls and entrances. Rafters or another suitable roof-framing system can be attached to reinforced wall plates, followed by appropriate sheathing and roofing material. Metal roofing can be a practical choice for small animal structures when installed correctly. Extend the roof beyond the walls enough to help reduce rain exposure around openings. Flash vulnerable transitions and make sure water does not drain directly into the chicken run or against the foundation.
Ventilation is equally important. Chickens release moisture through respiration and manure, so completely sealing every wall opening can create humid, unhealthy interior conditions. Install protected vents high on the walls where warm, moist air can escape without directing strong drafts across roosting birds. Openings should be covered with durable hardware cloth or another secure material that prevents wildlife from entering. Windows can provide natural light and additional warm-weather ventilation, but they should close securely when necessary. A good coop balances weather protection with airflow. The goal is to prevent rain and direct drafts while still allowing moisture and stale air to leave the building.
Install Nesting Boxes, Roosts, And Chicken Doors
Once the structure is enclosed, organize the interior around normal chicken behavior. Install sturdy roosting bars above floor level so the flock has an appropriate place to sleep. Keep roosts away from strong drafts and position them where droppings will not fall directly into feeders, waterers, or nesting boxes. Make the roosting area accessible for cleaning because manure will accumulate below it. Smooth any rough recycled boards used inside the coop and remove sharp fasteners that could injure birds as they jump between the floor and roosts.
Nesting boxes should provide hens with a quieter place to lay eggs. Position them below the primary roosts so the chickens are less likely to sleep inside them. Make egg collection easy by placing the boxes where you can reach them without crawling into a difficult corner. The chicken entrance should also be large enough for the flock to move through comfortably and should close securely at night. A separate human-sized access door will make cleaning much easier. Do not design the coop only around the chickens’ entry needs. You will regularly carry bedding, feed, tools, water containers, and cleaning equipment into or around the structure.
Protect The Pallet Coop From Predators And Disease
Predator protection requires more than simply closing the chicken door at night. Inspect the entire structure for spaces where animals could squeeze, chew, climb, or dig their way inside. Reinforce weak pallet boards and cover ventilation openings with secure hardware cloth. A protected outdoor run should use sturdy framing and materials designed to resist wildlife. Pay close attention to the lower edge of the enclosure because digging predators may attempt to enter underneath it. Gates need reliable latches, and the top of the run may require protection from climbing or flying animals depending on local conditions.
Good coop design should also support regular cleaning and flock health. Remove wet bedding, keep water containers clean, limit access by rodents and wild birds, and avoid allowing manure to accumulate excessively. The USDA Animal and Plant Health Inspection Service provides its official Defend the Flock program with biosecurity resources intended to help poultry keepers reduce the risk of infectious diseases. Design your pallet coop so these routine practices are easy. Large doors, accessible corners, removable interior components, and suitable storage for clean feed can make ongoing maintenance much more manageable.
Decide Whether A Pallet Coop Or Finished Coop Fits Better
Understanding how to make a chicken coop out of pallets can help you turn reclaimed lumber into a useful backyard structure, but the project requires more than stacking pallets together. A durable coop needs a stable foundation, reinforced framing, solid flooring, secure walls, a weather-resistant roof, controlled ventilation, nesting boxes, roosting space, predator protection, and convenient cleaning access. Pallet construction can reduce the amount of new lumber required, but damaged or unsuitable reclaimed materials should never be used simply to lower the project cost.
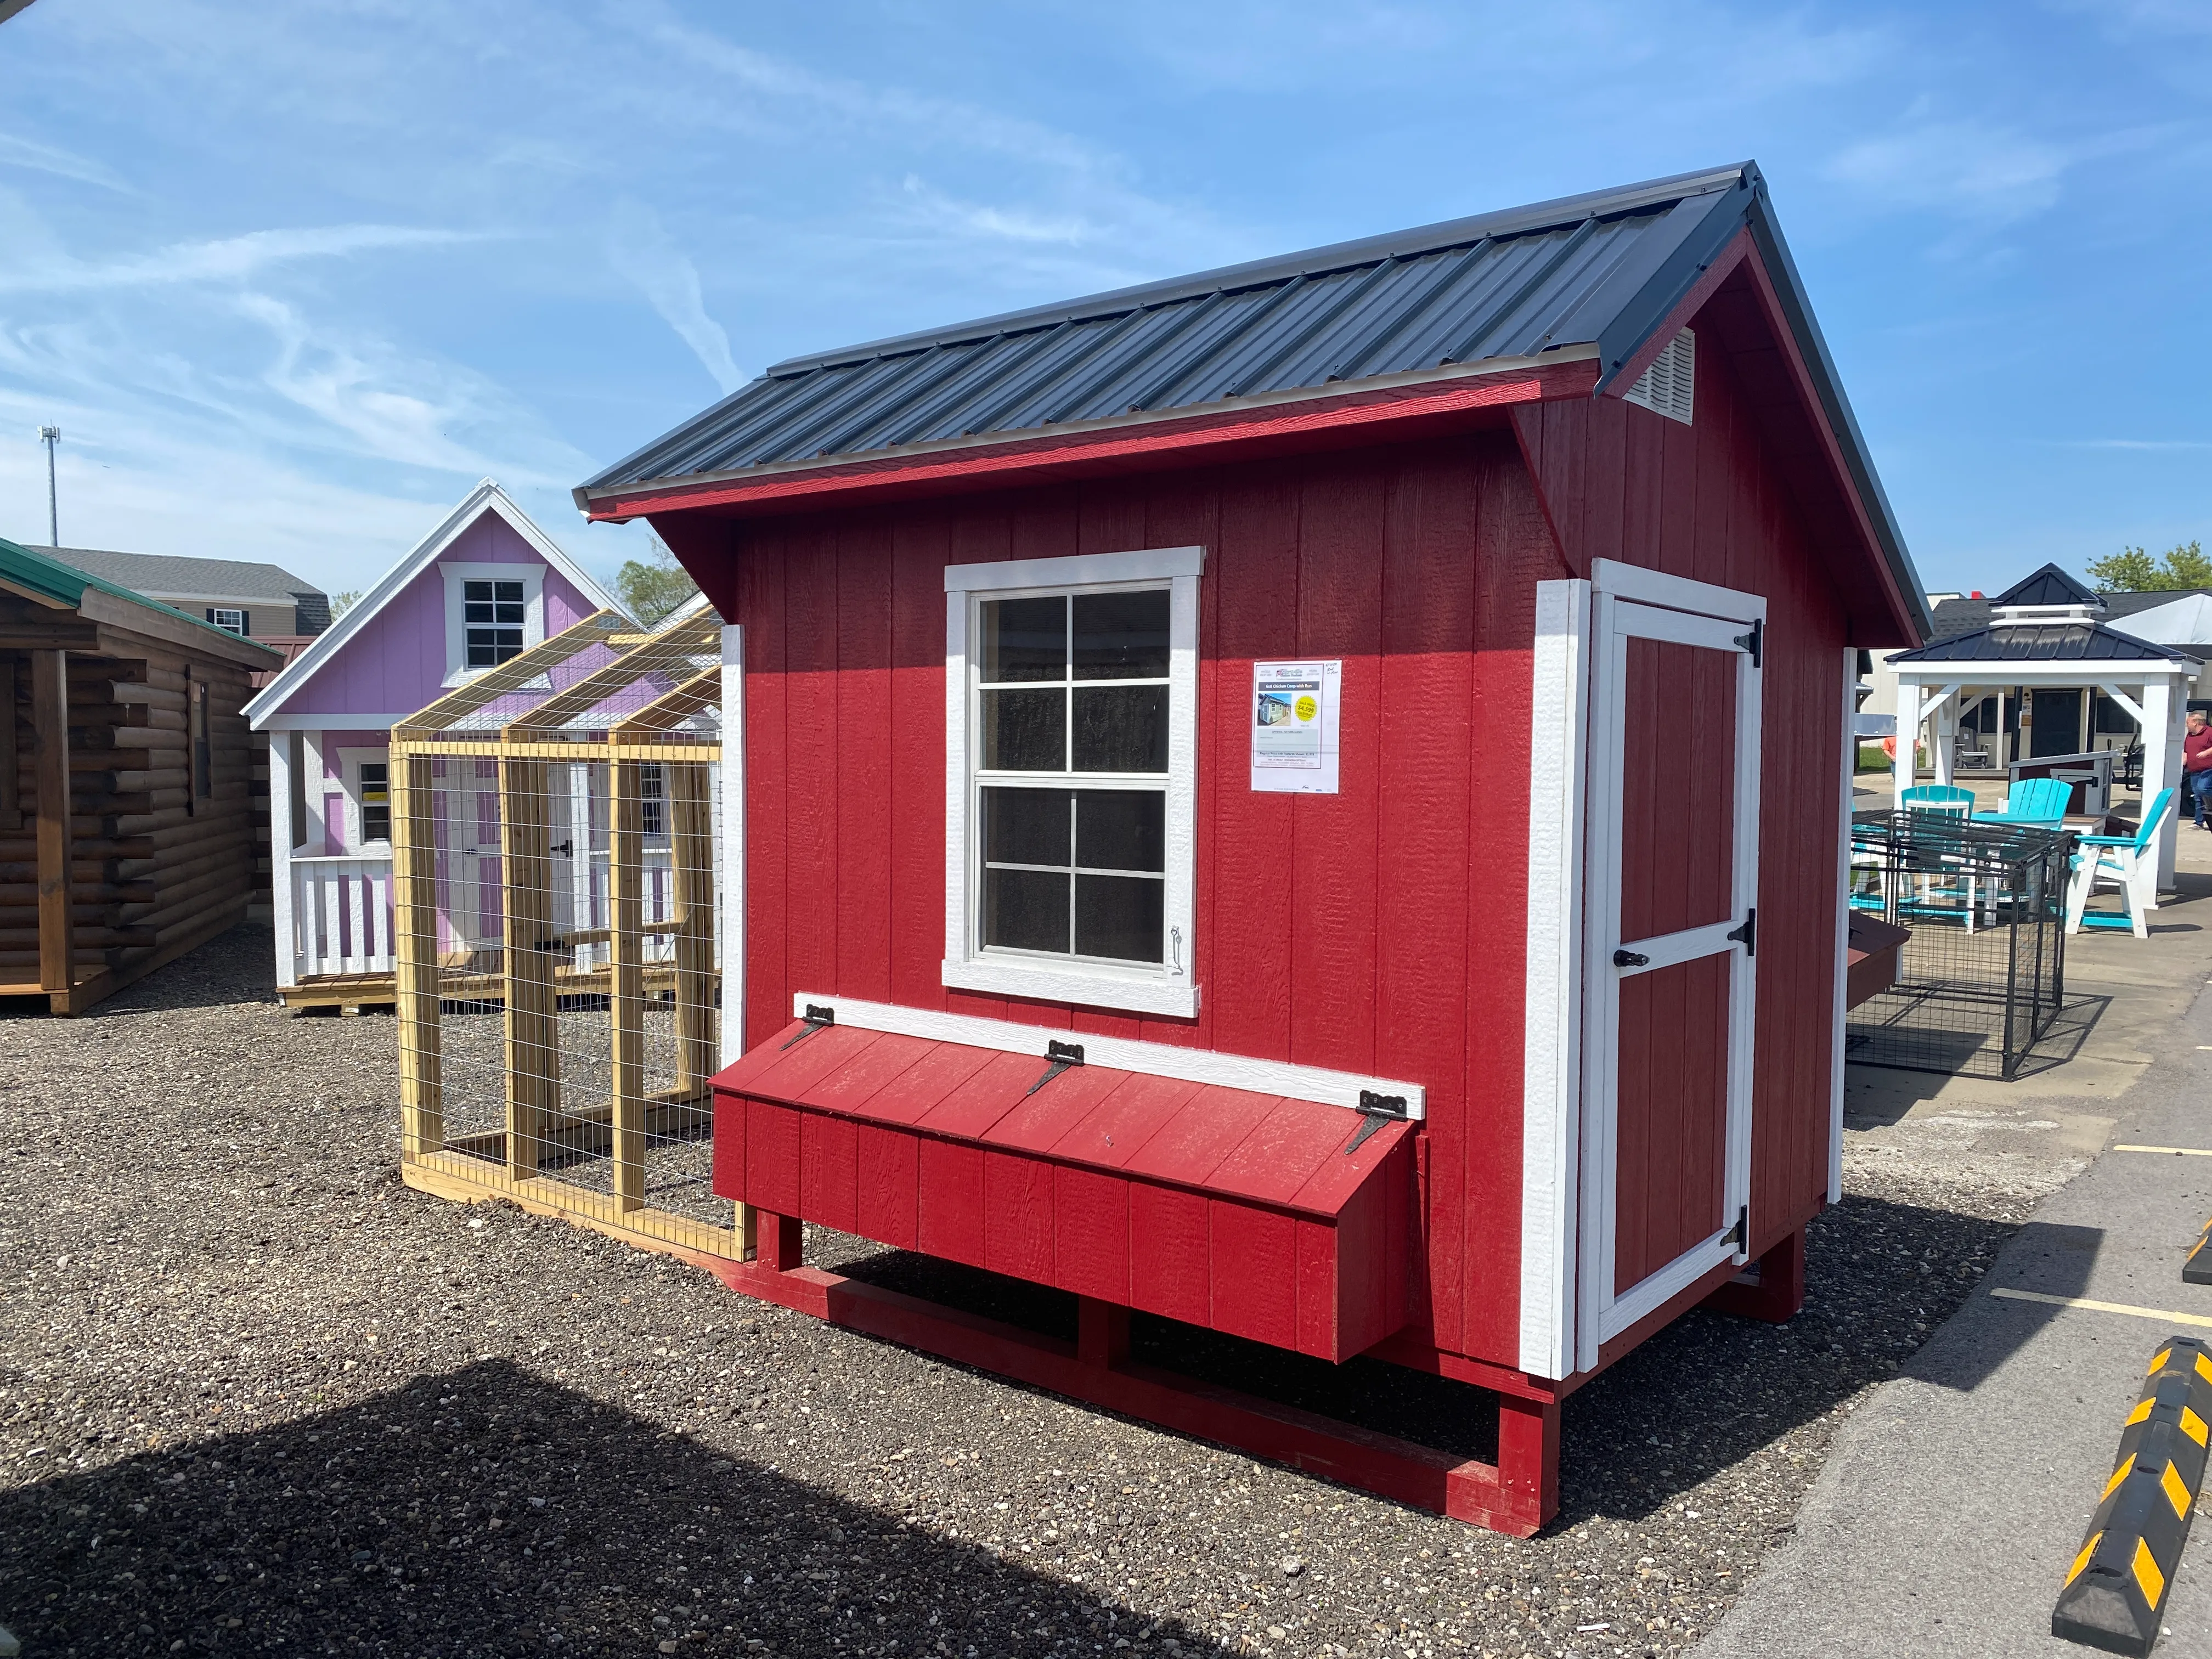
If you want to raise chickens without completing an entire building project, a professionally built coop may be a better fit. Hartville Outdoor Products offers animal shelter structures, including in-stock chicken coop options designed around practical flock care. A finished coop can eliminate much of the time required for pallet sorting, framing, roofing, siding, and door construction while providing an organized starting point for your chickens. Whether you build with pallets or choose a completed structure, focus on security, dryness, ventilation, usable interior space, and easy maintenance. Those features will matter far more to your flock than the source of the lumber used to build the walls.