
How To Disinfect Chicken Coop
How to disinfect chicken coop is a critical process for maintaining a healthy environment for your flock. While regular cleaning removes dirt and waste, disinfecting goes a step further by eliminating bacteria, viruses, and parasites that can harm chickens. A coop that looks clean may still harbor harmful pathogens if it is not properly disinfected. Poultry owners who skip this step often face recurring health issues such as respiratory infections, mites, or disease outbreaks. Disinfection helps break these cycles and creates a safer space for birds to live and lay eggs. Understanding how to disinfect chicken coop correctly ensures that your cleaning efforts are effective and long-lasting. It also protects both your flock and anyone who handles the birds or collects eggs.

Why Disinfection Is Different From Cleaning
Many people assume that cleaning and disinfecting are the same, but they serve different purposes. Cleaning removes visible debris such as droppings, feathers, and bedding, while disinfecting targets microscopic organisms that cannot be seen. Without cleaning first, disinfectants cannot reach surfaces effectively because dirt blocks contact. Learning how to disinfect chicken coop properly starts with understanding that both steps must work together. Skipping cleaning reduces the effectiveness of disinfectants and allows bacteria to survive. Combining both processes ensures a thorough approach to coop hygiene and reduces the risk of disease spreading among chickens.
Preparing The Coop For Disinfection
Before applying any disinfectant, the coop must be completely emptied. Chickens should be moved to a safe outdoor area, and all bedding, feeders, waterers, and removable items should be taken out. This allows full access to every surface inside the coop. Protective gear such as gloves and masks helps reduce exposure to dust and bacteria. Preparation ensures that disinfectants can be applied evenly and safely. When understanding how to disinfect chicken coop, proper preparation sets the foundation for effective results and prevents missed areas that could harbor pathogens.
Removing Organic Material Completely
Disinfection cannot begin until all organic material is removed. Droppings, leftover feed, and bedding must be cleared out completely because they interfere with disinfectant effectiveness. Scraping surfaces helps remove dried waste that may cling to roosts and walls. Even small amounts of residue can reduce the impact of disinfectants. Thorough removal ensures that surfaces are ready for treatment. This step is essential for anyone learning how to disinfect chicken coop because it determines how well the disinfectant will perform in the next stage.
Choosing The Right Disinfectant
Selecting an appropriate disinfectant is crucial for effective sanitation. Agricultural disinfectants designed for poultry environments provide reliable results. Solutions such as diluted bleach, hydrogen peroxide-based cleaners, or commercial poultry disinfectants are commonly used. Each option must be mixed according to instructions to avoid harming chickens or damaging surfaces. Natural alternatives like vinegar may help with light sanitation but are not always strong enough to eliminate all pathogens. When deciding how to disinfect chicken coop, choosing the right product ensures that harmful bacteria and viruses are properly addressed.
Applying Disinfectant To All Surfaces
Once the coop is clean and prepared, disinfectant should be applied evenly to all interior surfaces. Walls, floors, nesting boxes, and roosting bars must be thoroughly covered. Sprayers or brushes help distribute the solution effectively. It is important to allow the disinfectant to sit for the recommended contact time to ensure it kills pathogens. Rushing this step reduces effectiveness. Learning how to disinfect chicken coop involves patience and attention to detail, ensuring that every surface receives proper treatment before moving forward.
Rinsing And Drying After Disinfection
After the disinfectant has done its job, surfaces may need to be rinsed depending on the product used. Some disinfectants are safe to dry without rinsing, while others require removal to prevent residue buildup. Drying the coop thoroughly is essential before reintroducing chickens. Moisture left behind can encourage mold growth and undo the benefits of disinfection. Proper airflow and sunlight help speed up drying. Ensuring the coop is completely dry creates a safe and comfortable environment for birds to return to.
Frequency Of Disinfection
The frequency of disinfection depends on flock size, coop conditions, and environmental factors. Light disinfection may be done monthly, while deep disinfection is often performed seasonally or after illness outbreaks. Regular monitoring helps determine when additional cleaning is needed. Over-disinfecting is unnecessary, but neglecting the process can lead to serious health risks. Establishing a schedule helps maintain balance and ensures that the coop remains sanitary without excessive effort.
Ventilation And Air Quality Control
Proper ventilation supports the effectiveness of disinfection by reducing moisture and improving air quality. Fresh airflow prevents the buildup of harmful gases such as ammonia, which can irritate chickens’ respiratory systems. Good ventilation also helps surfaces dry faster after cleaning. When learning how to disinfect chicken coop, maintaining airflow is just as important as applying disinfectants. Balanced ventilation creates a healthier environment and reduces the need for frequent deep cleaning.

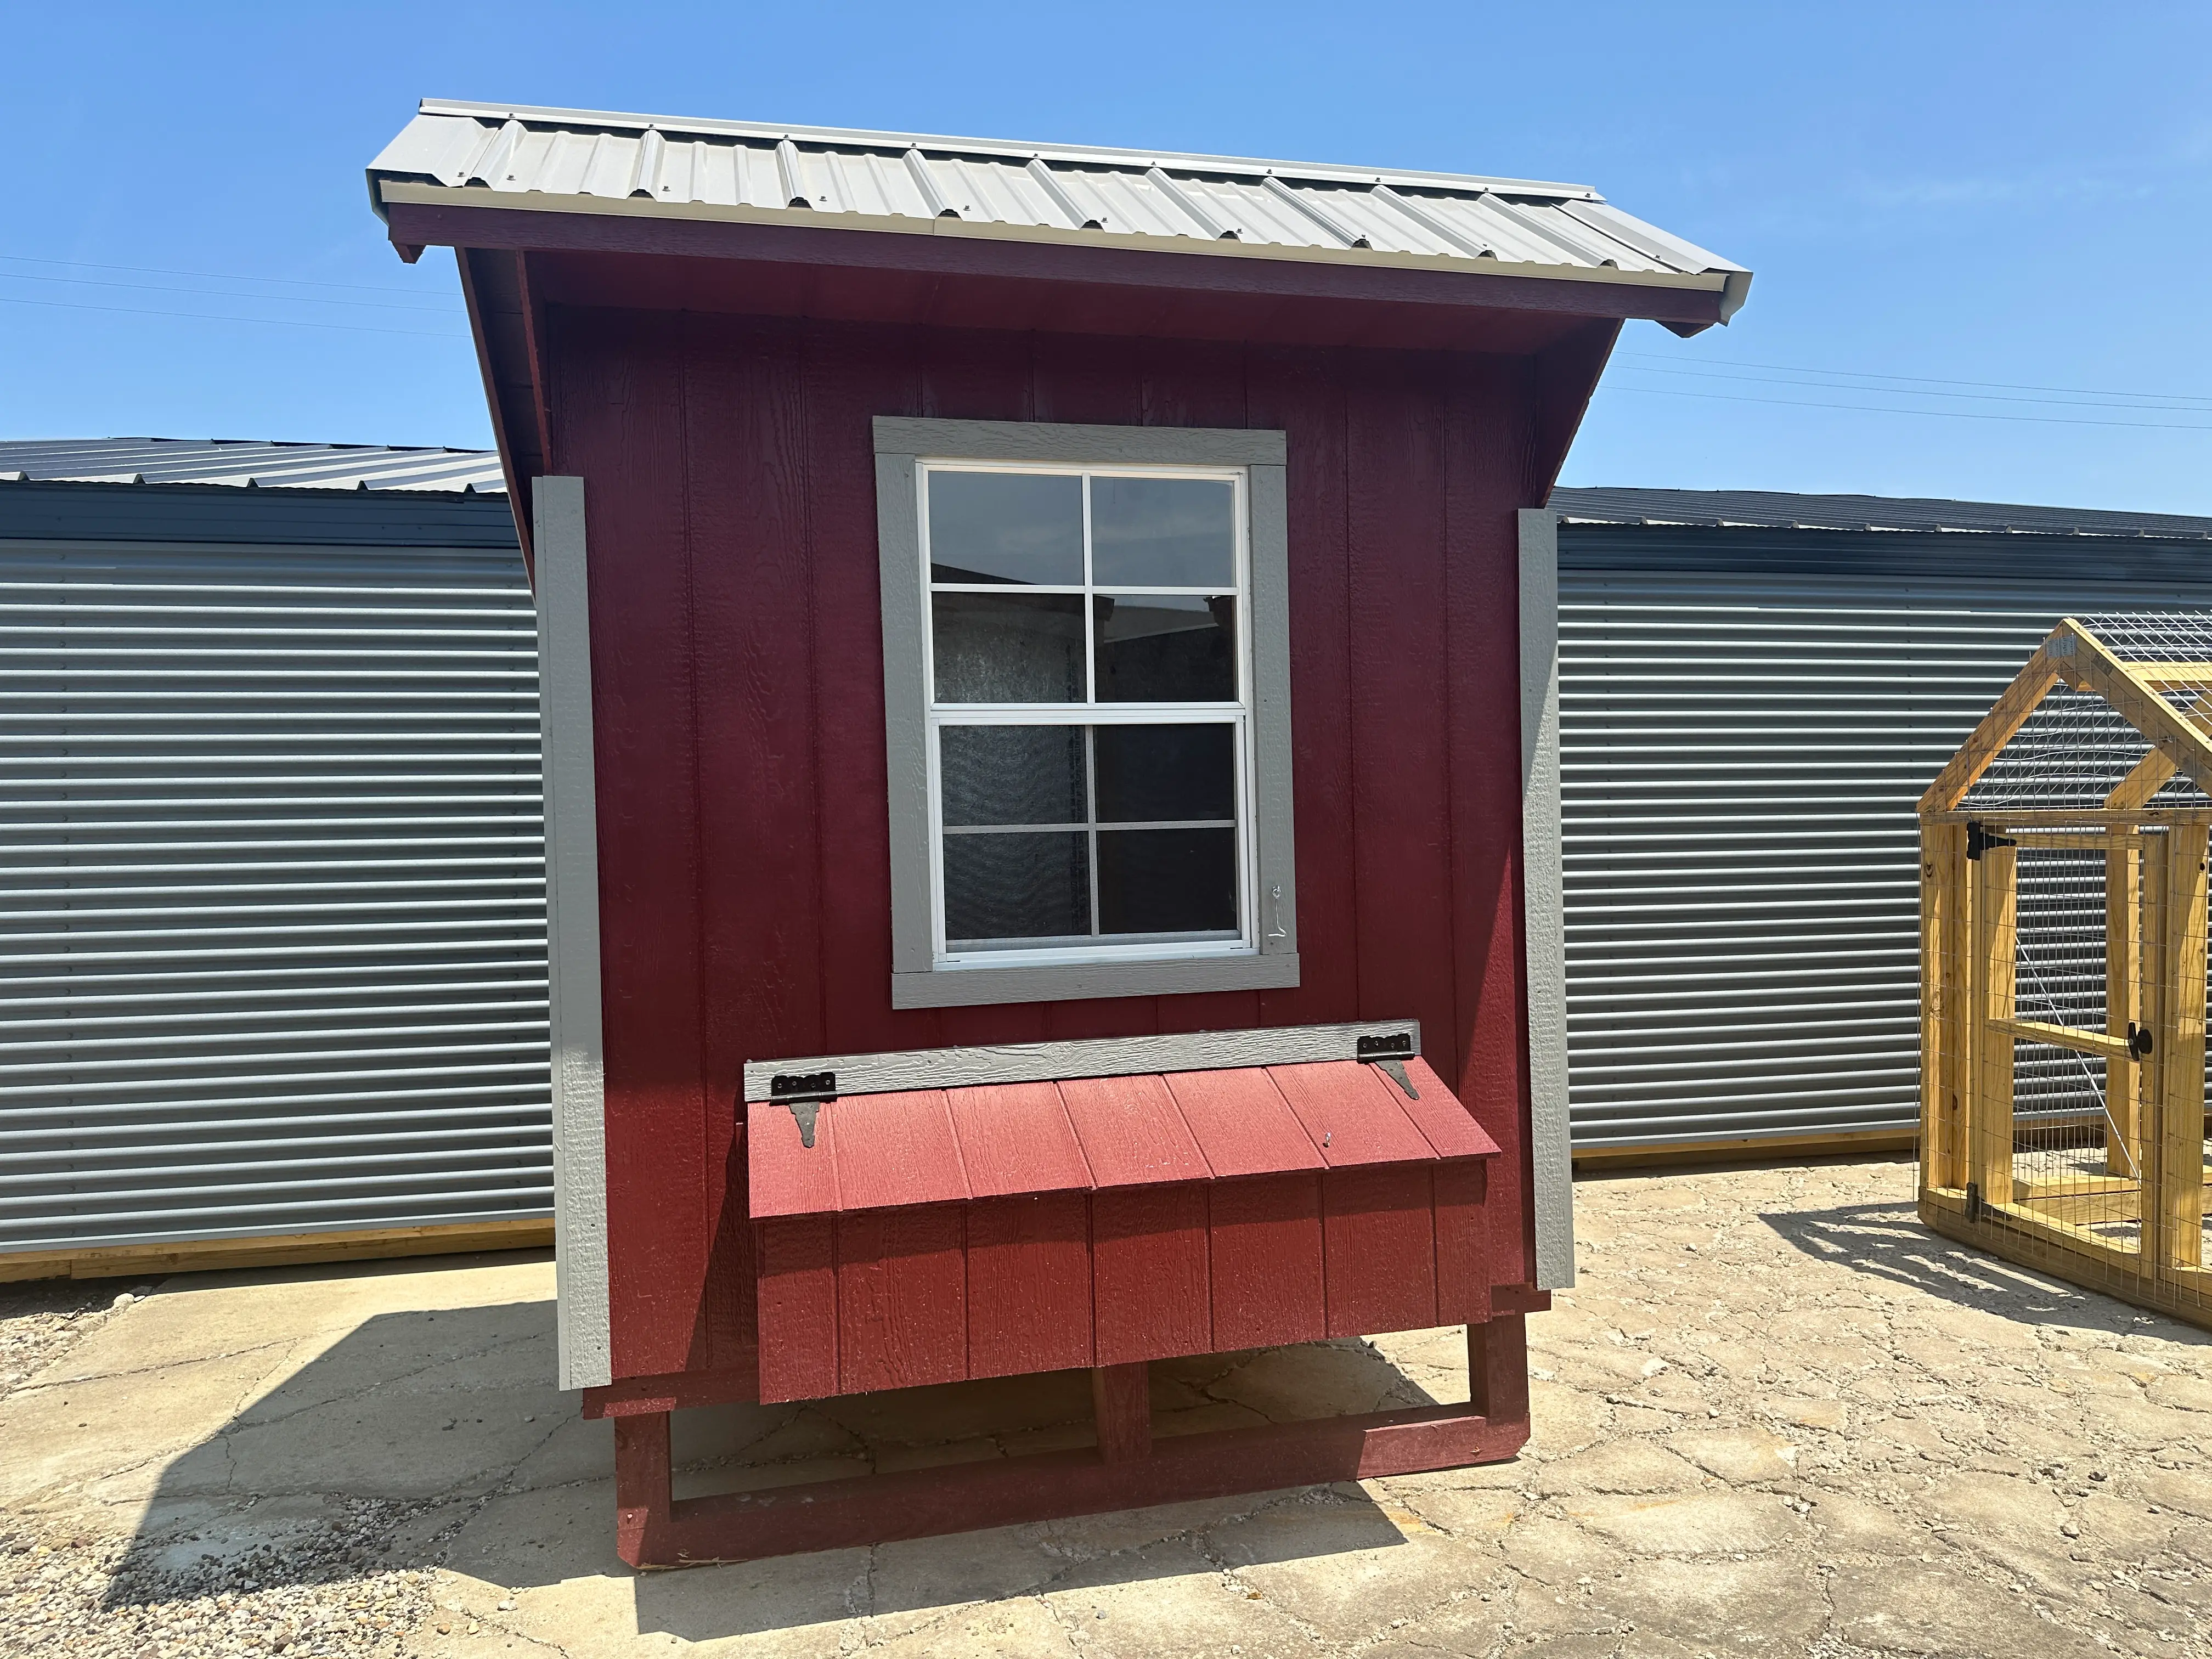
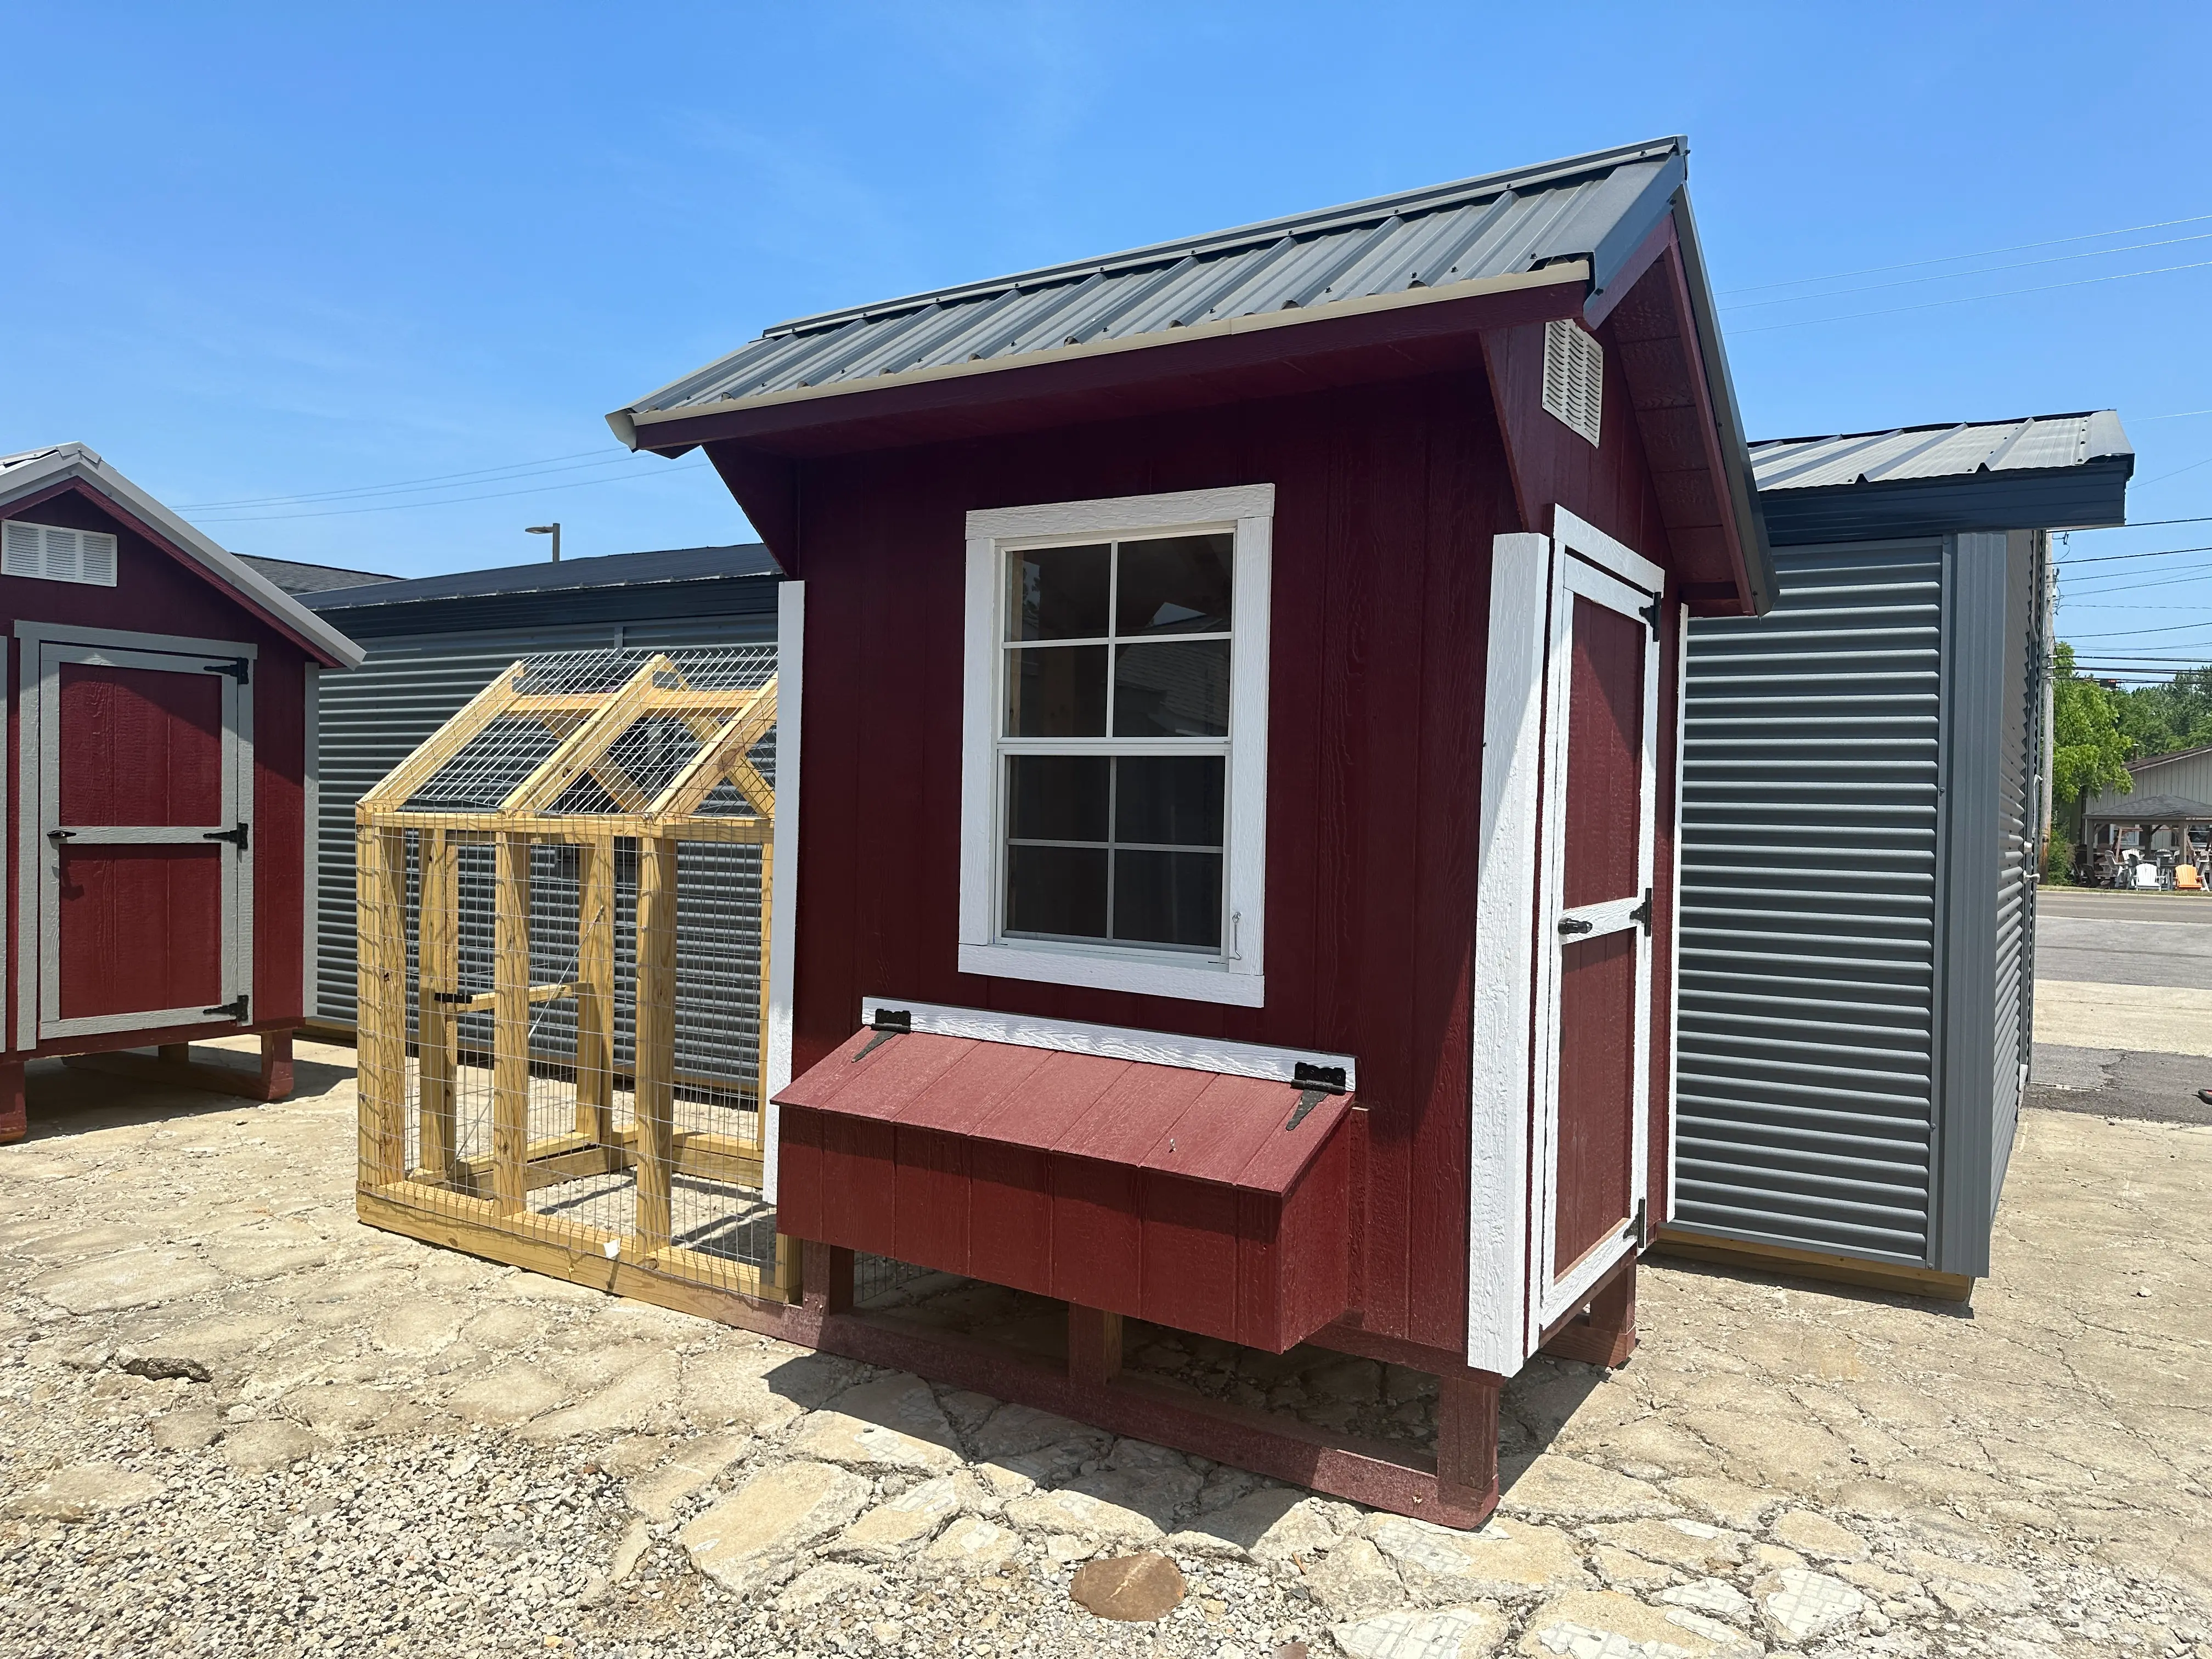
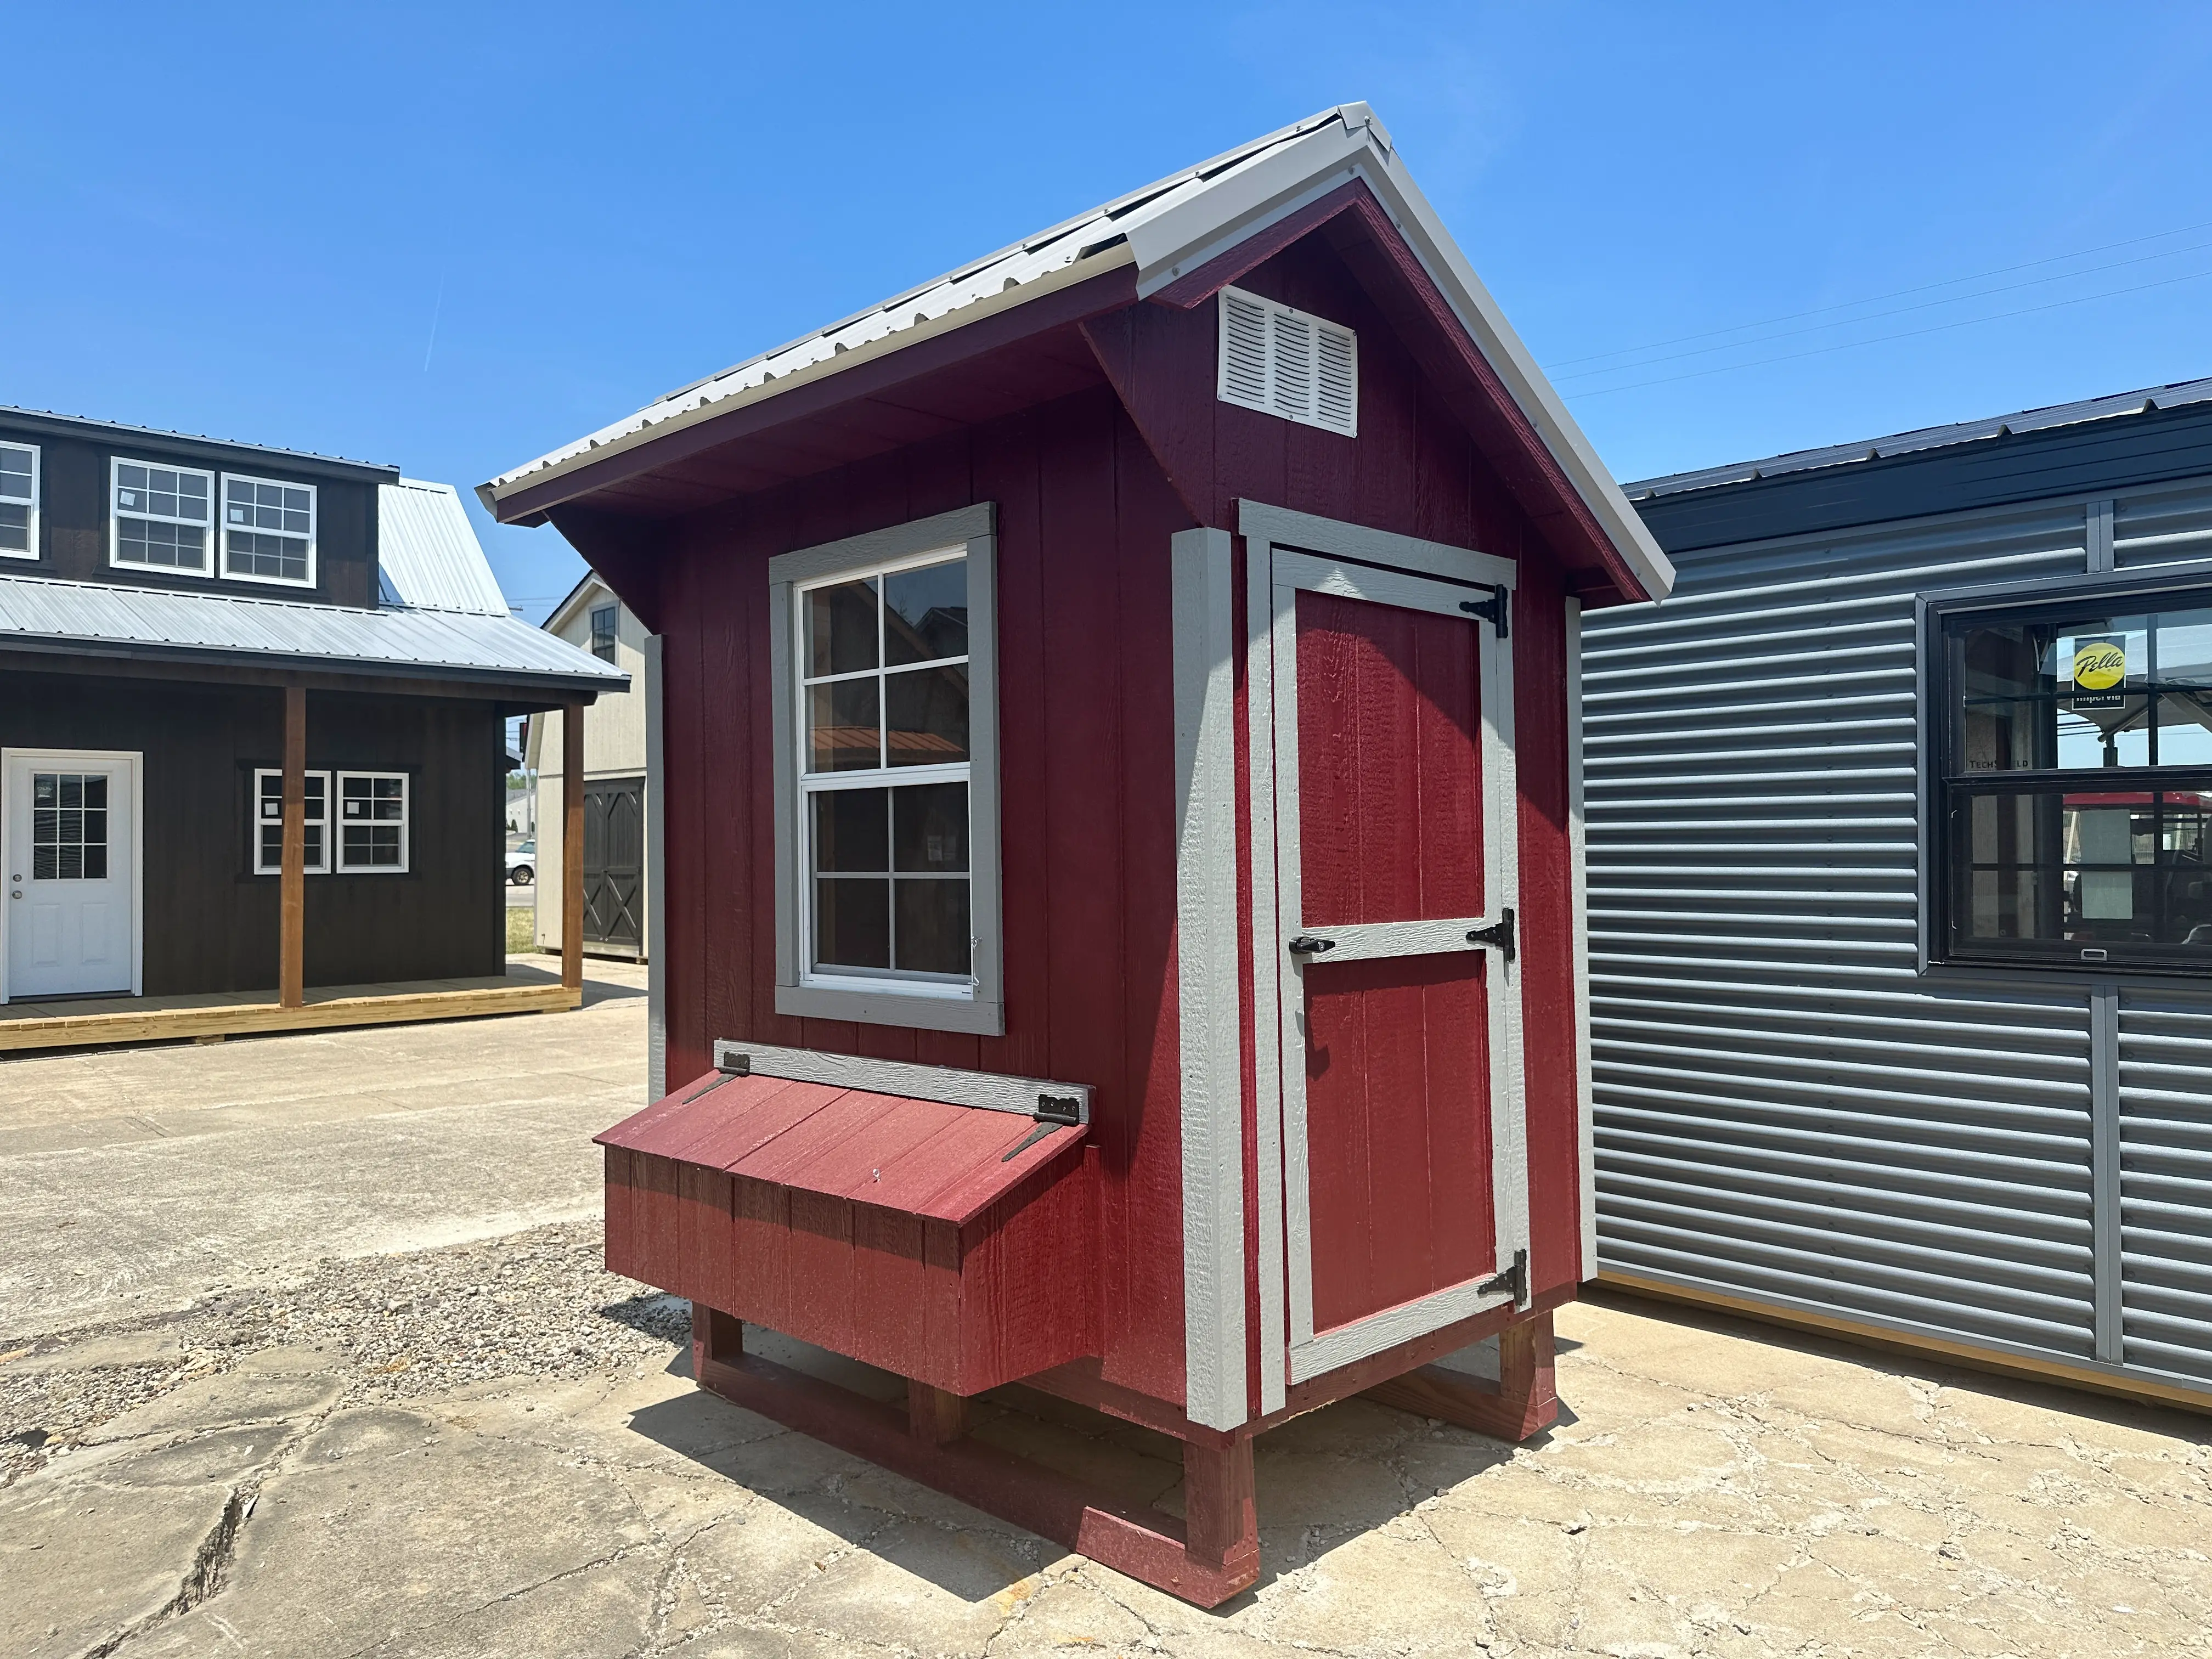
Safe Coop Design And Maintenance
Durable coop construction makes cleaning and disinfection easier over time. Smooth surfaces, accessible layouts, and quality materials reduce areas where bacteria can hide. Many poultry owners rely on structured plans such as 8×12 chicken coop plans to build coops that support efficient maintenance. A well-designed coop allows easier access for cleaning and reduces long-term maintenance challenges. Investing in proper design improves sanitation and overall flock health.
Understanding Disease Prevention
Disinfection plays a major role in preventing disease outbreaks. Pathogens such as salmonella and avian influenza can spread quickly in unsanitary environments. According to guidance from the USDA Animal and Plant Health Inspection Service, maintaining clean poultry environments is essential for reducing disease risk. Regular disinfection breaks the cycle of contamination and protects both birds and handlers. Preventative care is always more effective than treating illness after it occurs.
Storing Cleaning Supplies Efficiently
Proper storage of disinfectants and cleaning tools keeps them ready for use and prevents contamination. Supplies should be stored in a dry, secure location away from animals and weather exposure. Organized storage simplifies routine maintenance and ensures that products remain effective. Keeping everything in one place saves time and improves efficiency during cleaning sessions.
Conclusion
How to disinfect chicken coop involves more than surface cleaning. It requires removing all organic material, applying the right disinfectant, allowing proper contact time, and ensuring thorough drying. Regular disinfection protects flock health, improves egg quality, and reduces disease risk. A well-designed coop and consistent maintenance routine make the process more effective and manageable. For poultry owners looking to improve their setup with durable designs and efficient layouts, Hartville Outdoor Products offers practical solutions to support long-term poultry care and organization.