
How To Paint Metal Shed
Painting a metal shed is one of the most effective ways to extend its lifespan and improve how it looks on your property. Over time, metal sheds are exposed to sun, rain, snow, and temperature changes that can cause fading, rust, and surface wear. A fresh coat of paint protects the metal from corrosion while also giving the shed a clean, updated appearance. Many homeowners hesitate to paint metal because they assume it is complicated or messy, but with proper preparation and the right materials, the process is very manageable. This guide explains how to paint a metal shed step by step, from surface prep to choosing the right paint.
Why Painting A Metal Shed Matters
Metal sheds are built to be durable, but even galvanized or factory coated panels can wear down over time. Paint acts as a protective barrier that helps prevent rust and moisture damage. Without it, exposed metal can begin to corrode, especially around seams, fasteners, and edges. Painting also helps reflect sunlight, which can reduce heat buildup inside the shed. Beyond protection, paint improves curb appeal and allows the shed to blend better with nearby buildings or landscaping. Whether the shed is used for storage, tools, or equipment, maintaining the exterior helps preserve its value. Regular painting is especially important in climates with heavy rain, snow, or humidity.
Right Time And Conditions To Paint
Timing plays a major role in how well paint adheres to metal. The best conditions are dry days with moderate temperatures, typically between 50 and 85 degrees. Painting during extreme heat can cause paint to dry too quickly, leading to uneven coverage. Cold temperatures can prevent proper curing. Avoid painting when rain is expected, as moisture can interfere with adhesion and finish quality. Windy days can also be problematic because dust and debris may stick to wet paint. Planning ahead and checking the forecast ensures the best results and prevents wasted effort.
Preparing The Metal Surface
Surface preparation is the most important step when painting a metal shed. Dirt, grease, mildew, and chalky residue must be removed before paint is applied. Start by washing the shed with a mild detergent and water. A pressure washer can help remove stubborn grime, but use a gentle setting to avoid damaging panels. Any rust spots should be sanded down to bare metal. Loose or peeling paint must be removed so new paint can bond properly. Once cleaned, allow the shed to dry completely before moving on to priming.
Why surface prep matters
Surface preparation is the single biggest factor that determines how long paint will last on a metal shed. Even the highest quality paint will fail if it is applied over dirt, oxidation, or residue. Metal surfaces naturally collect oils, airborne pollutants, and chalky buildup that are not always visible at first glance. These contaminants prevent paint from bonding properly and often lead to peeling or bubbling within a short time. Thorough cleaning creates a surface that allows primer and paint to adhere evenly.
According to guidance from Family Handyman, skipping or rushing surface prep is one of the most common reasons exterior paint projects fail early. Taking the time to remove buildup, lightly scuff glossy areas, and allow the metal to dry fully creates a stable base for paint. This step also helps reveal hidden rust spots or damaged areas that need attention before painting begins. While preparation may feel time consuming, it directly impacts durability, appearance, and how often the shed will need repainting in the future.
How to Handle Rust and Damaged Areas
Rust is common on older metal sheds, especially near the base and fasteners. Addressing rust properly prevents it from spreading under new paint. After sanding rusted areas, apply a rust inhibiting primer designed for metal surfaces. This seals the metal and blocks moisture. Severely corroded areas may need patching or panel replacement before painting. Taking time to repair damage ensures the paint job lasts longer and looks better. Ignoring rust often leads to bubbling and peeling paint within a short period.
Priming the Shed for Long Lasting Results
Primer is essential when painting metal sheds, especially if bare metal is exposed. A high quality metal primer improves adhesion and provides an even base for the topcoat. Choose a primer that is compatible with both metal surfaces and your chosen paint. Apply primer evenly using a brush, roller, or sprayer, depending on shed size and detail. Allow the primer to dry fully according to manufacturer instructions. Skipping primer may save time initially, but it often results in premature paint failure.
Selecting the Right Paint For Metal Sheds
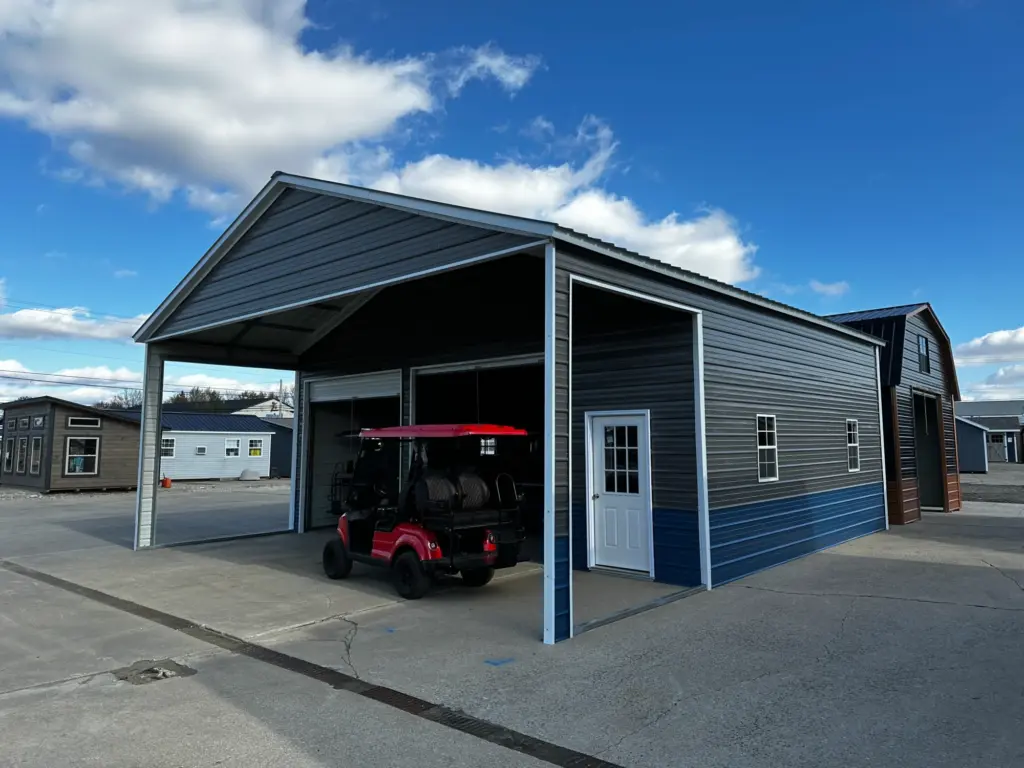
Not all paints work well on metal. Look for paints specifically labeled for metal or exterior use. Acrylic latex paints and oil based paints are both common options. Acrylic paints are easier to clean and resist fading, while oil based paints offer strong durability. Choose a finish that suits your needs. Satin and semi gloss finishes are popular because they are easier to clean and resist moisture. Many homeowners match shed colors to nearby structures. Larger buildings like 14×24 Premiere Barn often benefit from neutral tones that complement homes and garages.
Painting Techniques and Application Tips
Proper preparation around the shed before painting is often overlooked, but it plays a big role in achieving a clean and professional result. Clearing the area around the shed allows you to move freely and avoid brushing up against wet paint. Trim back grass, weeds, or shrubs that touch the shed walls, as moisture from plants can interfere with drying and cause debris to stick to fresh paint. Laying down drop cloths or plastic sheeting protects the ground and makes cleanup easier.
It is also important to cover nearby surfaces like siding, fencing, or concrete to prevent accidental splatter. Removing doors, vents, or hardware when possible allows for more even coverage and prevents paint buildup around edges. Taking time to mask off areas with painter’s tape creates sharper lines and a more finished appearance. These small preparation steps may seem minor, but they reduce mistakes and improve durability. When paint goes on smoothly without interference, it bonds better and lasts longer. A well prepared workspace also makes the entire project less stressful and more efficient, helping homeowners achieve better results without rushing or redoing work.
Maintaining Painted Metal Sheds Over Time
Once painted, regular maintenance helps extend the life of the finish. Inspect the shed annually for chips, scratches, or rust spots. Touch up damaged areas promptly to prevent corrosion. Cleaning the shed periodically removes dirt and pollutants that can degrade paint. For homeowners considering long term storage solutions, investing in quality structures like 10×16 Victorian can reduce maintenance needs while offering reliable protection. Proper care keeps painted metal sheds looking good for years.
Conclusion
Painting a metal shed is a practical project that improves both appearance and durability. With proper preparation, the right materials, and careful application, results can last for many years. Regular maintenance and timely touch ups prevent rust and wear from taking hold. For homeowners looking to protect outdoor storage and equipment, Hartville Outdoor Products offers a range of shed options designed for real world use and long term performance.