
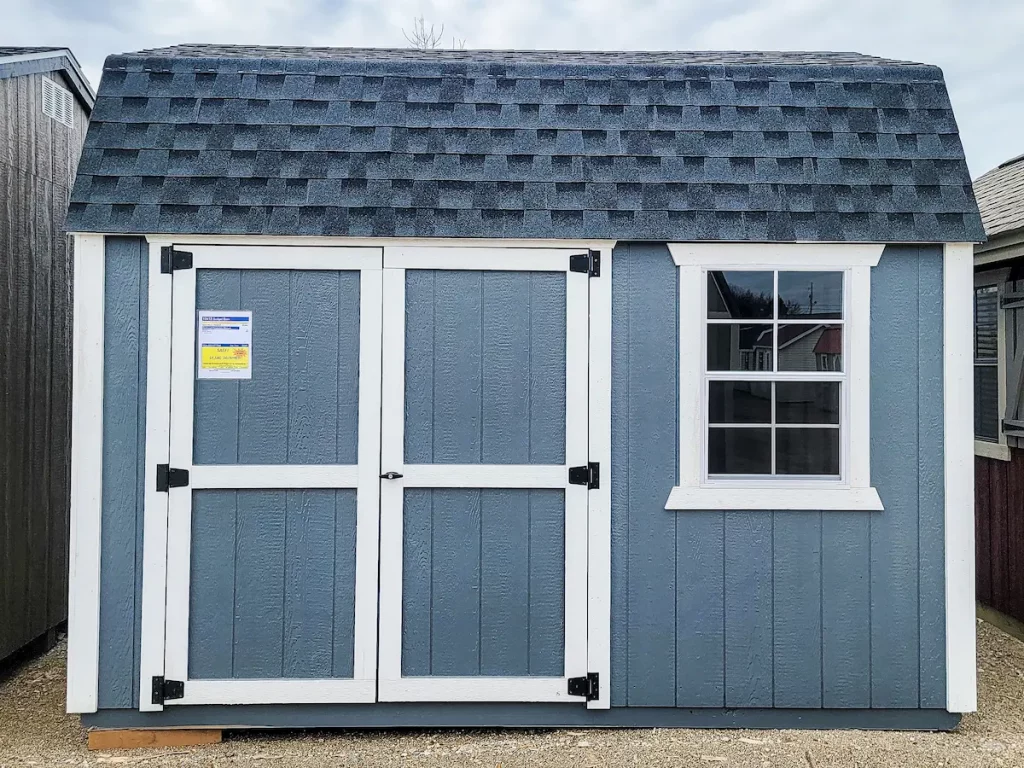
How to Insulate a Pole Barn
Insulating a pole barn is an important step if you’re looking to create a more comfortable, energy-efficient, and functional space. Whether you’re using your pole barn for storage, as a workshop, or as a living space, proper insulation can help regulate temperature, reduce energy costs, and prevent moisture buildup. In this guide, Hartville Outdoor Products will walk you through the process of insulating your pole barn, with a focus on materials, methods, and key considerations for a successful installation. The best way to insulate a pole barn depends on its purpose, climate, and construction type, but most projects use fiberglass, spray foam, or foam board insulation to improve comfort and energy efficiency.
Why Insulate a Pole Barn?
Insulating your pole barn offers several benefits. In colder climates, it helps keep the interior warmer by preventing heat loss, while in warmer climates, it helps keep the barn cooler by blocking out the heat from the sun. Proper insulation also helps with noise reduction, creates a more comfortable environment, and can even protect stored items from the effects of temperature fluctuations.
In addition to comfort, insulation plays a role in the longevity of your pole barn. Without insulation, the walls and roof of your barn can experience significant temperature swings, leading to condensation, rust, and wear over time. Insulating your barn can help protect both the structure and the contents inside.
Materials Needed for Insulation
Before you begin, you’ll need to gather the necessary materials for insulating your pole barn. Here are some of the most common insulation materials used for pole barns:
- Fiberglass Insulation: One of the most popular and affordable options, fiberglass insulation provides excellent thermal performance and soundproofing.
- Spray Foam Insulation: This type of insulation expands upon application, creating an airtight seal. Spray foam is excellent at filling gaps and cracks.
- Reflective Foil Insulation: Reflective foil insulation is designed to reflect heat and can be an excellent choice for preventing the transfer of heat into your pole barn.
- Rigid Foam Insulation: Rigid foam boards provide solid insulation with excellent moisture resistance and high thermal resistance (R-value).
- Cellulose Insulation: Made from recycled paper products, cellulose insulation is environmentally friendly and can be blown into spaces for an efficient installation.
You’ll also need tools such as a staple gun, tape measure, utility knife, vapor barriers, and safety gear like gloves and goggles.

Step 1: Assess the Need for Insulation
Before you begin insulating your pole barn, it’s essential to assess the need for insulation. In some cases, you may need to consider how the barn is used and how much temperature regulation is required. For example, if you’re using the space for storing equipment that needs to be protected from extreme temperatures, insulation will help maintain a more consistent climate.
If you plan on using your pole barn as a living or working space, proper insulation will be critical for comfort and energy efficiency. Consider factors like climate, intended use, and how often you’ll be in the barn to help determine the best approach to insulating the space.
Step 2: Choose the Right Insulation Material
Once you’ve assessed your needs, it’s time to choose the right insulation material. Each type of insulation has its benefits, and the right material will depend on your specific requirements.
- Fiberglass Insulation: Ideal for cost-conscious projects, fiberglass insulation is easy to install and can be used on both walls and ceilings. Many property owners looking for how to insulate a pole barn with fiberglass choose this option because it is affordable, widely available, and effective. It’s a popular choice for its affordability and effectiveness at controlling temperature.
- Spray Foam Insulation: If you want to avoid gaps and ensure an airtight seal, spray foam is an excellent choice. It’s particularly beneficial in areas with high humidity or temperature extremes, as it can reduce moisture buildup and air leakage.
- Reflective Foil Insulation: This is a great option if you’re in a hot climate and need to reflect heat away from your barn. It works well when paired with other insulation types to increase energy efficiency.
- Rigid Foam Insulation: If you need high R-values for better thermal resistance, rigid foam insulation is a great option. It’s often used on the roof and exterior walls to provide additional durability and moisture resistance.
- Cellulose Insulation: An eco-friendly choice, cellulose is made from recycled materials and can be blown into the spaces between the framing. It’s an excellent option for those who want to reduce their environmental impact while improving insulation.
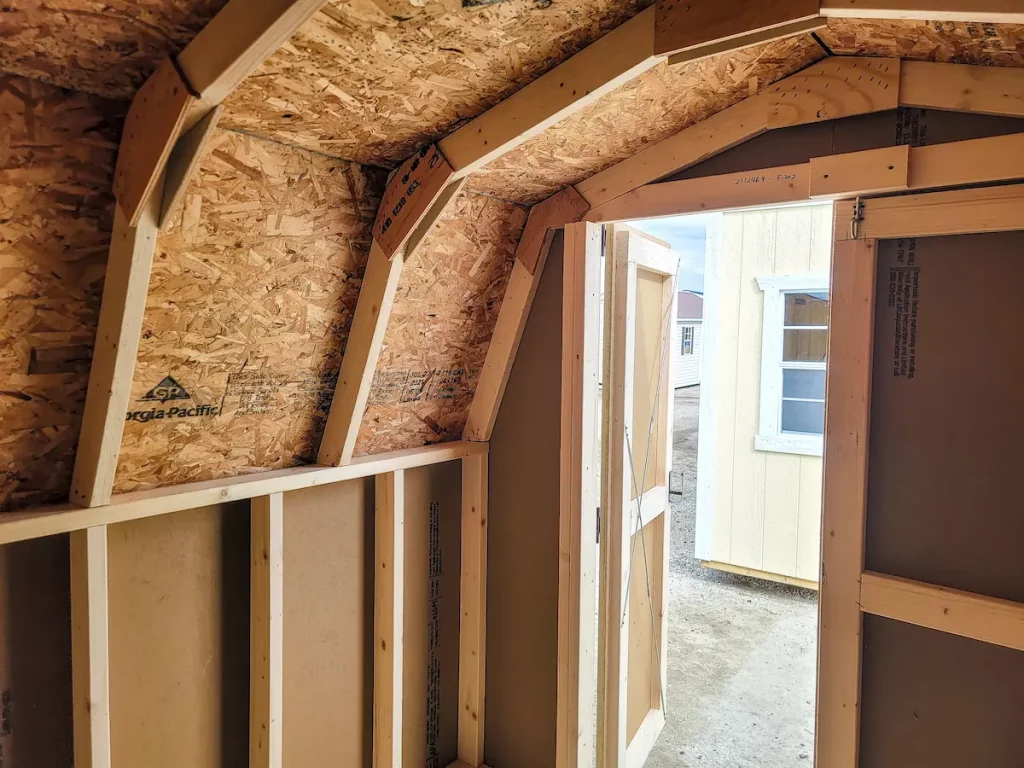
Step 3: Preparing the Barn for Insulation
Before you begin installing insulation, you must properly prepare the barn. This involves cleaning the interior to remove any dirt, dust, or debris that could interfere with the insulation installation. You should also check for any gaps, cracks, or holes in the walls or roof that need to be sealed.
If your pole barn is not already fitted with a vapor barrier, you’ll want to install one. Vapor barriers are crucial for preventing moisture from entering the walls and causing mold or mildew. These barriers help keep the insulation dry and functioning as it should.
Once the barn is prepped, it’s a good idea to inspect the condition of the poles, beams, and framing. Make any necessary repairs to ensure the structure is stable and sound before moving forward with insulation.
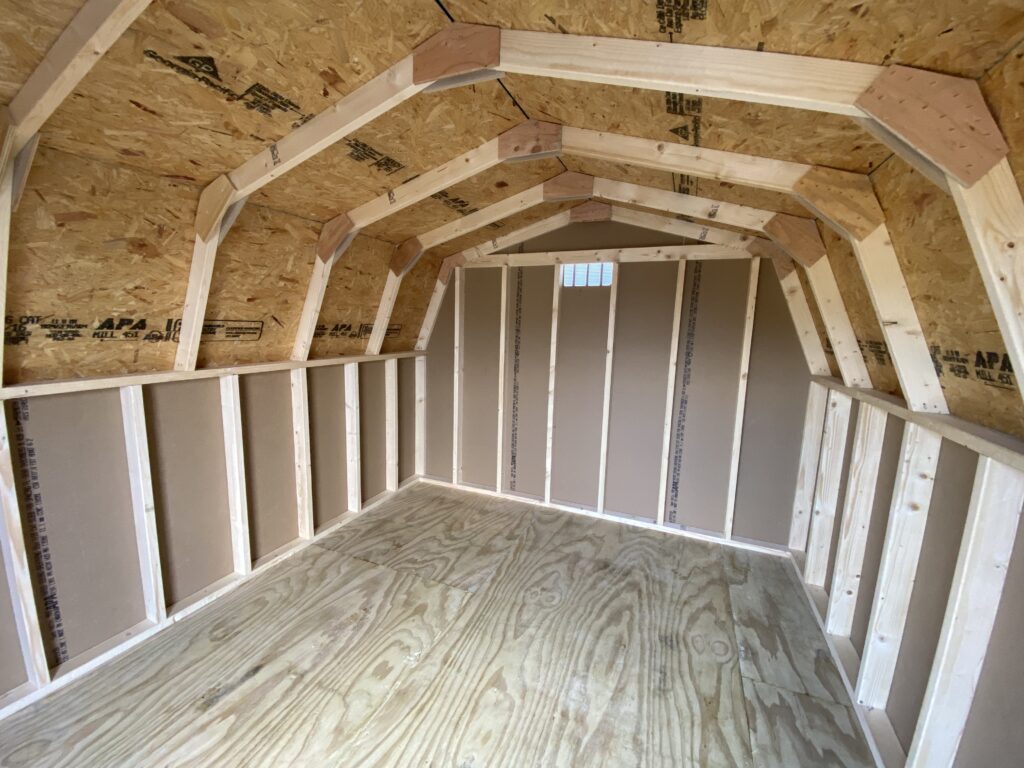
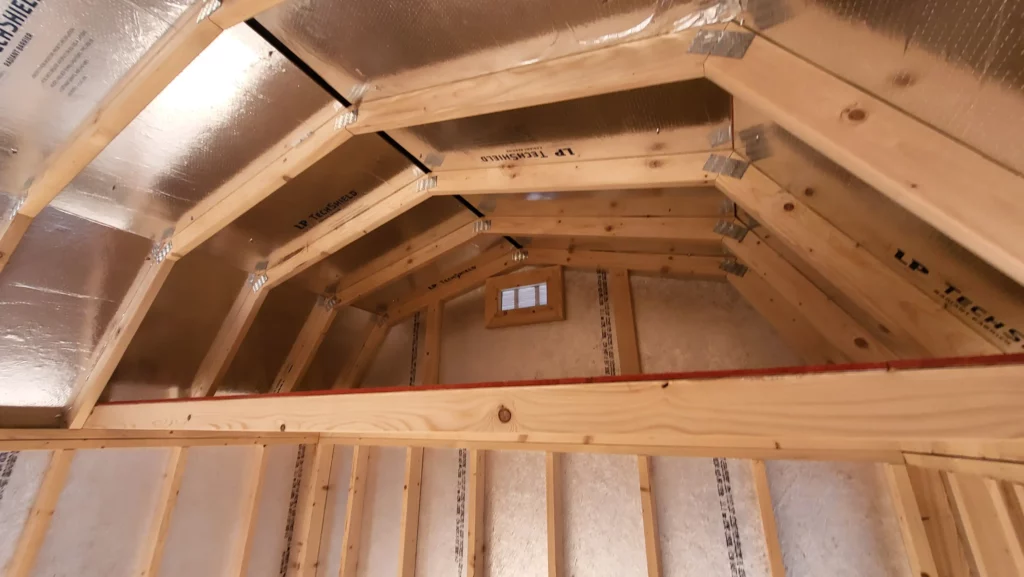
Step 4: Installing Insulation on the Walls
Now that your barn is prepped, it’s time to begin installing the insulation. For wall insulation, the most common methods are using fiberglass batts or rigid foam board insulation. Here’s a general process for both:
- Fiberglass Batts: Start by measuring the spaces between the studs in the walls. Cut your fiberglass insulation to fit between the studs and gently place it into the wall cavities. Use a staple gun to secure the insulation to the edges of the studs. Be sure to push the insulation all the way to the back of the cavity to eliminate any air gaps. Make sure to leave no gaps around the edges.
- Rigid Foam Insulation: If you’re using rigid foam board insulation, measure the spaces between the studs and cut the foam to fit. This method is popular among owners learning how to insulate a pole barn with foam board because it provides excellent thermal resistance and moisture protection. Use adhesive or screws to attach the foam boards to the walls. This method works well for providing additional moisture resistance.
If you’re working with an existing pole barn that has gaps, consider using spray foam insulation to fill any holes. This will create an airtight seal and help eliminate drafts.
Step 5: Insulating the Roof
When it comes to insulating a pole barn, the roof is just as important as the walls. Since heat rises, an uninsulated roof can result in a significant loss of warmth in winter or excessive heat buildup in summer. Here’s how to insulate the roof:
- Fiberglass Batts: Just like the walls, fiberglass batts can be used in the roof and are commonly recommended for anyone wondering how to insulate a pole barn ceiling. Measure the spaces between the rafters and cut the batts to size. Push the batts into place between the rafters, ensuring they fit snugly.
- Spray Foam Insulation: Spray foam insulation is excellent for roofing because it expands to fill all gaps. It provides excellent air sealing and helps prevent heat loss. A professional may be needed for spray foam application to ensure that it is evenly and effectively applied.
- Rigid Foam Insulation: For maximum R-value, rigid foam insulation can also be installed on the roof. Attach it using adhesive, and make sure the panels are securely fixed.
For added insulation, consider installing a reflective foil insulation layer above the rafters. This helps reflect heat and adds an extra layer of protection.

Step 6: Finishing Touches
Once the insulation is in place, you’ll want to add finishing touches to ensure that the insulation stays in place and provides long-lasting results. Cover the insulation with vapor barriers where necessary, particularly on the walls and roof, to prevent moisture from seeping into the insulation.
Next, you may want to install drywall or plywood to cover the insulation and create a finished, aesthetically pleasing look. Drywall provides additional protection, while plywood offers a more rustic, industrial look that can blend well with a pole barn.
Step 7: Maintaining Your Insulation
Proper maintenance of your pole barn’s insulation is important for its longevity. Periodically check for signs of moisture buildup, especially around the roof or walls. If you notice any wet spots, you may need to add more vapor barriers or replace damaged insulation.
Also, keep the barn ventilated to avoid moisture buildup that can cause mold or mildew growth. Proper ventilation will allow the air to circulate and help keep the insulation dry and effective.
Conclusion
Proper insulation can make a pole barn more comfortable, energy-efficient, and easier to use throughout the year. By following these steps, from assessing your needs and selecting the right materials to installing insulation and adding finishing touches, you can ensure your pole barn stays well-insulated and functional for years to come. For budget-conscious projects, fiberglass remains one of the cheapest ways to insulate a pole barn while still providing reliable thermal performance. Whether you’re using your pole barn for storage, work, or living space, insulation can help you create a more comfortable, energy-efficient environment while protecting your structure from the elements. If you are looking for a prefab pole barn, check out amazing in stock barns for sale.