Building a chicken coop successfully starts with a clear plan, a dry location, enough room for the flock, and a structure that protects chickens from weather and predators. These how to build chicken coop steps cover the process from choosing the site and building the frame to installing ventilation, nesting boxes, roosts, roofing, and a secure outdoor run. The goal is not to create the most complicated coop possible. Instead, focus on a structure that stays dry, allows fresh air to circulate, gives chickens enough room to move comfortably, and makes feeding, cleaning, and egg collection simple for you.
Plan The Coop Size And Layout
Start by deciding how many chickens the coop needs to hold. The flock size affects almost every part of the design, including floor dimensions, roost length, nesting boxes, ventilation, and outdoor run space. Standard backyard chickens generally need enough indoor room to move without crowding, especially during rain, snow, or other weather that keeps them inside. You should also allow space for feeders, waterers, bedding, and access paths. If you expect the flock to grow, building slightly larger at the beginning can save the trouble of extending the structure later.
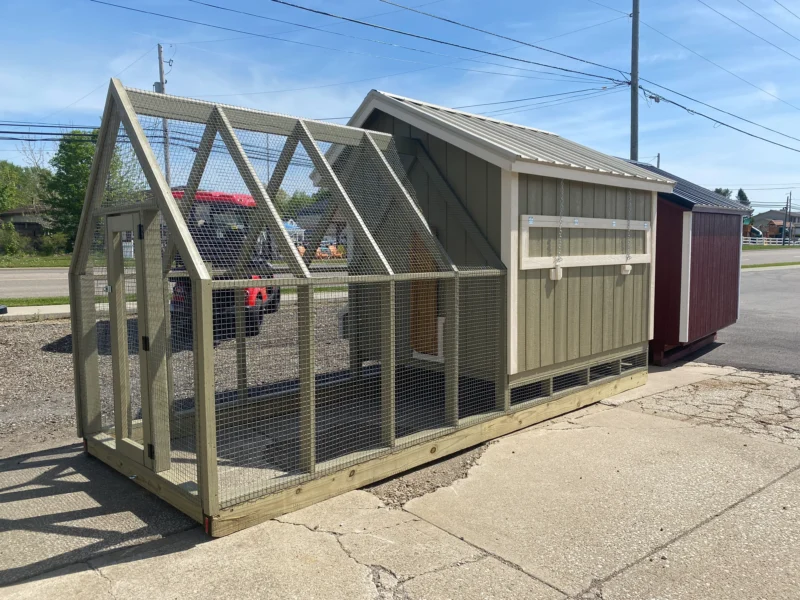
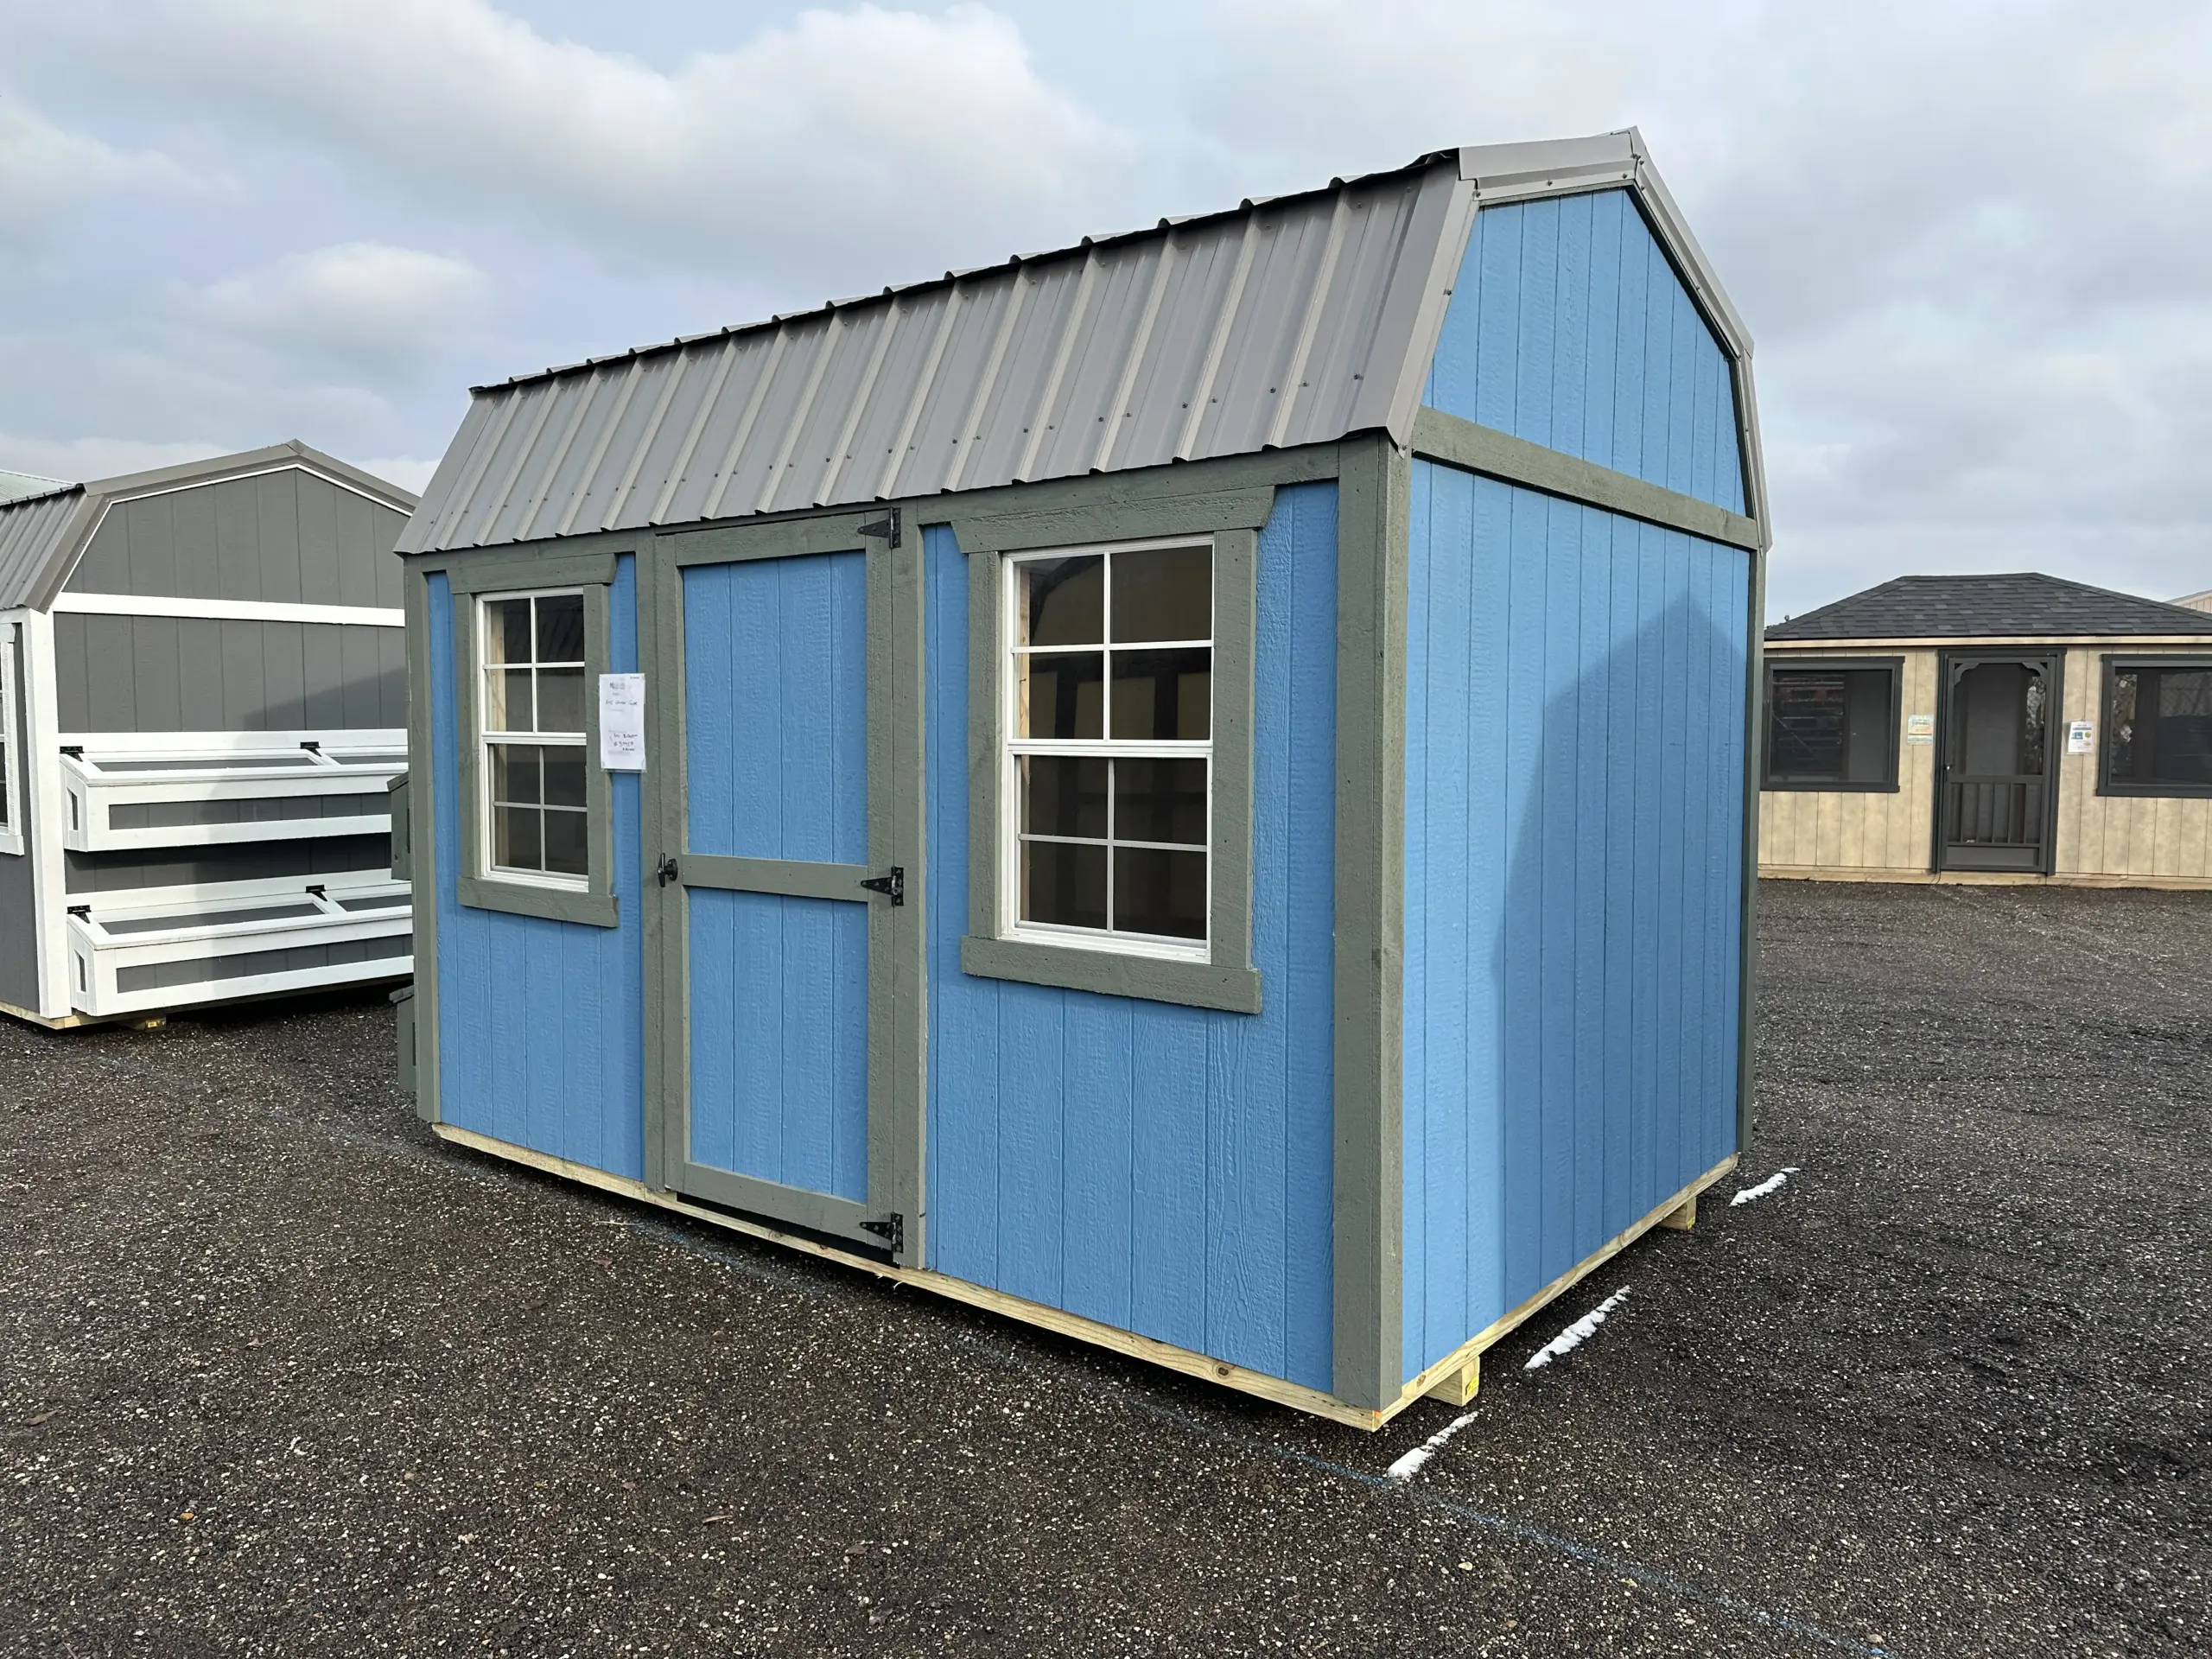
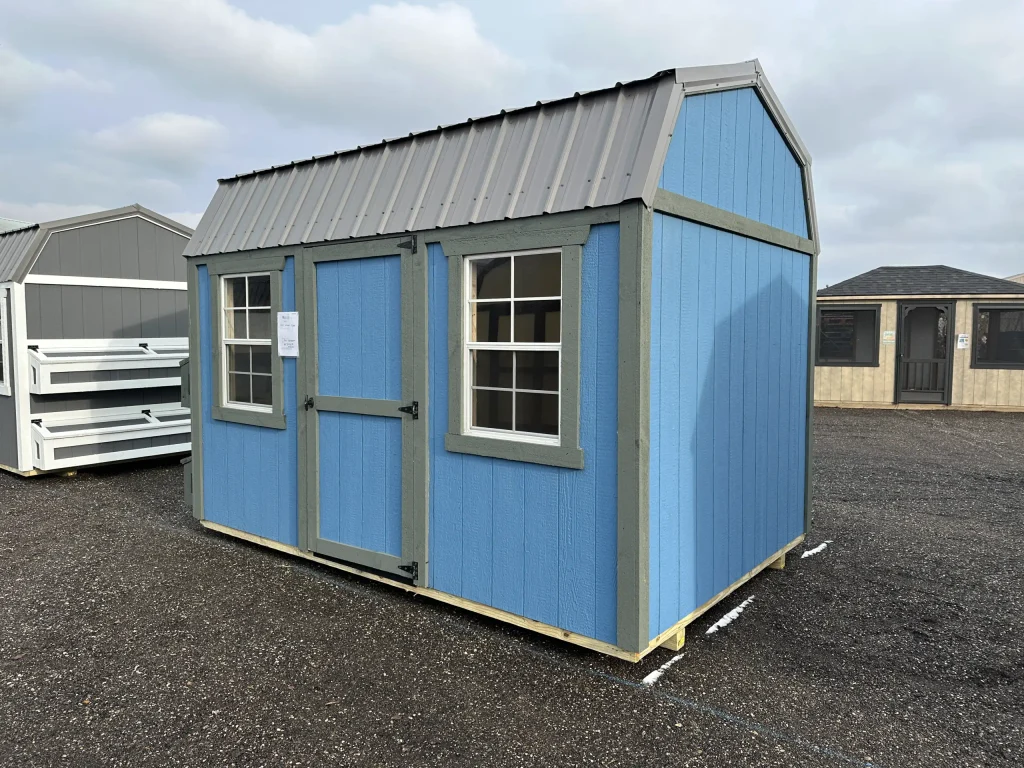
Sketch the layout before purchasing materials. Mark the human access door, smaller chicken entrance, windows, vents, roosting bars, nesting boxes, and connection to the run. Think about daily chores while you plan. A door that is too narrow or nesting boxes placed in a difficult corner can make routine care frustrating. Looking at an existing structure can also help with planning. Hartville Outdoor Products' 6×8 chicken coop with run shows one way to combine protected indoor housing with a directly connected outdoor area.
Choose A Dry And Convenient Location
The best site is relatively high, well-drained ground where water naturally moves away from the building. Avoid low areas that remain muddy after rain because persistent moisture can damage wood, soak bedding, create odors, and make the run difficult to maintain. Morning sunlight can help dry damp surfaces, while some afternoon shade may keep the building cooler during hot summer weather. The site should also leave enough room around the coop for repairs, wheelbarrow access, cleaning, and possible future expansion.
Convenience matters because chickens require attention every day. Place the coop close enough that feeding, watering, collecting eggs, and checking the flock do not become difficult during bad weather. Before construction, review local zoning, setback, and poultry requirements that apply to your property. Utah State University Extension's guide to housing backyard chickens also explains the importance of ventilation, predator protection, adequate floor space, and proper nesting areas when planning a coop.
Build A Solid Foundation And Floor
A level foundation makes the rest of the project easier. Depending on the size and style of the coop, you may use treated skids, concrete blocks, piers, or another stable base that keeps the framing away from constantly wet soil. Prepare the site first, remove loose vegetation, and make sure the base sits level. Gravel can be useful around the building when drainage is a concern because it helps keep standing water away from the lower framing.
Build the floor frame from suitable dimensional lumber and check it for square by measuring diagonally from corner to corner. Matching diagonal measurements indicate that the frame is square. Add evenly spaced floor joists, secure them properly, and cover the frame with exterior-grade plywood or another durable surface. When learning how to build chicken coop structures, it is easy to concentrate on walls and roofing, but a strong, square floor provides the foundation for everything that follows.
Frame The Walls And Add Exterior Protection
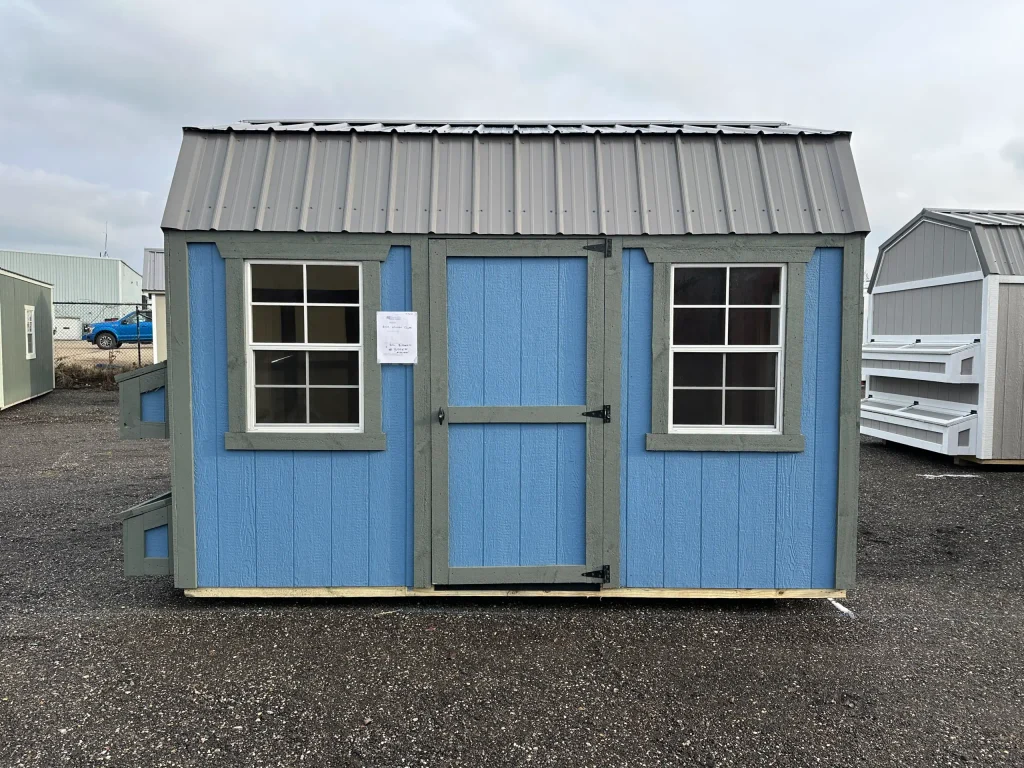
Construct the wall sections with openings already planned for doors, windows, vents, and nesting box access. Building each wall flat on the floor can make assembly easier. Once a wall is complete, raise it, check that it is plumb, brace it temporarily, and attach it securely to the floor and neighboring walls. A full-size human access door is worth including because it gives you enough room to carry bedding, feeders, cleaning tools, and other supplies without squeezing through a narrow opening.
After the framing is secure, install exterior sheathing or siding designed for outdoor exposure. Protect joints, corners, and openings from moisture, and finish exposed wood with exterior paint or stain when appropriate. Pay special attention to the lower sections of the walls where splashing rain and snow are more likely to cause damage. A durable exterior does more than improve appearance. It protects the framing and keeps the interior dry throughout changing weather.
Install A Weather-Resistant Roof
A chicken coop needs a dependable roof because even small leaks can create wet bedding, damaged framing, and unhealthy interior conditions. Shed-style and gable roofs are both practical choices. A simple shed roof is usually easier to frame, while a gable roof can provide more overhead space and additional opportunities for high ventilation. Whichever design you choose, provide enough slope for the roofing material and make sure rainwater drains away from doorways and the most heavily used parts of the run.
Install roof sheathing, appropriate underlayment, and a durable roofing material such as shingles or metal panels. Add overhangs where practical because they help keep rain away from siding, doors, windows, and ventilation openings. Flashing around roof transitions and penetrations should also be installed carefully. A properly built roof protects the entire structure, so this is one part of the project where shortcuts can create expensive problems later.
Add Ventilation Without Creating Drafts
Ventilation removes moisture, heat, odors, and stale air from the coop. Chickens release moisture through breathing and droppings, so a tightly sealed structure can become humid even during cold weather. Install ventilation openings high on the walls or near the roofline where warm, moist air can escape naturally. High vents help maintain air movement without creating a strong draft directly across the birds while they sleep.
Cover every ventilation opening with securely fastened hardware cloth to keep rodents and predators outside. Windows can provide additional airflow during warm weather, but they should also have strong protective screening and secure closures. Do not close every vent during winter in an attempt to trap heat. A dry, properly ventilated coop is generally healthier than an airtight structure filled with moisture and condensation.
Install Roosts And Nesting Boxes
Chickens naturally prefer to sleep above ground, so provide sturdy roosting bars with enough room for the entire flock. Smooth wooden bars work well because chickens can grip them comfortably. Place them away from direct drafts and avoid installing feeders, waterers, or nesting boxes directly underneath. A removable board or easy-to-clean area below the roost can simplify maintenance because much of the overnight waste collects beneath sleeping birds.
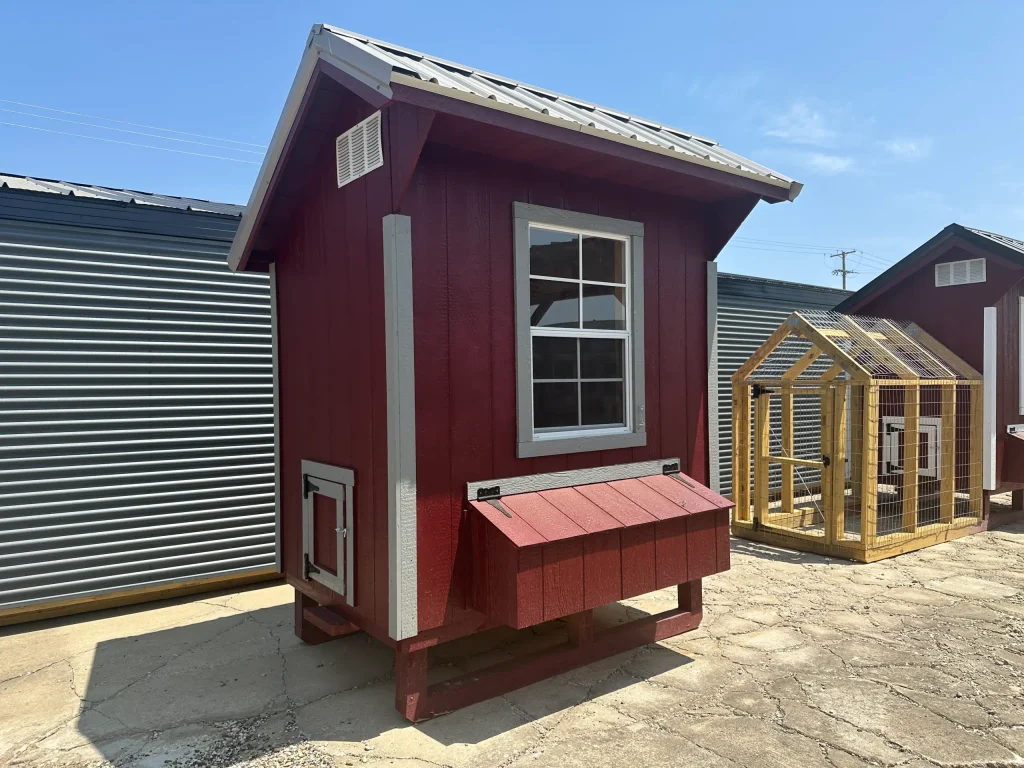
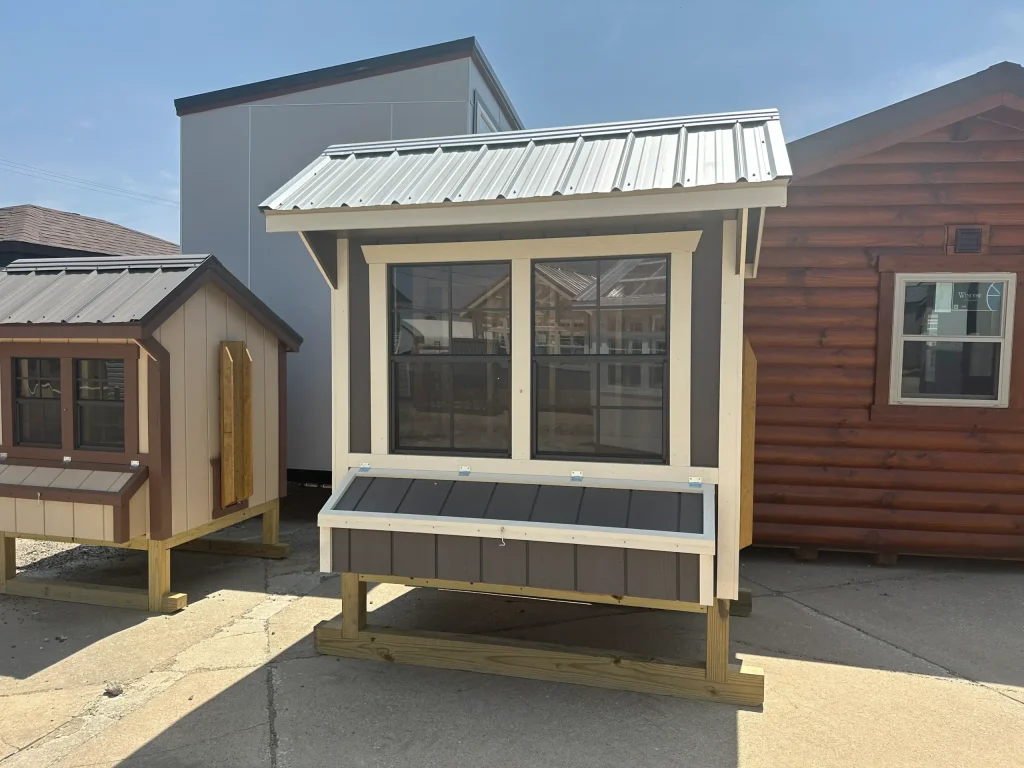
Install nesting boxes in a quieter section of the coop and keep them lower than the main roosting bars. If nesting boxes sit higher than the roosts, chickens may choose to sleep inside them, leading to dirty nesting material and eggs. One box for approximately three or four hens often works well for backyard flocks. Exterior-access nesting boxes can make egg collection easier, especially when you want to gather eggs without walking inside the structure each time.
Protect The Coop From Predators
Predator protection should be part of the original construction rather than something added after chickens move in. Raccoons, foxes, dogs, coyotes, snakes, rodents, and other animals may exploit small gaps or weak closures. Use dependable latches on doors and cover vulnerable openings with strong hardware cloth. Lightweight chicken wire can help contain birds, but it should not be treated as the strongest barrier against determined predators.
Inspect the lower perimeter carefully because digging animals may try to enter beneath walls or fencing. You can bury suitable protection around the perimeter or extend hardware cloth outward along the ground to create an apron that discourages digging directly beside the structure. Check roof edges, door gaps, vents, corners, and run connections as well. Before moving chickens into the finished coop, walk around the building slowly and look for openings from the perspective of an animal trying to get inside.
Build A Secure Outdoor Run
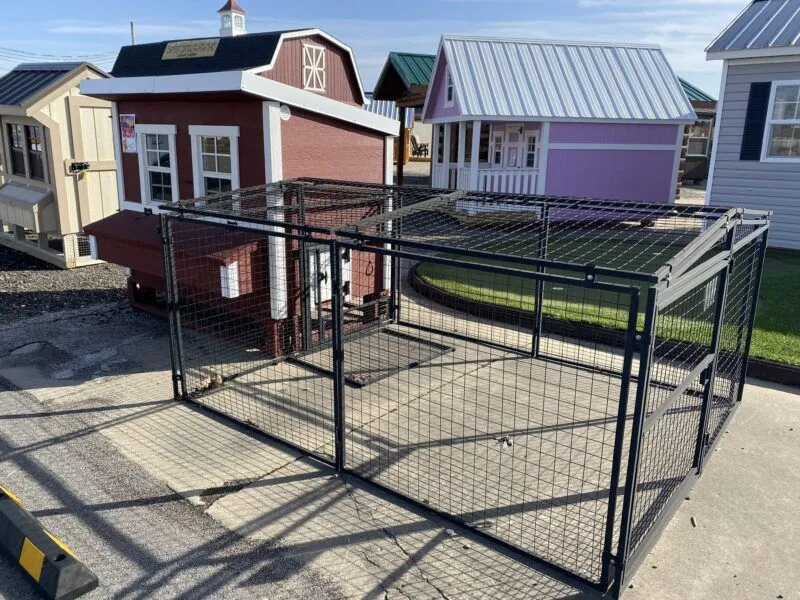
An outdoor run gives chickens room to scratch, forage, dust bathe, stretch their wings, and move more freely while remaining protected. Connect the run directly to the coop when possible so birds can move between the indoor and outdoor areas without crossing unprotected ground. Use strong posts and durable fencing materials, and secure the bottom edge carefully to reduce opportunities for predators to enter.
Overhead protection is also useful, especially where hawks or climbing predators are a concern. A fully or partially roofed run can provide security while also creating shade and keeping part of the ground dry during rain. Include a person-sized gate so you can enter comfortably for cleaning, repairs, or catching a bird. Homeowners who prefer to begin with a professionally built structure can also look at Hartville Outdoor Products' chicken coop for backyard use for ideas on combining shelter, access, ventilation, and practical flock care.
Organize The Interior For Easy Cleaning
The best chicken coop is one you can maintain without unnecessary effort. Position feeders and waterers where spilled water will not constantly soak the bedding, and raise them slightly if needed to reduce litter and debris getting inside. Keep feed in sealed containers to discourage rodents and other wildlife. Avoid filling the interior with permanent features that make corners difficult to reach during routine cleaning.
Smooth surfaces, removable roost boards, cleanout doors, and accessible nesting boxes can all reduce maintenance time. Replace wet bedding promptly and inspect the structure regularly for loose hardware, damaged siding, leaking roofing, torn wire, or weakened latches. Planning for maintenance while learning how to build chicken coop structures is just as important as planning the walls and roof because an easy-to-clean building is more likely to remain dry and comfortable over time.
Inspect The Coop Before Adding Chickens
How To Build Chicken Coop? Complete a full inspection before the flock moves inside. Check for exposed screw tips, nails, staples, sharp wire, rough wood, and unstable roosts. Test every door and latch several times, inspect ventilation openings, and make sure predators cannot push beneath doors or pull wire away from framing. If possible, inspect the structure after rain so you can identify leaks, standing water, or areas where runoff is moving toward the foundation.
Add fresh bedding, feeders, waterers, nesting material, and other equipment before introducing the birds. Watch how the flock uses the coop during the first several days because real use may reveal small improvements you did not anticipate during construction. A feeder may need repositioning, a roost may work better at another height, or the run may need additional shade. Following these how to build chicken coop steps gives you a strong starting point for creating a dry, secure, well-ventilated structure that supports both chicken health and easier daily care.