
How To Fix Patio Chairs
Estimated reading time: 6 minutes
Outdoor chairs for patios play a role in providing both comfort and a touch of style to your outdoor area where you relax and entertain guests under the open sky or stars at night. As time goes by and seasons change their course each year with their elements like wind and rain wearing them down gradually over time – the sling chairs which could easily wear out due to common issues related to the sling fabric and chair frame wear and tear – there’s no need to worry or rush into replacing your entire set of outdoor furniture. Of investing in a brand new patio furniture set unnecessarily due to these common issues that arise with patio chairs durability, over time caused by usage and exposure to weather conditions or simply wear and tear – you have the opportunity to breathe new life into your well loved outdoor furniture by acquiring the skills needed for fixing them yourself without having to rely solely upon professional help. This manual can assist you in fixing the frame of your patio chair and swapping out worn out slings to keep your outdoor seating cozy just like it was when you initially purchased it.

Step 1:Identify Issues With Your Patio Chairs
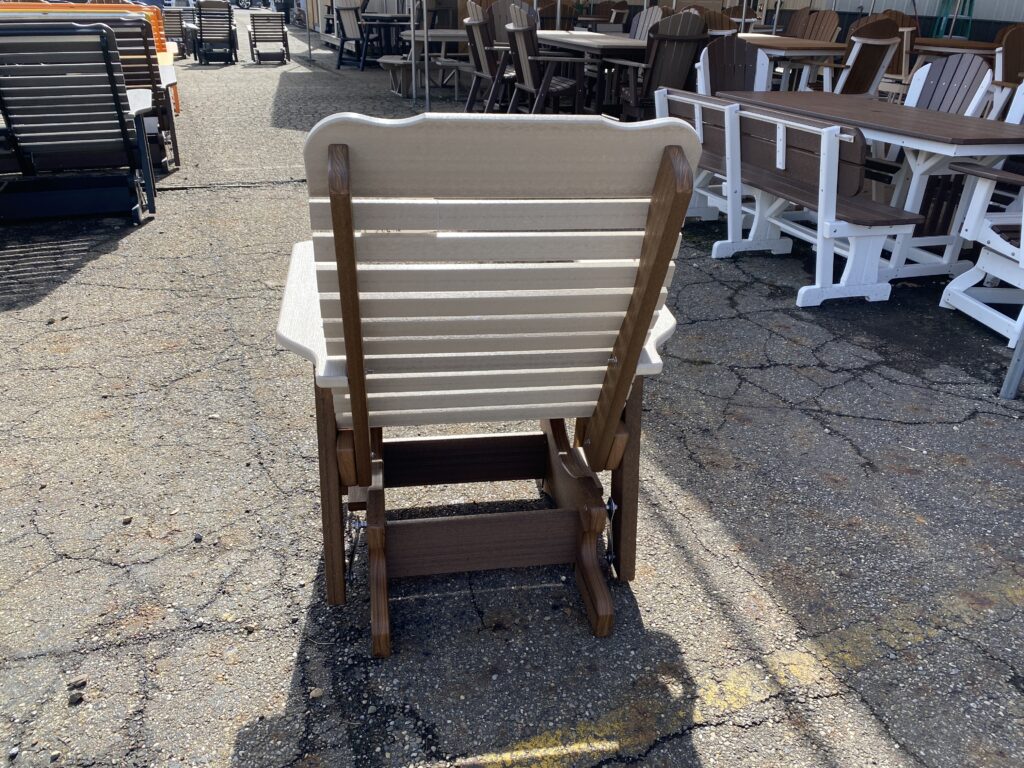
Before you start fixing your patio chairs make sure you know exactly what’s wrong with them first! Typical problems you might encounter include the fabric wearing out or tearing over time from heavy use and the screws, in the chair frame becoming loose or deteriorating wood slats needing attention too. Patio sling chairs often suffer from torn sling material after years of use which means replacement slings are necessary to restore both comfort and appearance to the chair. Another common issue involves the aluminum frame of patio chairs that can become loose over time causing instability. By recognizing these issues you can determine if the fabric needs replacement or if the screws require tightening to revive your furniture.
Begin by inspecting the screws and bolts of your patio chair frame and make sure to use the tools to secure any loose hardware to keep the frame stable and sturdy. For chairs with a metal or aluminum frame make sure that the spreader bars are firmly, in place to provide support which will help prevent any wobbling and increase the longevity of your chairs.
Step 2: Substituting Sling Material
If the fabric of your chairs is ripped or showing signs of wear and tear you’ll have to get a new one for it. Start by measuring how wide and long the old fabric is to figure out the dimensions for the replacement fabric. Carefully take off the fabric, from the chair frames rails using a utility knife. Put in the fabric and fasten it with screws at both ends of the chair. Make sure it’s tight. Even so you get maximum comfort when you sit on it. You can find replacement slings in a range of materials and designs to complement your outdoor furniture or give your patio a new style.”
Step 3: Fixing Wooden. Various Frame Materials
Make sure to inspect patio chairs with slats for any signs of decay or harm and replace any damaged slats with sturdy new wood as needed to maintain their integrity and longevity. Smooth out any edges by sanding them down and apply a fresh coat of paint or wood sealant to shield the material from potential harm in the future. If your patio chair has a metal frame of wood slatscheck, for rust and remove any corrosion before repainting the frame to prevent further degradation.
Step 4: Renewing Upholstered Chairs and Pillows
Over the years as you enjoy your patio area some of the cushions and pillows, on your chairs may start to lose their fluffiness or shape.Take some time to bring back that feel by swapping out the worn out fabric covers with fresh ones that are built to withstand the elements and last long either by stitching new covers yourself or opting for ready made ones that slide smoothly onto your current cushions. sure to choose cushion materials that complement the fabrics and other features of your patio furniture to maintain a unified appearance.
Step 5: Maintenance Upkeep
To maintain the quality of your outdoor seating area furniture it’s important to care for it by cleaning the frames and fabric and applying protective coatings to prevent damage from factors like rust or rot over time. When not, in use during times of the year store your patio furniture indoors or shield them with sturdy covers to shield them from weather elements. Following these tips will help prolong the lifespan of your furniture and preserve the appearance of your patio space.
When you’re swapping out the fabric for the sling chair outdoorsy style bid a hand in favor of premium grade materials meant for settings ideally lasting and low maintenance alike. Free from weather woes that are easy to tidy up post-use! And hey now. If its an aluminum frame you’re fiddling with be cautious not to go overboard tightening those screws; a too much muscle might just do some harm there! As for those chairs flaunting spreader bars? Secure them tight at both ends of the sling for that extra solid support you’re, after! Suppose you’re unsure about how to determine the dimensions, for the new slings to be replaced with your existing ones. In that case, it’s advisable to refer to the guidelines provided by the manufacturer or bring the old sling along when you visit a store to find a matching size and design.
Conclusion
To achieve an appearance for your furniture repair project and ensure a professional outcome; be patient and meticulous while working through the process. Trim any leftover fabric carefully after securing it in its place and make sure all screws and bolts are securely tightened. If you’re fixing a group of six chairs or more. It’s wise to work by focusing your efforts one chair at a time to prevent errors. Remember to have the tools at hand. Like a utility knife for trimming fabric neatly; screws and end caps for secure assembly; and a measuring tape for precise adjustments. As they are crucial for a successful repair job. Looking for quality replacement slings, tools, or other supplies to complete your patio chair repairs? Visit Hartville Outdoor Products for a wide selection of high-quality outdoor furniture materials and accessories to help you get the job done right.