
How To Build a Wooden Ramp for Your Shed: A Comprehensive Guide
Estimated reading time: 5 minutes
Introduction:
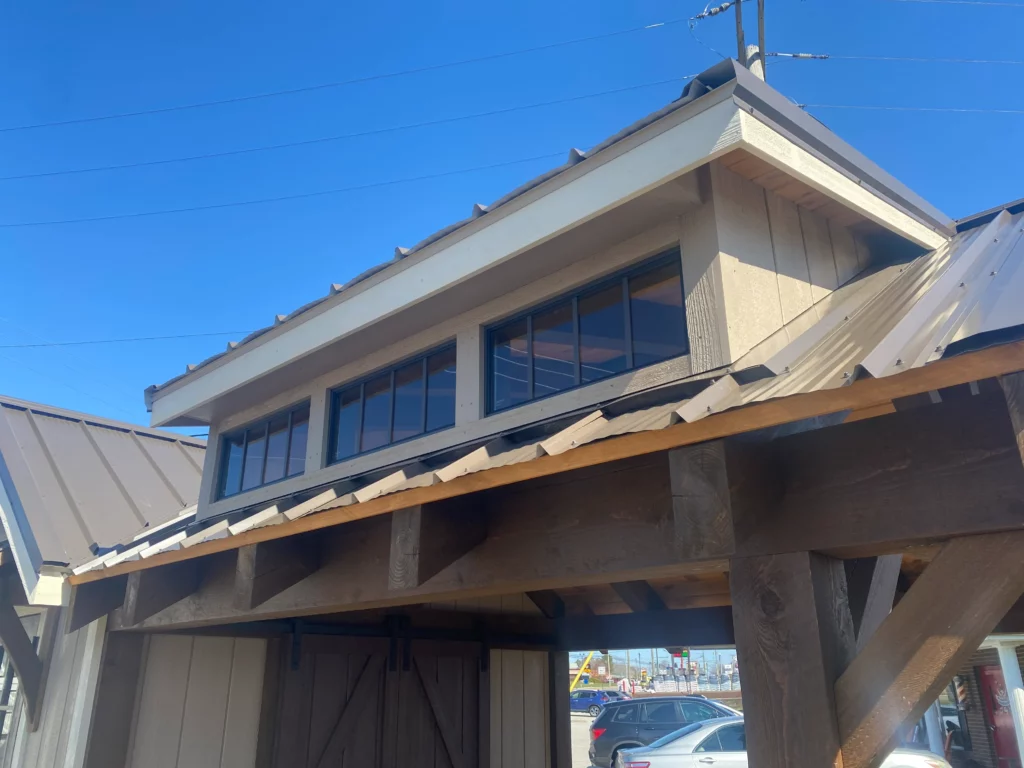
Embark on enhancing your shed with a wooden ramp. This guide covers every step and is designed for all skill levels. We focus on material selection, design, and construction. Detailed instructions and illustrations simplify the process. By the end, you’ll have a sturdy, functional ramp. Start your woodworking journey and transform your vision into reality. In this “how-to” guide here is how to build a wooden ramp for a shed.
Assessing Needs and Preparing
Evaluate your shed’s requirements. Consider the height, terrain, and the items you’ll frequently move. Gathering materials is essential. You’ll need pressure-treated lumber, galvanized screws, concrete for footings, and tools like saws and drills. Checking local building codes is crucial to ensure your ramp complies with all regulations. This ensures your building project is legal and safe.
Once you have gathered all the necessary materials, sketch a design for your ramp. Consider slope and width to accommodate easy access for moving heavy equipment or tools. A well-thought-out design will ensure both functionality and safety for years to come.
Designing the Ramp
The design phase is crucial. Determine the ramp length based on the rise—each inch of rise necessitates a foot of the wood ramp. Choose a ramp style—straight, switchback, or wraparound—to fit your space best. A gentle slope of 1:12 is ideal, especially for wheelchair access, ensuring the ramp is easily navigable.
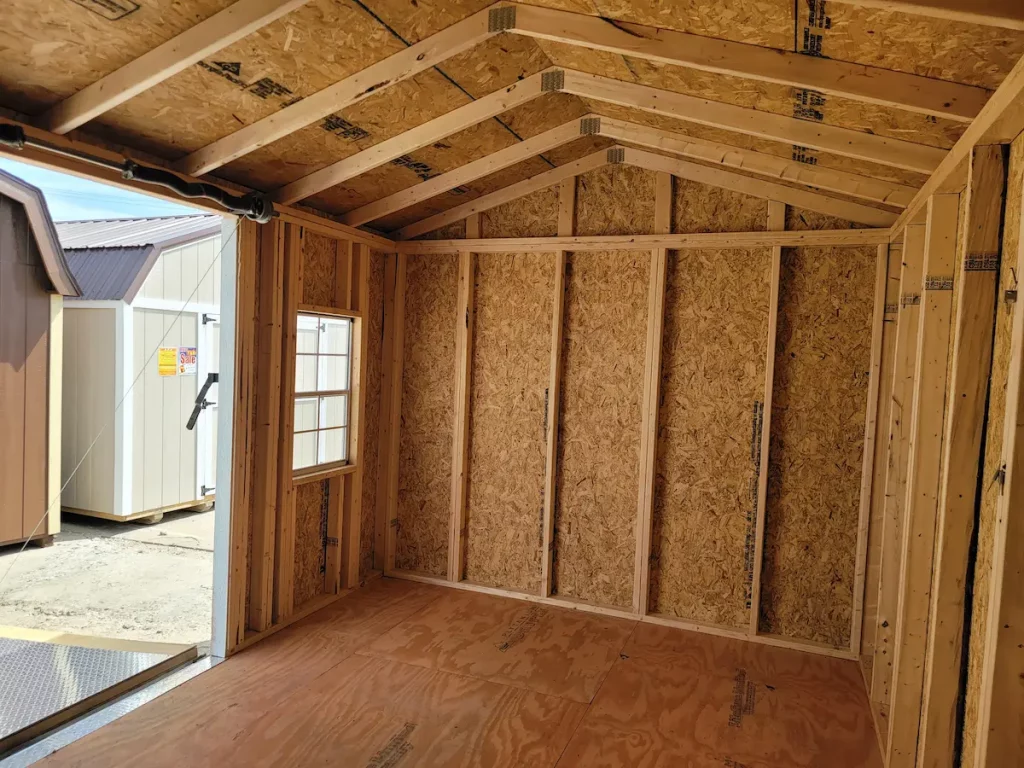
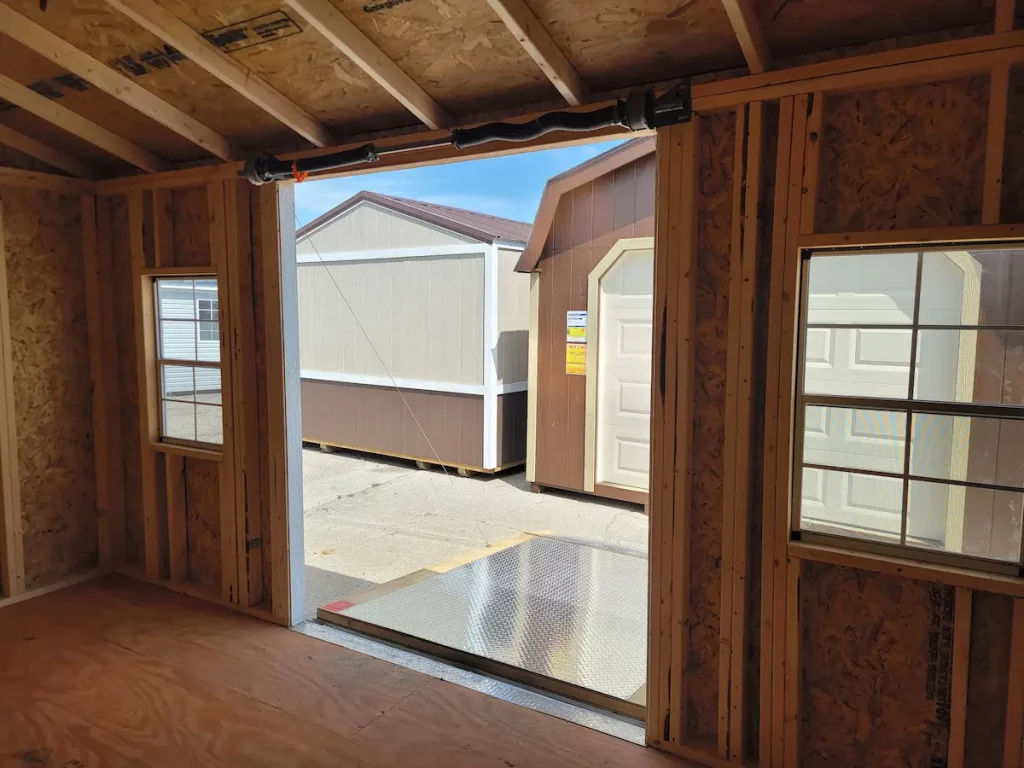
Constructing the Ramp
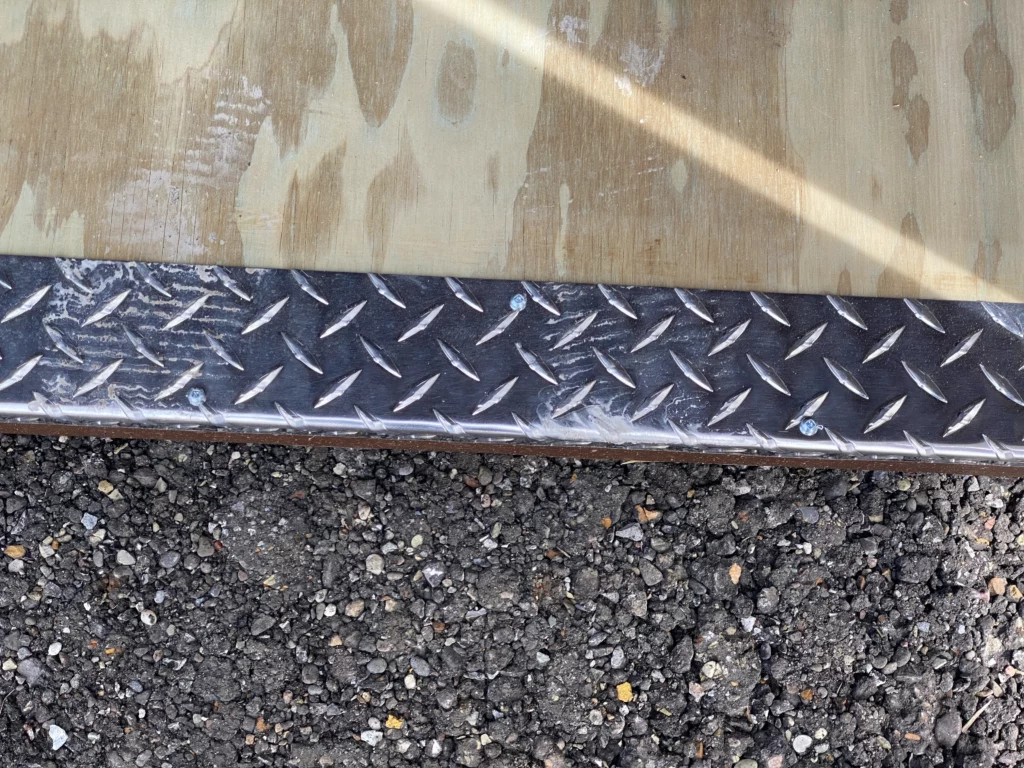
Building begins with digging footings for stability and framing the garden shed ramp using pressure-treated wood. Joist hangers add support, ensuring the structure is stable and level. Plywood forms the surface, attached with screws to avoid warping. Handrails and landings can be installed for additional safety, which is particularly important for wheelchair ramps. To prevent slipping, add a non-slip surface or material. This ensures the shed ramp remains safe and navigable for all, including those with disabilities.
As you progress with making a shed ramp, pay close attention to detail. Ensure all measurements are precise and all components are securely fastened. Incorporating handrails and landings enhances safety and provides users with resting points. Additionally, consider incorporating lighting along the ramp’s pathway to aid visibility, especially during low-light conditions, further improving accessibility and safety.
Enhancements and Safety Features
Incorporate safety and aesthetic enhancements such as non-slip surfaces, handrails, and landings for rest. These features not only make the ramp safer for the disabled but also add to its overall functionality and appearance. Weatherproofing the wood with sealants and considering the ramp’s width and edges for wheelchair and equipment navigation are essential aspects to consider.
When building a ramp for a storage shed, focus on safety and aesthetics. Incorporate non-slip surfaces, handrails, and rest landings. This enhances usability and appearance. Weatherproof wood with sealants ensures smooth navigation for wheelchair users and equipment.
Finishing Touches and Maintenance
Landscaping around the storage shed ramp integrates it into your yard, enhancing its appeal. Concrete, wood, and steel materials offer different looks and levels of durability. Transition areas where the ramp meets the shed or deck should be smooth to prevent catching wheels or feet.
Maintaining your ramp is crucial. Regular inspections can catch issues like loose screws or slippery surfaces. Be aware of how weather conditions affect the ramp, especially in winter, and take measures to prevent ice build-up.
Conclusion
Constructing a wooden ramp for your shed is a rewarding project that can increase the accessibility of your outdoor space. By following these guidelines and taking safety measures to prevent slipping, you’ll ensure your ramp is practical and compliant. Regular maintenance and thoughtful design considerations will save money in the long run and ensure the ramp remains a valuable feature of your home.
For those looking to embark on this project with the best materials and expert advice, Hartville Outdoor Products offers a wide range of high-quality building materials and tools to ensure your ramp construction is successful. Visit us for more ideas, materials, and guidance to make your outdoor space accessible and beautiful. Start your project with Hartville Outdoor Products today and transform your shed into an easily accessible part of your outdoor living space. We hope this helps you on how to build a wooden ramp for your shed.